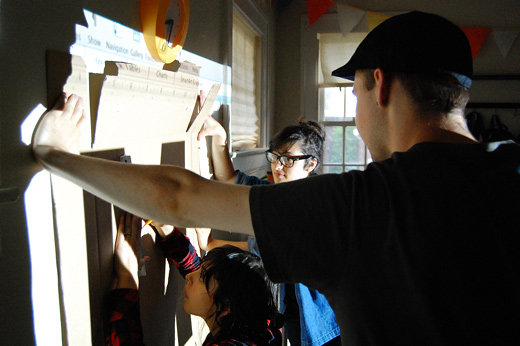
In what feels like the first time in months, we got together and worked on making something (that is, as opposed to planning something). We’re getting started on what is going to be an epic project, time-wise. We’re making a bunch of large 3D cardboard letters.
Collaborative Apartment Studio is very fun.

Danielle and I had a ton of cardboard from our recent move, so meeting at our new place was really convenient since all of our materials were right there.
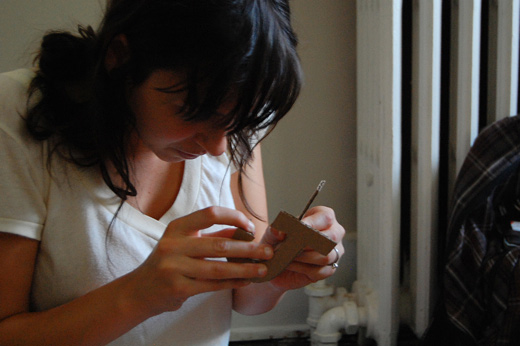
Materials is one thing, but tools are another. However, it became obvious pretty quickly that we’d need another utility knife and a hot glue gun.
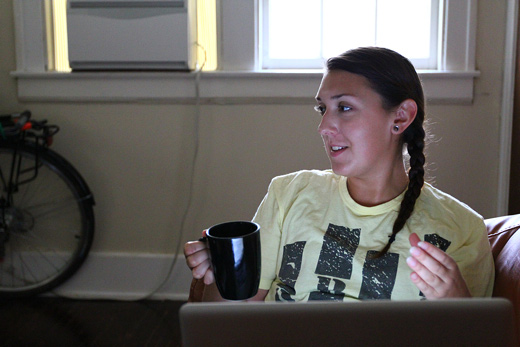
Michelle took the first shot at editing the beginnings of our Grant Report for Save the City.
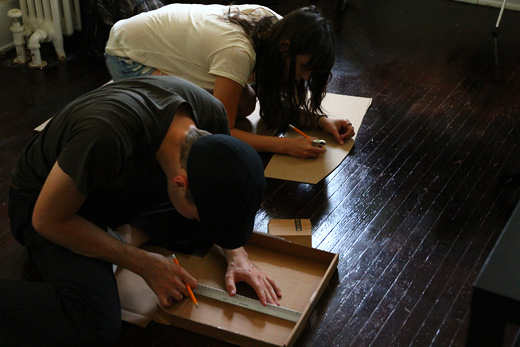
Danielle and Josh got to measuring out some test letters.
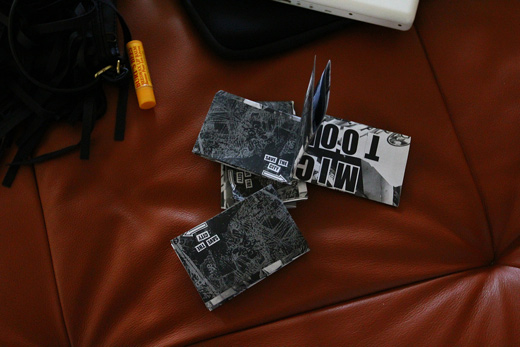
Also on the to-do list was scanning in these micro-toolkits that we handed out during our How to Save the City event.
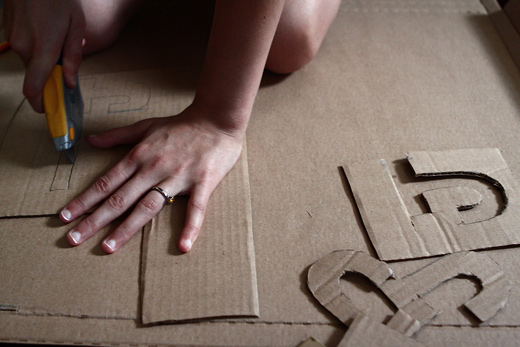
Danielle cut out a few different Js.
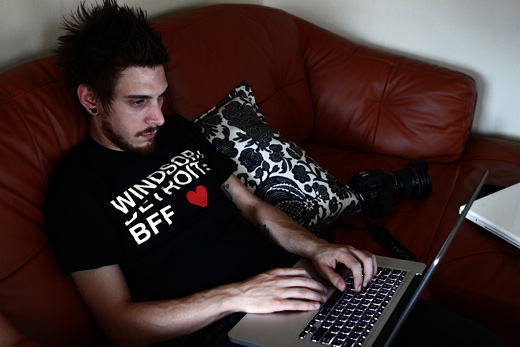
I took on putting together an exhibition proposal.
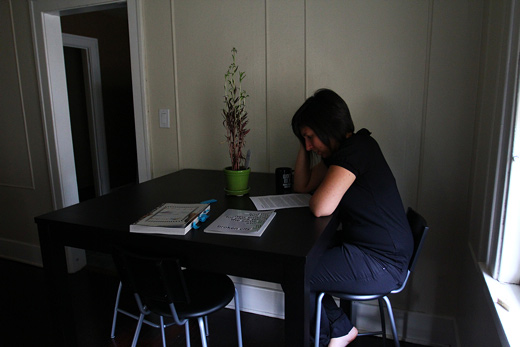
Cristina tried to find some quiet space to edit a draft of that proposal.
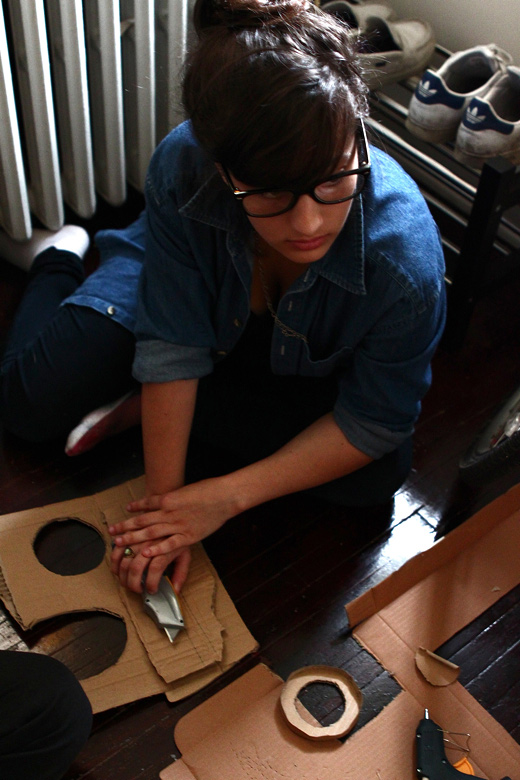
Rosina and I went to Canadian Tire to get some extra supplies and when we returned, she got started on a test O.
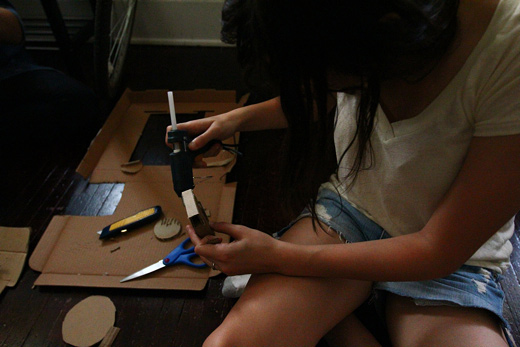
Danielle putting the finishing touches on the J.

This kind of hands-on research is crucial — that is, considering the majority of us in BCL think through doing, it’s always really productive to do things like playing with materials, making scale models, etc.

Danielle examines her J…
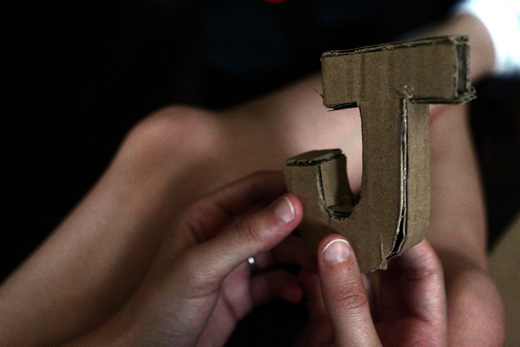
This method for creating 3D letters is pretty much how we moved forward. Two faces, plus the extrusion, which is attached basically as a capping. There aren’t any brackets on the interior for reinforcements because we anticipate strengthening the letters with an exterior shell of paper maché.

Rosina working on an O.

Rosina has some extensive experience working with cardboard, having taken Zeke Moores’ intro to sculpture at the university.
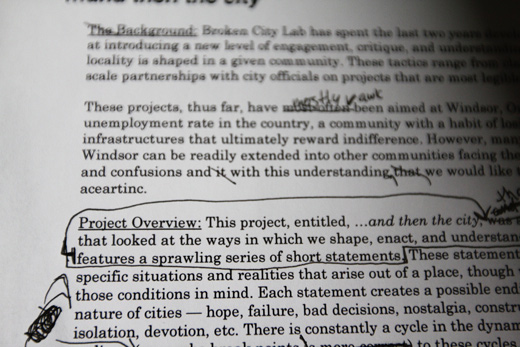
Meanwhile, a proposal gets edited.
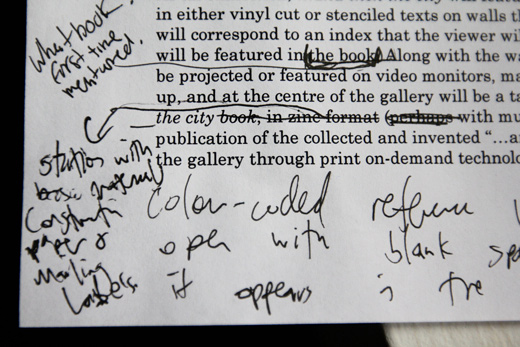
And then really edited.
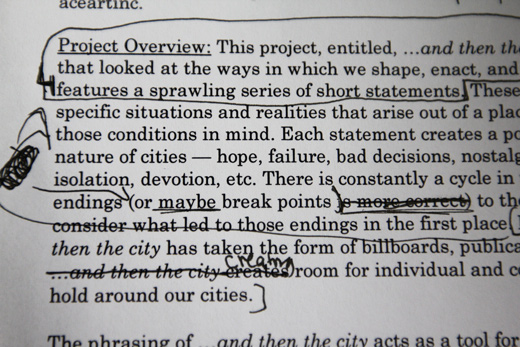
And so, Cristina is an excellent editor.
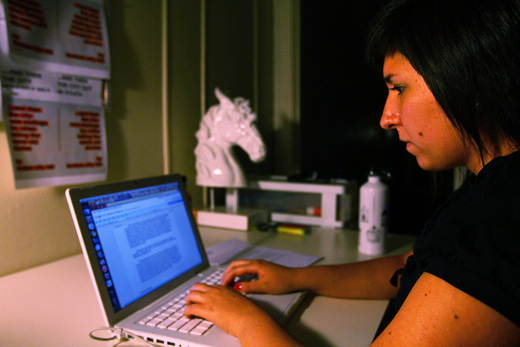
After working through the proposal, Cristina takes on editing the Grant Report.

In the other room, the rest of the crew set up a projector so we can make a bigger letter.
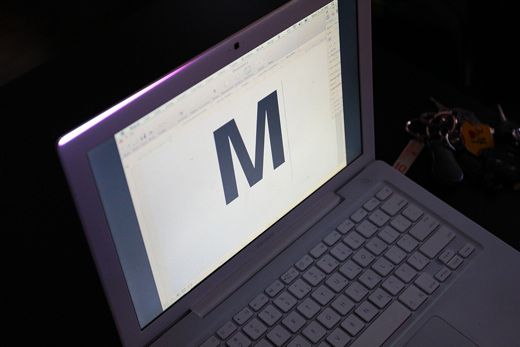
And, in hopes of this first attempt actually working out, we start with the first letter of what we hope to write.
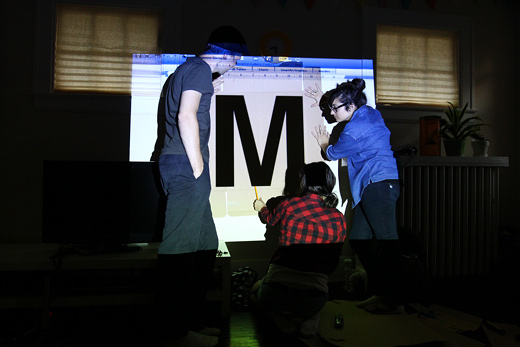
Josh, Danielle, and Rosina work on the letter.
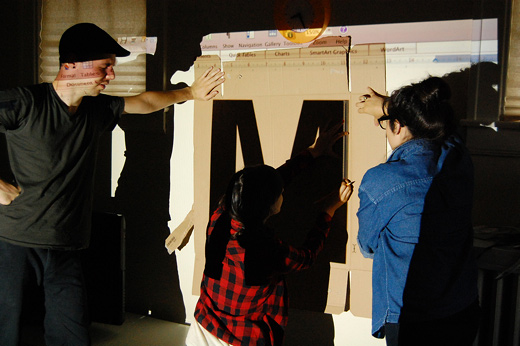
Josh and Rosina hold up the cardboard, Danielle uses a ruler to trace it out.
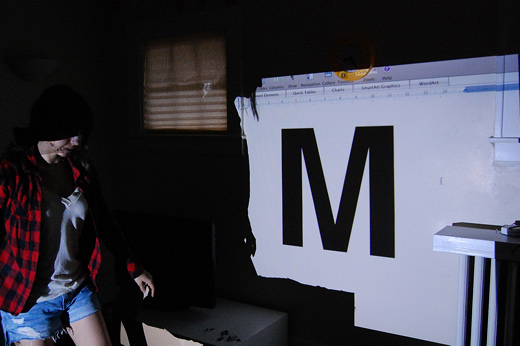
Yes, that is an M in Helvetica Bold.
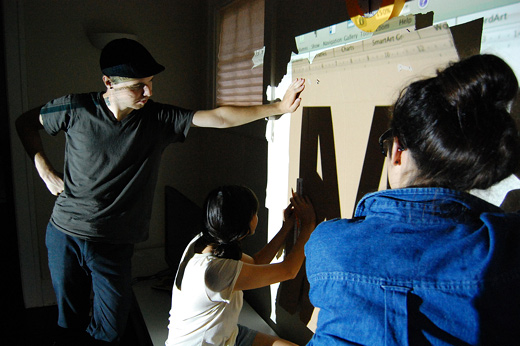
I think the letter is somewhere around 24″ – 36″ tall.
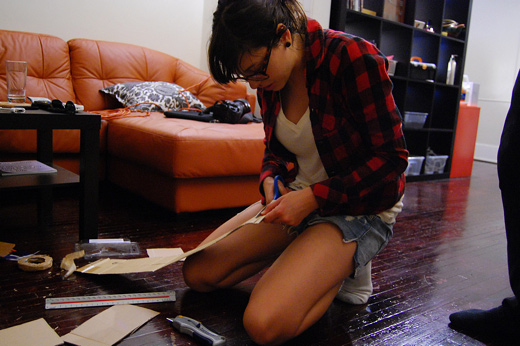
After tracing, back to cutting, this time with a mix of knives and scissors.
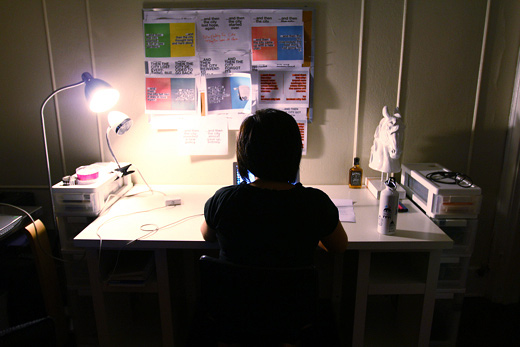
Cristina doing some more editing. I’m not sure if we were being particularly picky, or if we had just written it poorly in the first place, but there was a lot of back and forth on the proposal.
Reading more drafts.
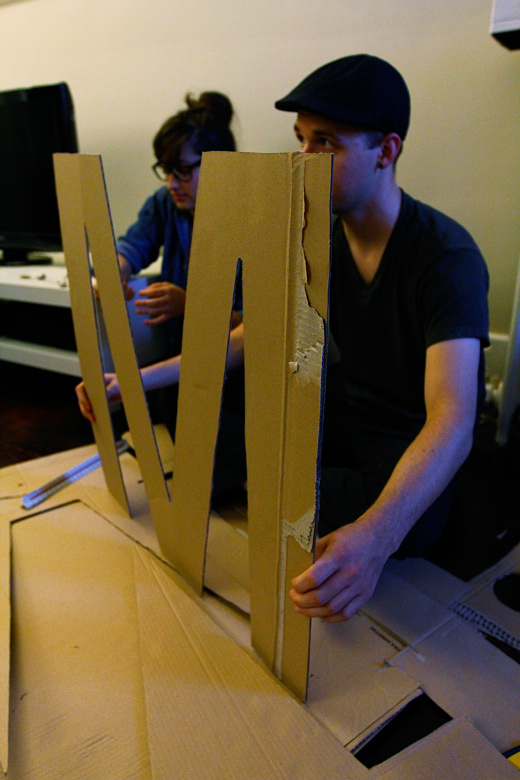
The letter M!!!!

Danielle cutting some more, the second face of the letter M.
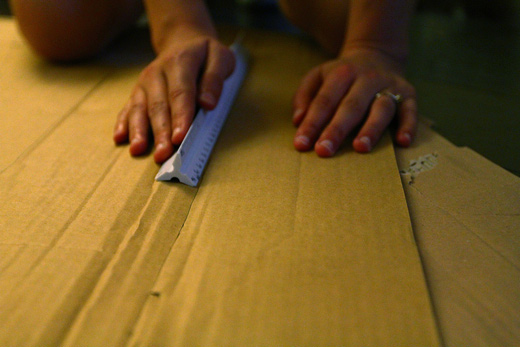
Cutting with the corrugation seemed to work better, but we’re still working from scraps, so it’s not ideal.
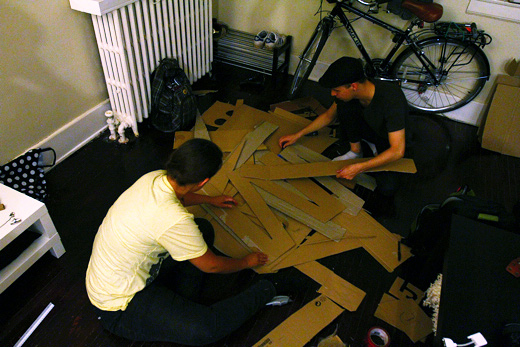
It’s really going to get challenging when we run out of the larger pieces.
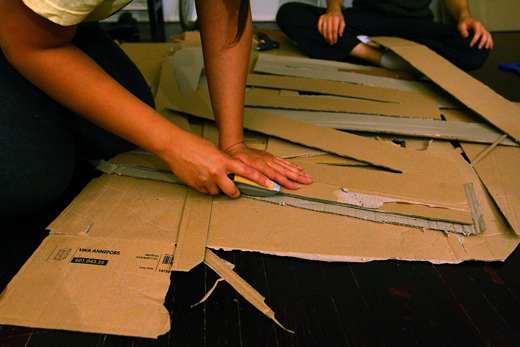
Michelle going over her edge.

Rosina, Michelle, and Josh look for cardboard for the edges / extrusion.
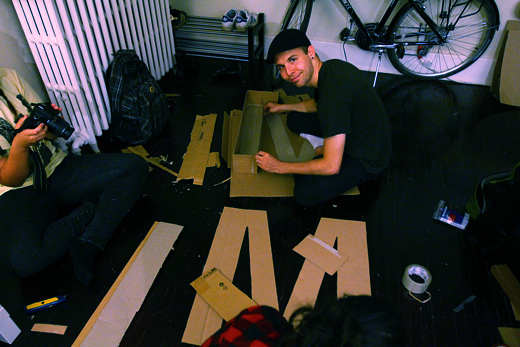
Oh, Josh.
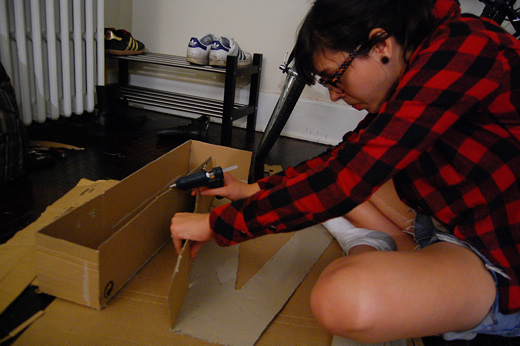
And then glue, a lot more glue. We imagined it being awesome to be able to shape the letter from one big cut (imagine the opposite of peeling an orange without breaking the peel), that is, without gluing the two faces to the extrusion, but impossible without some severe math.

Finishing the edging.
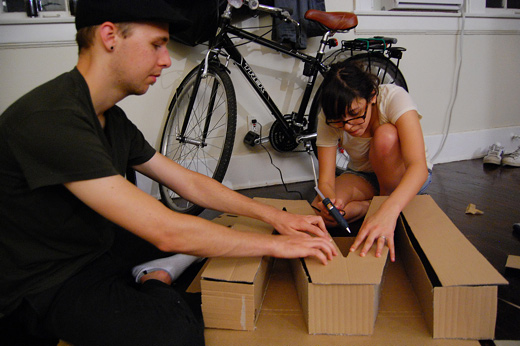
Gluing — the M is almost done!

Top face being inspected by Danielle and Michelle.

And, letter #1 is all finished!

The M. Next week, hopefully a few more letters. I think working through this will speed up once we get going. Meanwhile, our friend, Miranda is putting together some research on potential finishes, we’re hoping these can be weather-proofed to some degree.
It was amazing to get together again like this, already anxious for next week. So much gets done and it’s just a lot of fun to get to work all in one (or two) rooms(s). After hours of lots of cardboard, material research, and a lot of really productive writing and editing, we called it a night.

Fun! As for coatings, you might see about getting them sprayed with a polyurea (I’d papier-mâché them also). That business is indestructible.
Alternately, if you don’t need them forever-forever, a couple good coats of linseed oil (boiled, not raw) will give you a fair measure of waterproofing while ultimately being biodegradable.
I mean, it would take forever and stink up your place for weeks, but whatever.
Looks intriguing! I can’t wait to see what you all are up to. Maybe a store would donate some big boxes?
Kelly, you’re probably right, looking for some box donations would certainly be worthwhile!
Steven, boiled linseed oil sounds like it might be the ticket… assuming that we’d find another place to apply it. Does it go on like a varnish (with a rag) or like a urethane where you can just brush it on?
You brush it on, typically, as you want to really saturate the material. This tutorial for making oilcloth (another thing you might look into if banner-making is still on your agenda) works on the same principle, though I couldn’t immediately find one specific to papier-mâché.
Bear in mind that the stuff isn’t altogether cheap, and you’d need a lot of it (though it’s used to finish furniture, so you could probably find it in less expensive gallon containers—you shouldn’t need to go through dozens of the little bottles of artist-grade stuff). Also, even the refined stuff (which includes drying additives) takes quite awhile to dry, even in a warm, well-ventilated area. I’d definitely try the process out on a little maquette, if you go that route, before committing to it at full scale.
The M looks great!
I am kind of concerned that with some sort of coating on it, it will sag and droop if it gets wet. Perhaps putting some sort of bracing on the inside (even just some Z shaped pieces here and there, where the top and bottom are glued to the front and back of the letter?) would help out somewhat.
Talk about fun! Good work everybody.