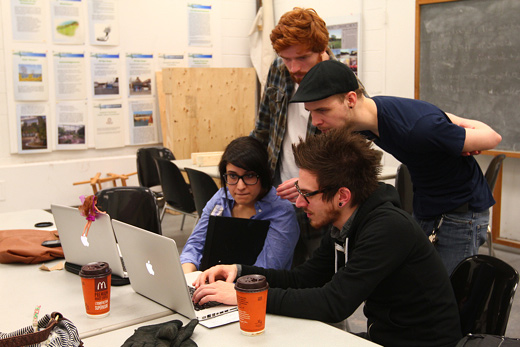
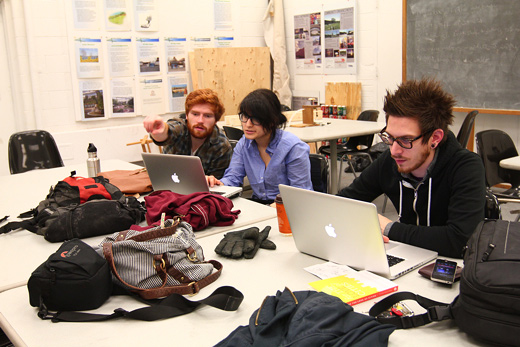
We were a few people short of a full crew (Michelle was sick, Danielle was away, Rosina was on the line, and it was Cristina’s birthday), but Josh, Kevin, Hiba, Karlyn and I still made the most of our Friday night studio collaboration spectacular by putting some focus on our large-scale letters project for CAFKA.
With the semester wrapping up in just a few more weeks, we’re really looking forward to having a bit more time and brain space to work on all of these projects.
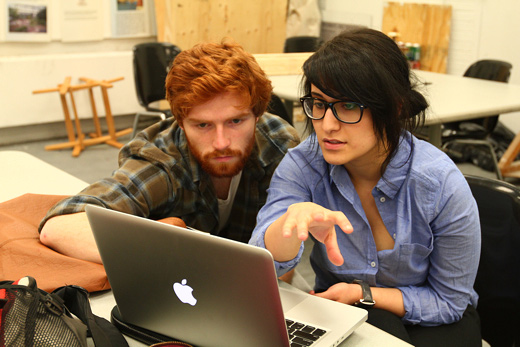
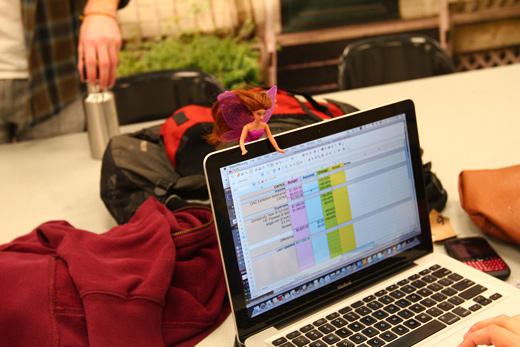
Kevin and Hiba started looking at some cost estimates for different options to create the letters.
We’re working with a budget that needs to cover everything, and as we’re still trying to decide exactly how we’ll end up making these large-scale letters, this number crunching is a hugely important part.
Meanwhile, Michelle (via skype) and I were talking about another upcoming project proposal in Hamilton. She was sick, but she’s feeling better now, phew!
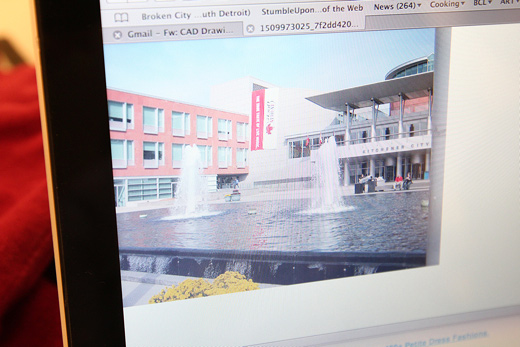
Some images of the water feature at Kitchener’s City Hall where the letters will be installed.
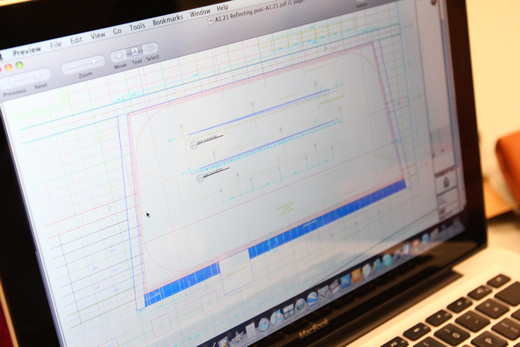
The CAD drawings of the water feature from Sarah, Artistic Director at CAFKA.
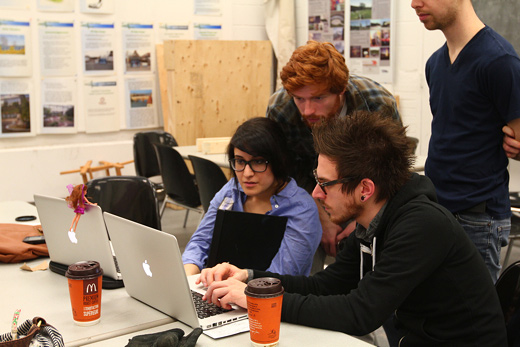
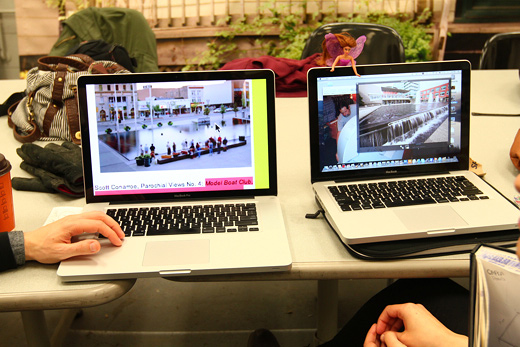
The crew looking at some past projects from CAFKA that were installed in the water feature.
We’re trying to get an idea of the scale and the location of the letters. We have ideal options in mind for both, but now it’s a matter of mapping that onto reality.
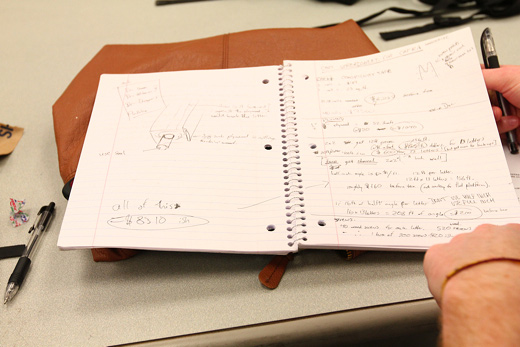
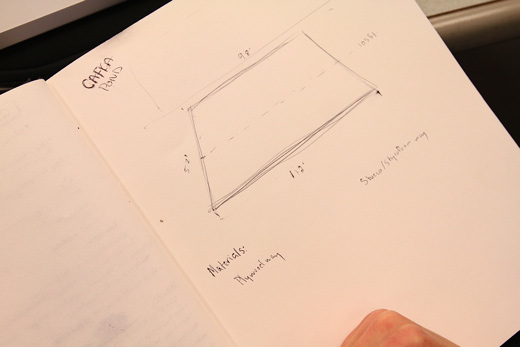
Kevin flips through some old notes on the project.
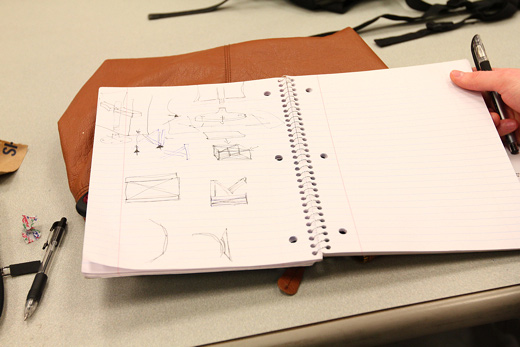
Past diagrams that came from consultation with Zeke.
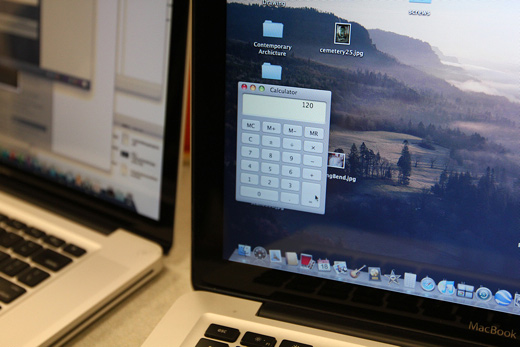
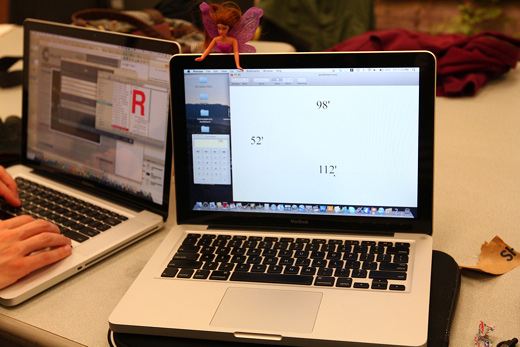
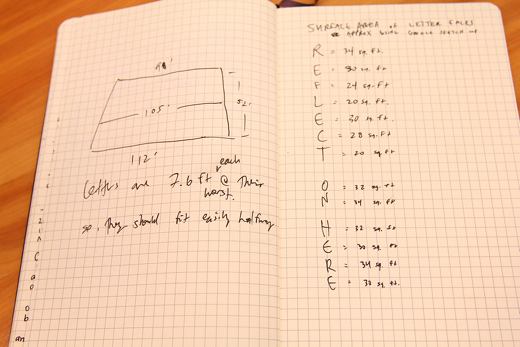
Using the trusty calculator to figure out how long the letters will be all together once they’re assembled, in the worst case scenario…
Then working that against the diagram we have of the water feature, which outlines the dimensions.
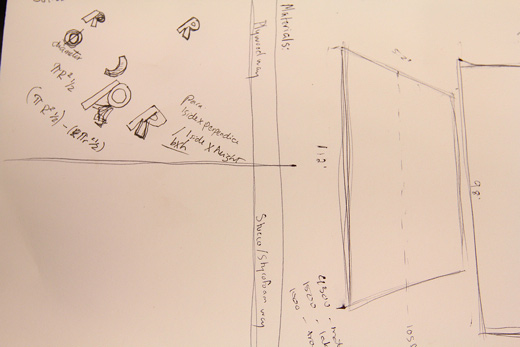
More notes.
Some quick calculations that Hiba had made … so much math, overly confusing.
On the to-do list for the evening was figuring out the area of each face of the letter in order to begin pricing out the retroreflective material. We’re considering a number of different options, including using the same retroreflective glass beads we used on Make This Better.
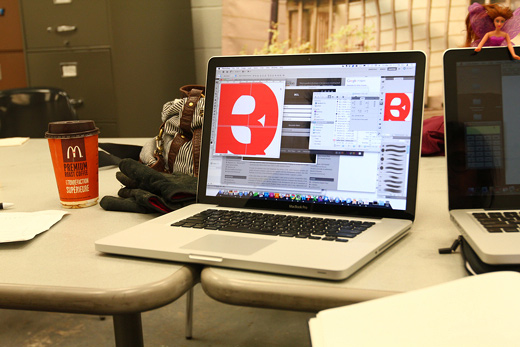
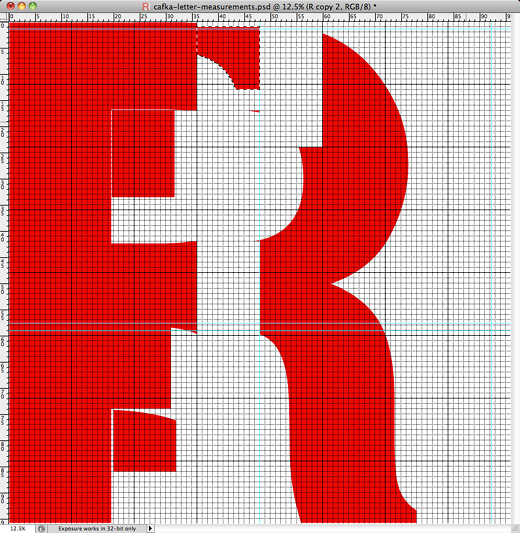
Since we had set up a Photoshop template with the actual dimensions of the letters, it was my first thought to use that somehow…
The process was a bit funny — I set up a grid in Photoshop, first thinking we would have to literally count the square feet each letter would take up, and then I started to cut up the letter to try to piece it together to get an estimate, but it was fairly obvious that this could not be the way to do this efficiently.
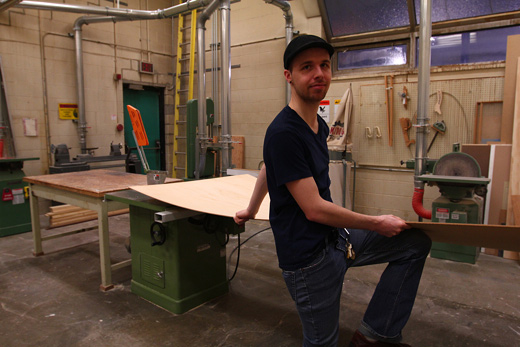
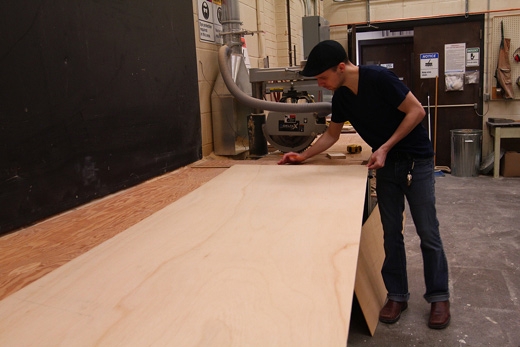
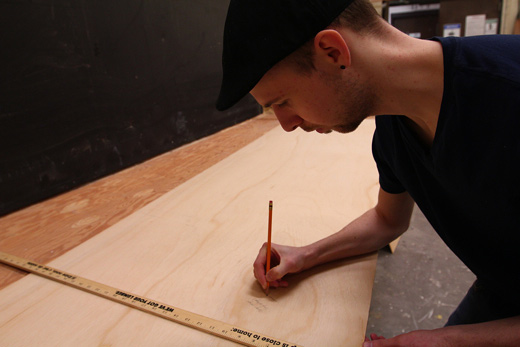
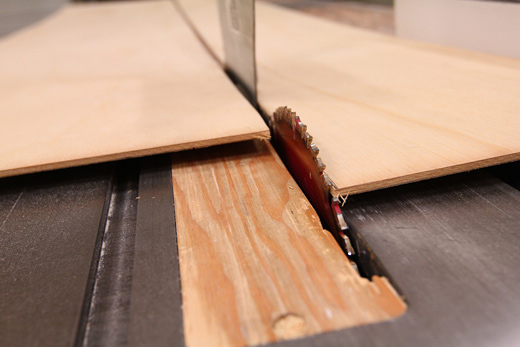
Down in the wood shop, Karlyn and Josh begin to cut some wood to make the edging for our test letter R.
Josh is our resident wood expert.
Highly skilled with rulers, pencils, and tools of all kind, after our adventure in Peterborough a couple years ago, I know Josh can make anything.
The table saw that was apparently acting up.
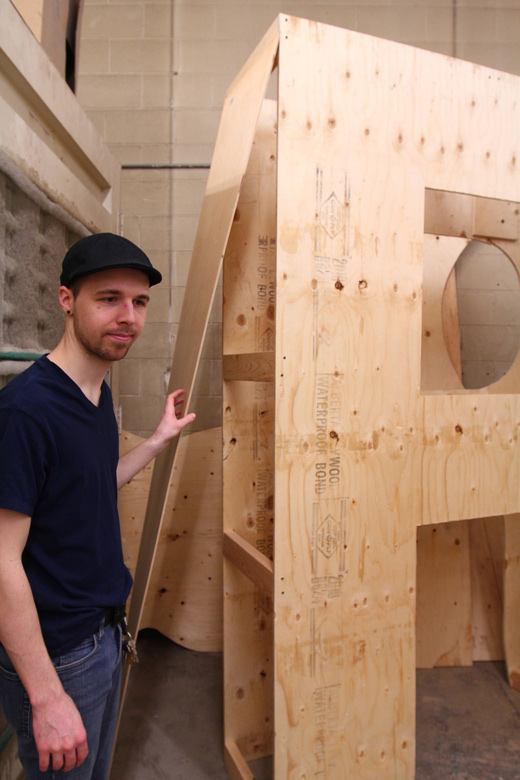
Josh holding the edging against the letter R. After some more conversation with Zeke and Mike, we’re again leaning towards a plywood construction for each letter. We have a deadline for ourselves of early May to get a letter completely finished in order to establish a process and timeline to complete the rest.
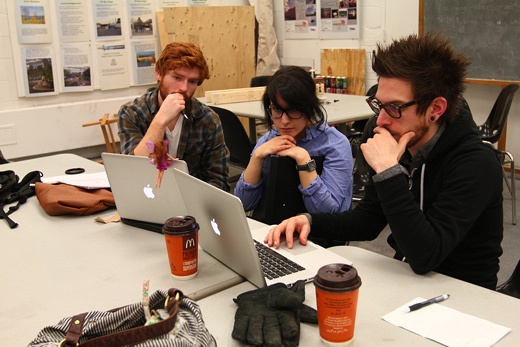
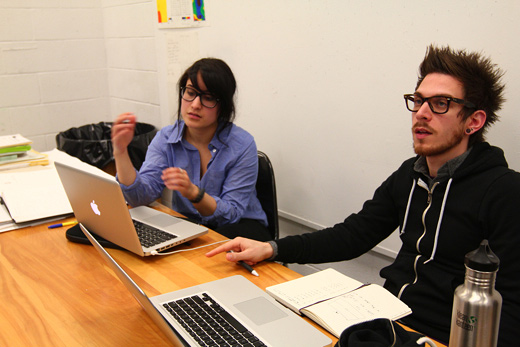
Back behind the computers, Hiba and I working away on more research and calculations.
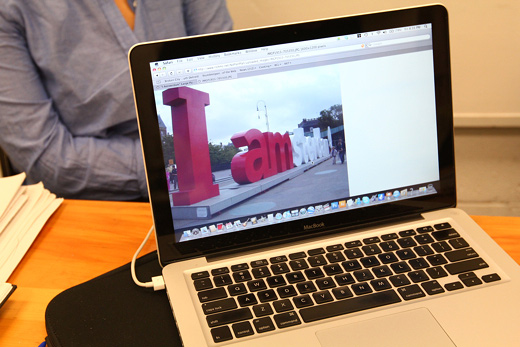
Hiba found the I amsterdam project that got us thinking about a simplified base for the letters, as we had been considering a triangular type of structure.
The area of each letter face…
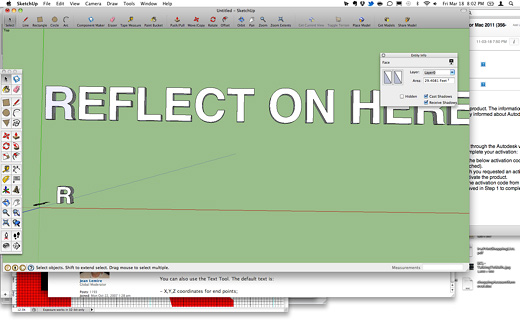
Thanks to SketchUp.
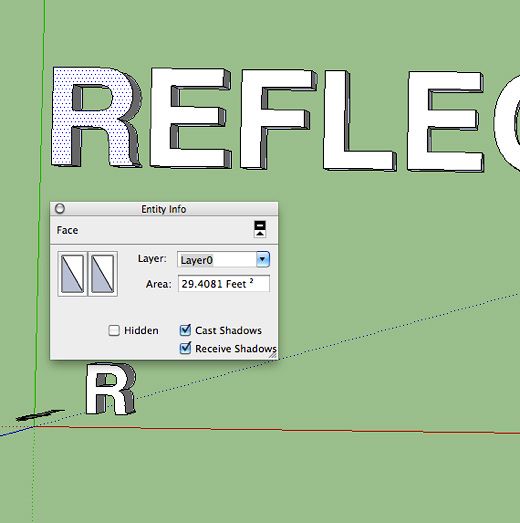
It was one of those times when we figured that someone, some where else in the world had needed to figure out the area of a surface of a strange shape. SketchUp doesn’t know it’s a letter R, it just knows it can calculate the area.
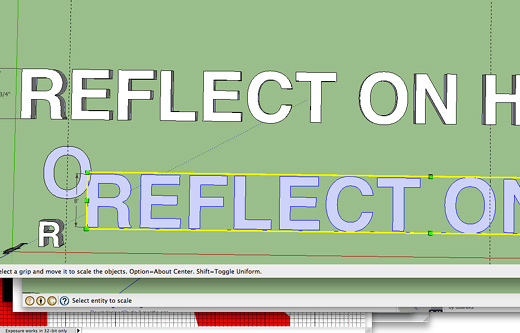
First though, I had to resize the letters. Despite asking SketchUp to make the letters 8′ high, it was making them around 7.5′ — any ideas why?
Once they were to 8′ tall, I was able to get the correct area of each letter face by using the Entity Info tool in SketchUp.
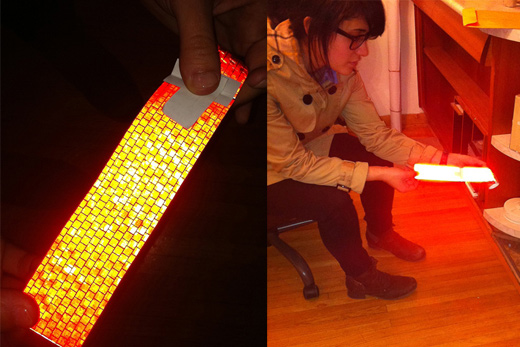
And, as an addendum to the evening, after stopping by the Ecohouse to drop off the Make This Better letters from their temporary home in SoVA Projects gallery, Hiba saw this small roll of retroreflective tape. It worked insanely well with a flash on my iPhone. We’ll plan to do some more research on these possibilities, but I’m thinking we need to get a roll to test this out more thoroughly.

I love that this is going to be 5 minutes down the street from me.
If you want any views from an angle you don’t have, or anything else, I can easily try and help you out. These posts make me excited for the nicer weather too – the pond is still in ice rink mode at the moment.
Yes, yes, and yes!
Who made the SketchUp file? Those letters are done so well. Was it a template?
That could be great to create short animations that you can use in Max/MSP/Jitter.
Lauren, it’d be great to get some photos of the site, if you’re in the area. Feel free to email them to Josh or to me. Thanks!
Stephen, I did the SketchUp file, but it’s super basic. SketchUp has a 3D text tool. I wish I knew how to use SketchUp better — animations of anything would be awesome!
3M makes retroreflective tape, or you could talk to the city to get scraps from their sign shop (street signs), and cover it in bits of scraps.
Steve, thanks, good call. We’re looking into this possibility up in Kitchener.
Ideally, we could order full sheets through them … but the scraps could be an interesting alternative.
Hiba you are pretty.
I bet 3M themselves would be happy to pitch in on this project…