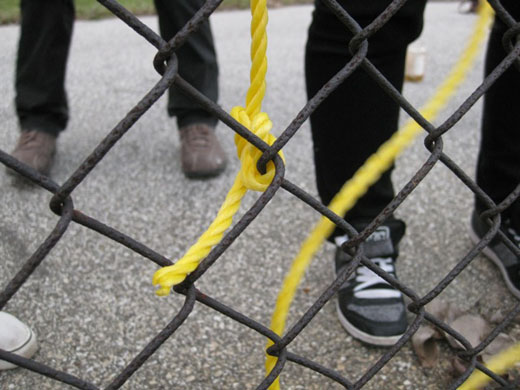
We spent the last couple of daylight hours on Friday working with rope and one of the fences at LeBel. We needed to test some techniques for communicating via rope (or ribbon, as we later decided) on a fence for another project. After moving inside to the warmth, we also settled on a preferred material, our message, and a potential location.
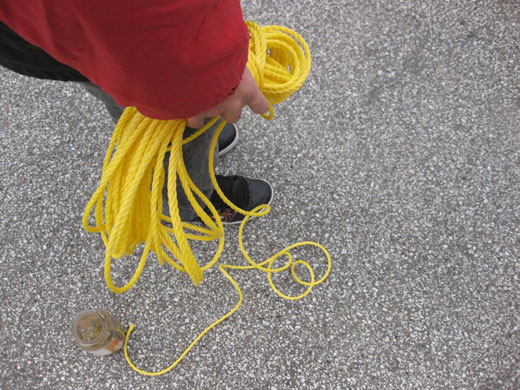
Immony kept our 100′ of rope contained while we tried to determine a fence on which to test.
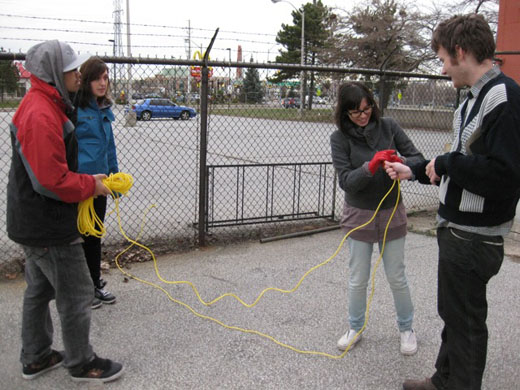
Immony, Michelle, Danielle, and Steven being to sort out the rope and work on some knot-techniques.
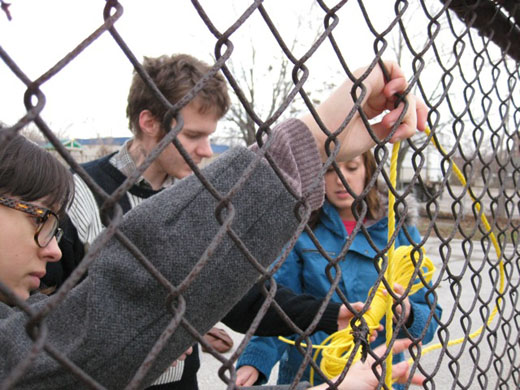
Danielle, Steven, and Michelle work on the first letter of our test—we decided to spell out “ROPE”…
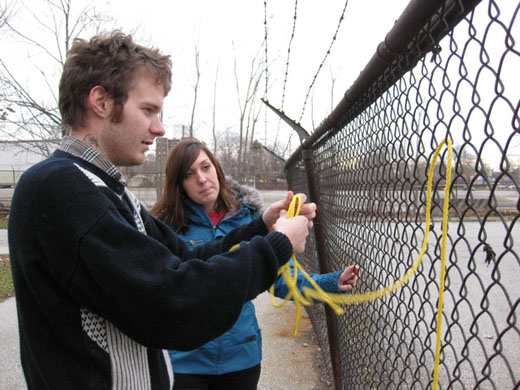
Steven and Michelle consult on the feed-through technique to get the rope on the fence.
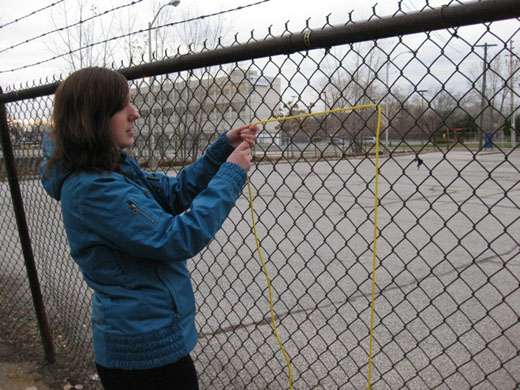
Michelle makes the top of the R; we were working backwards in preparation of our eventual installation location.
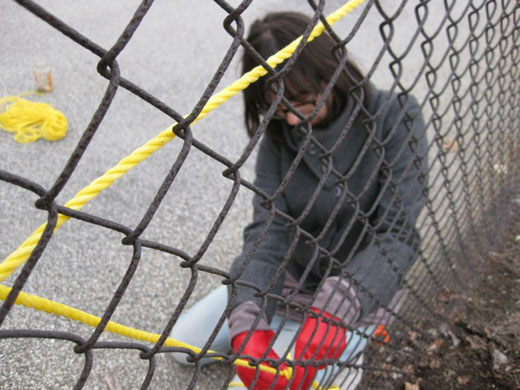
Danielle secures the bottom of the R.
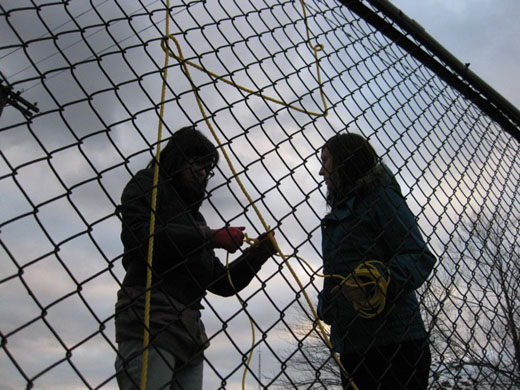
Danielle and Michelle knot the end of the R to the next length of rope.
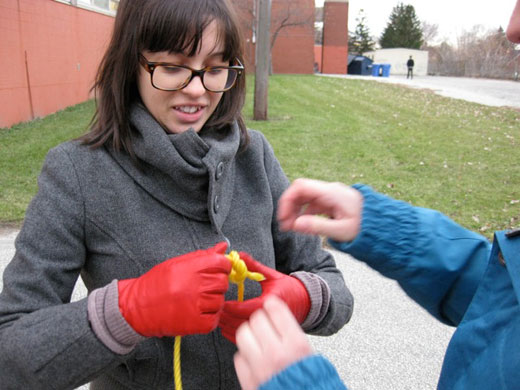
Knot technique.
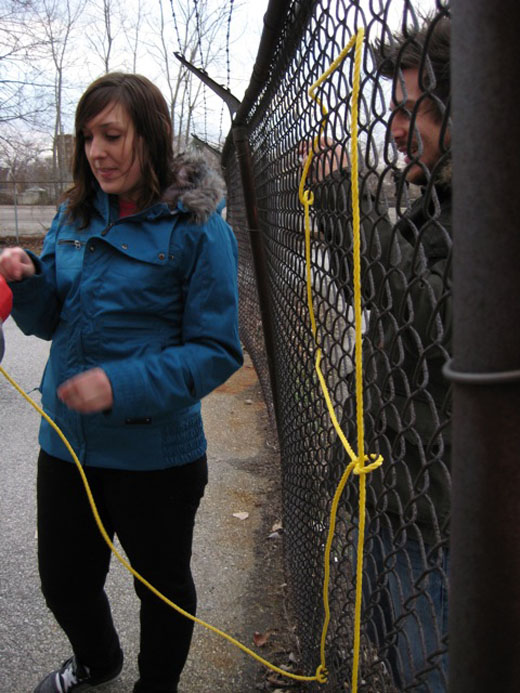
I stepped in to try to help feed the rope through the fence.
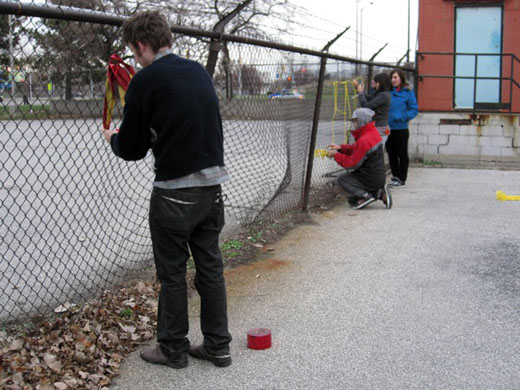
Steven came out with some mylar ribbon and began working on a second test site.
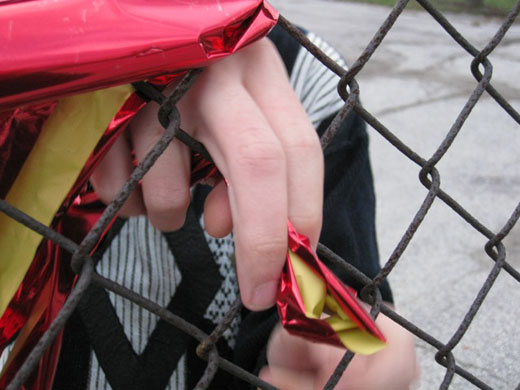
The ribbon was a bit more difficult to work with, in terms of feeding it through the fence, though Steven seemed confident he could fashion a needle with a coat hanger to help feed the ribbon.
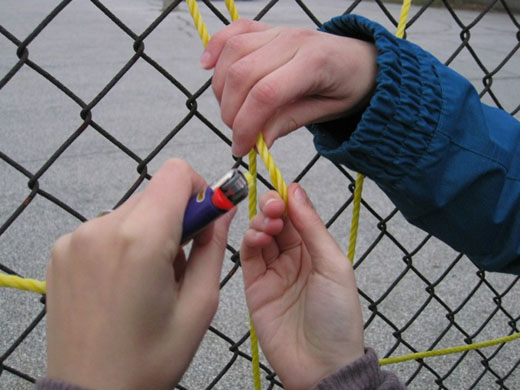
Danielle and Michelle attempted working with a lighter to avoid having to tie knots.
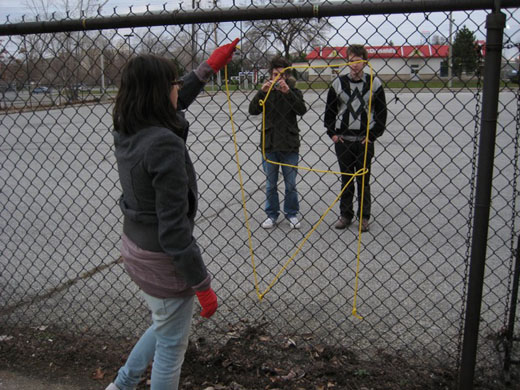
Danielle measures out the O.
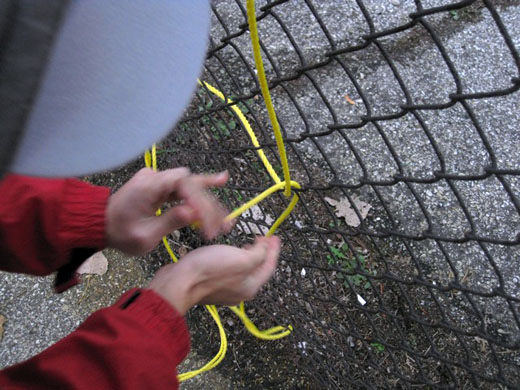
Immony begins to work on another iteration of rope-letter technique—the bubble letter.
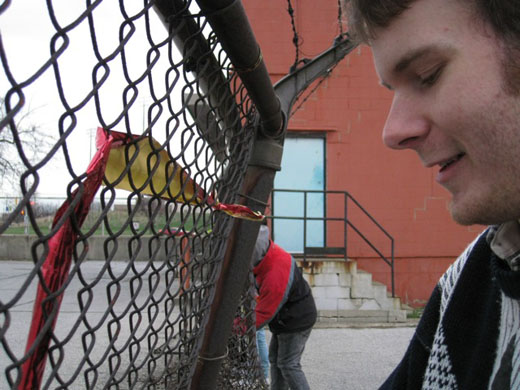
Steven tries to keep the ribbon folded in half to keep the shiny side out.
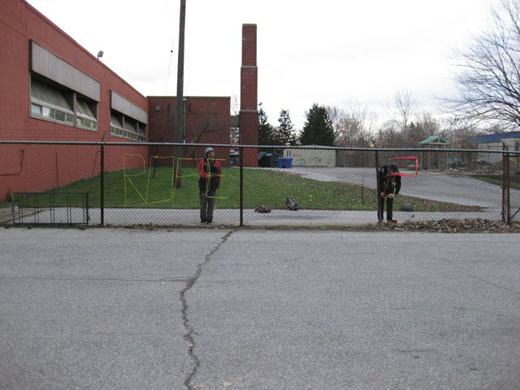
Halfway through the parking lot, the yellow rope definitely doesn’t stand out as much as the ribbon.
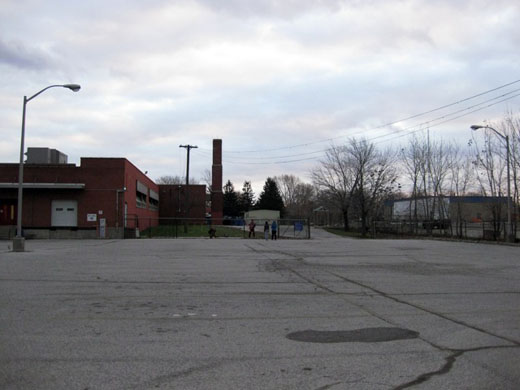
I don’t think the photo does either rope or ribbon justice, both stood out fairly well from the road.
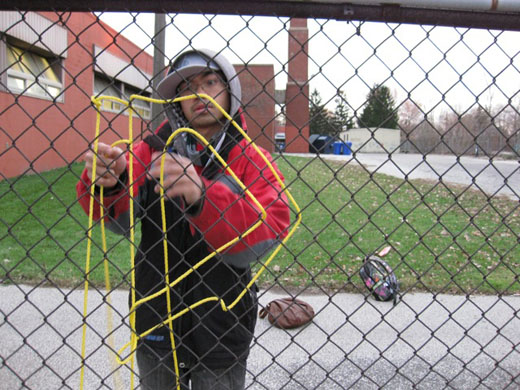
Immony moves forward with his bubble letter technique.
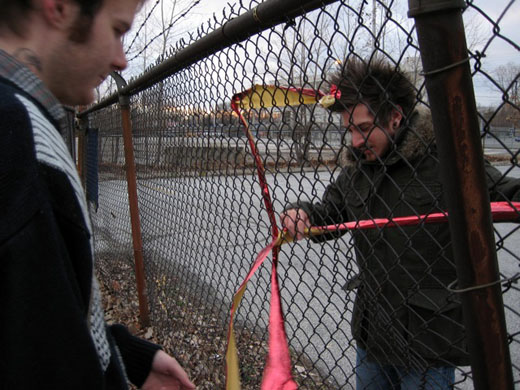
I try to assist Steven with keeping the ribbon straight.
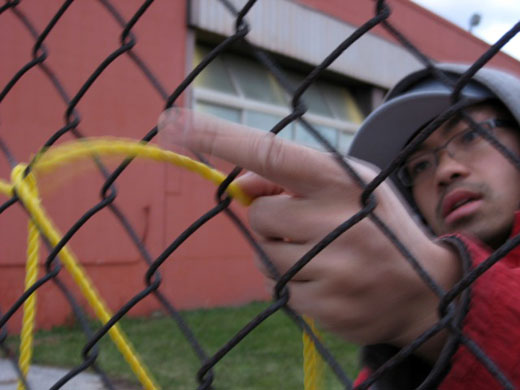
Immony moves fast.

There was something about the ribbon against the fence that had a better effect, on top of just being more visible. I liked that it looked almost as if it could have been blown up against the fence rather than just being tied to it.
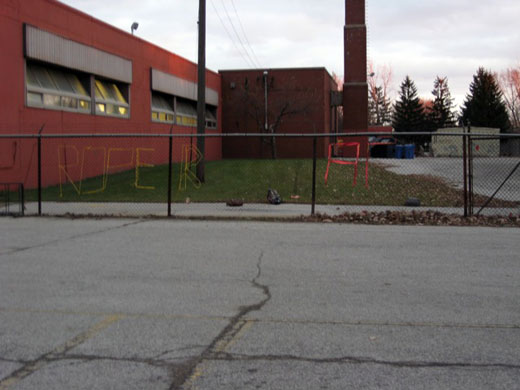
We were happier with the ribbon, though we’ll likely execute the final version of this with a neon (or at least a brighter colour) ribbon. The rope has potential, but it seemed that it was a bit more difficult to work with and the technique to make it be more visible from a distance would have to be further developed.

i kind of like the rope better actually. but the ribbon does stand out more like you said. would be interesting to do it with found garbage too, like coffee cups and just stick them in the fence. i don’t know… it’s late and i have too much energy. : )
i’m looking forward to meeting up and being more creative. since i have way too much energy lately
If you use nylon rope instead of the poly you could dye it any colour you choose or check out marine stores for coloured nylon dock or anchor lines. Nylon is also more flexible than poly. It will stretch, bend and form much better
The ribbon looks really vibrant. It’s like three times as eye-catching. BBS has some good tips though.
Hmmmm… interesting idea to dye the nylon rope… I think we were torn about the thickness of the rope vs its flexibility (less of a problem if we were to use nylon like you suggested, BBS), but to get the visibility we’re hoping for, we would have to double or triple the letters with rope (at 1/4″ anyways), where we might be able to do it in one pass with the ribbon.
I also think it would’ve made for a better comparison had we actually finished a word with the ribbon.
And actually, this Flagging Tape is probably closer to what we’d like to use than “ribbon.”
ooouu the flagging tape is only $5.97!
We should go to Canadian Tire and check out the nylon rope and/or buy flagging tape.
agreed… I think we could definitely stand to do one more (short) test with the flagging tape… I think the orange could actually work quite well, though I’ll certainly look for some neon…
You could always try Crime Scene tape!