I spent the better part of the day on Saturday doing some more basic research into connecting an Arduino and LCD for this ongoing project. For the most part, it’s pretty basic and following the wiring diagrams and tutorials online is fine.
I ran into a problem with getting text on two lines, which I’ll detail below. Next on the to do list is to order a different LCD, maybe a 4×20 display and maybe something even smaller and then do some work on the text processing part of this whole thing.
Overall, it was a good start and I’m anxious for later this week when I’ll have a block of time to continue with the next steps in this early research.
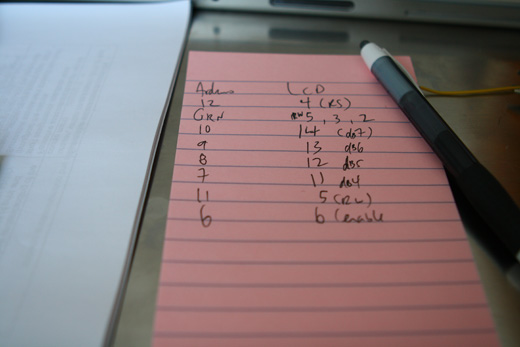
First thing after pulling this stuff out again, I followed the wiring diagrams and I connected the data wires, leaving the power and ground until the end.
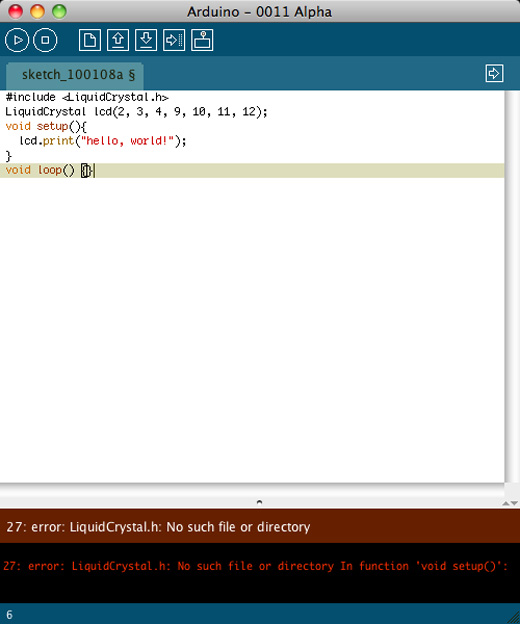
An initial sketch. Really, really basic “hello, world!” program. However, this was before I installed the newest version of Arduino, which is why that error came up.
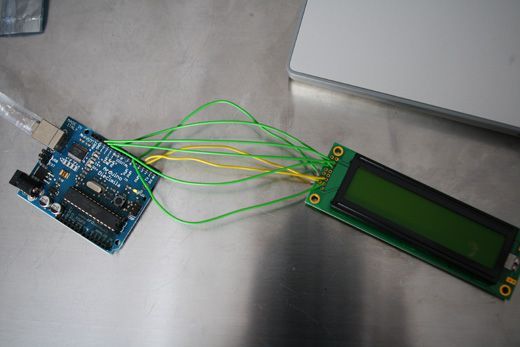
Installing version 0017 helped and I finished connecting the LCD.
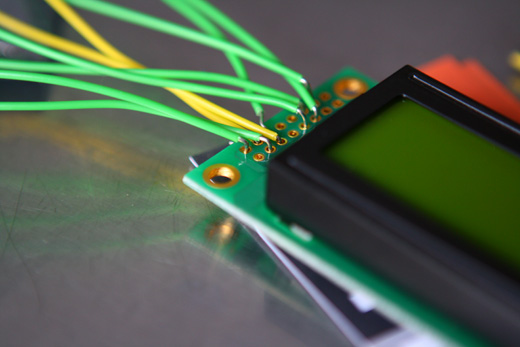
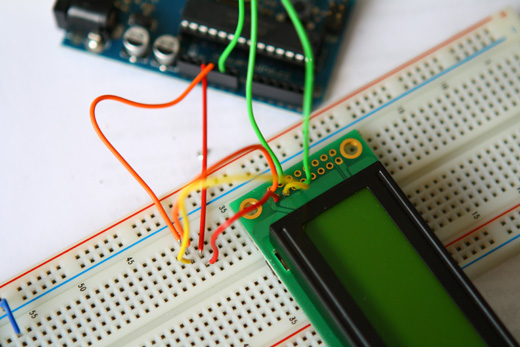
It’s not ideal, but quick and dirty. Also, it seems like there are better screens out there in terms of connections.
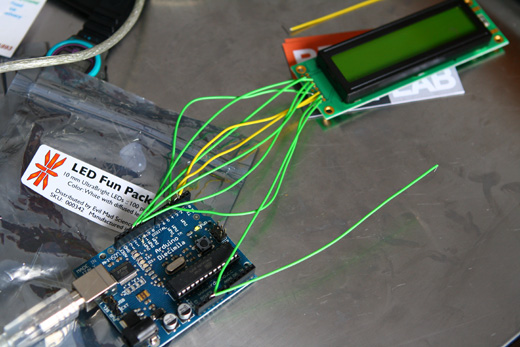
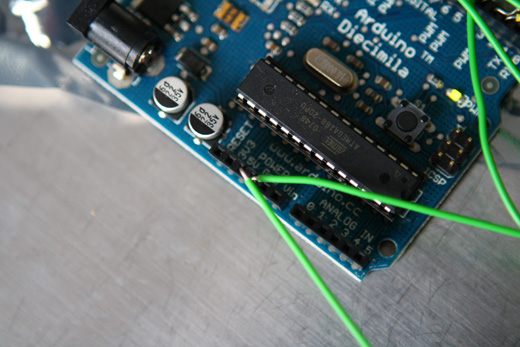
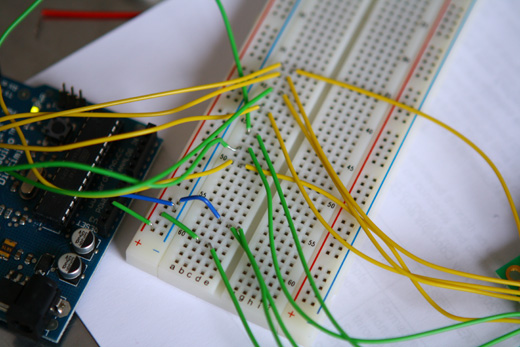
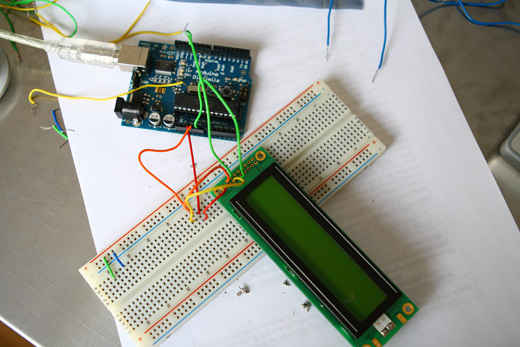
The arduino side of things.
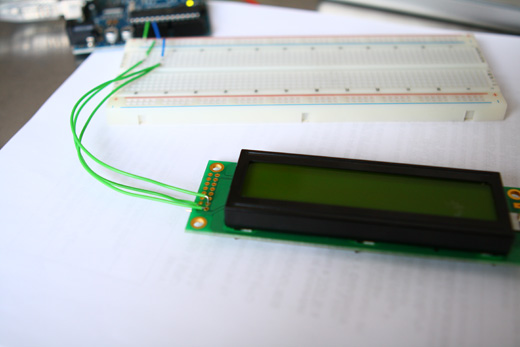
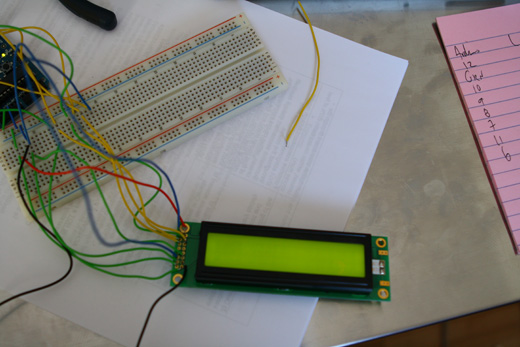
I figured that it would be better to not be so tightly tethered to the Arduino, so I used the breadboard.
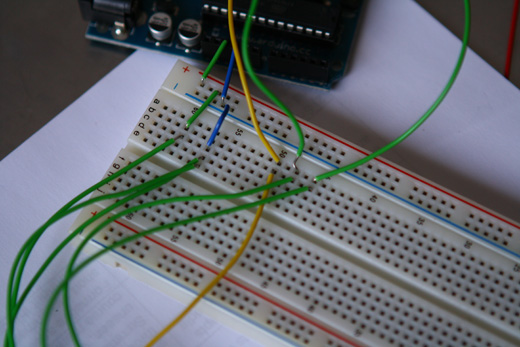
Trying to make connections a little cleaner.
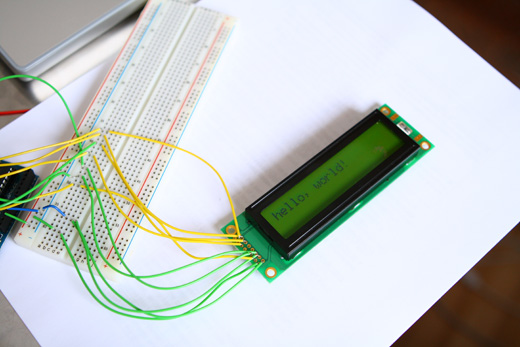
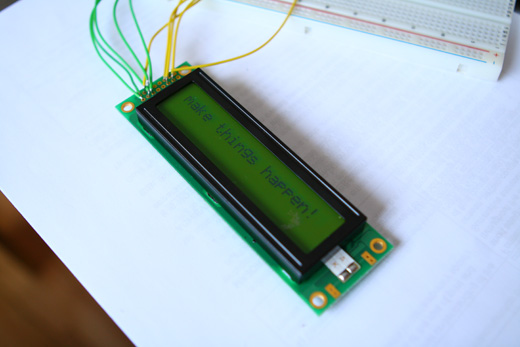
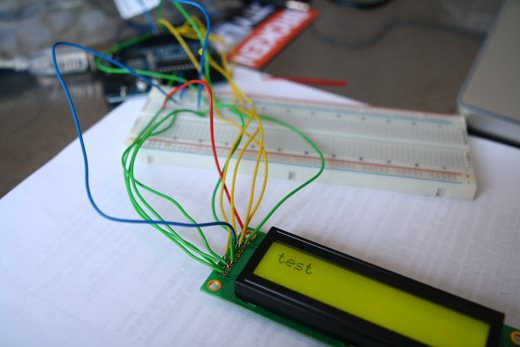
My first program, working!
All the wires, still a mess, but I was just too anxious to get something on the screen.
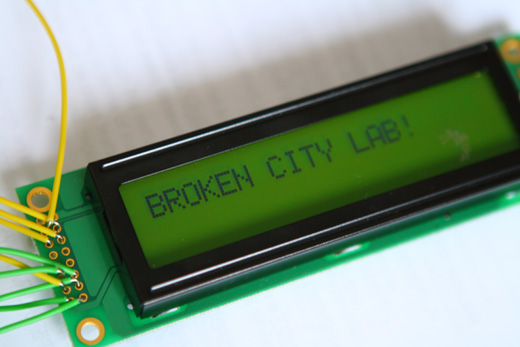
BROKEN CITY LAB!
Then I worked on another program that would flash different texts.
This one switched between BCL and make things happen!
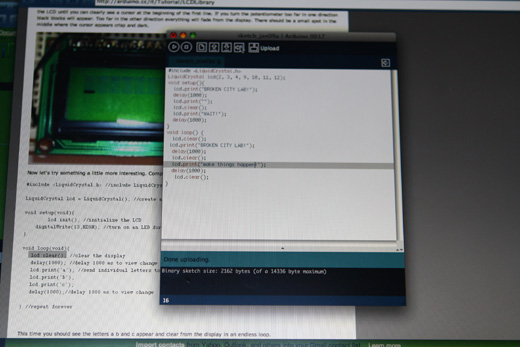
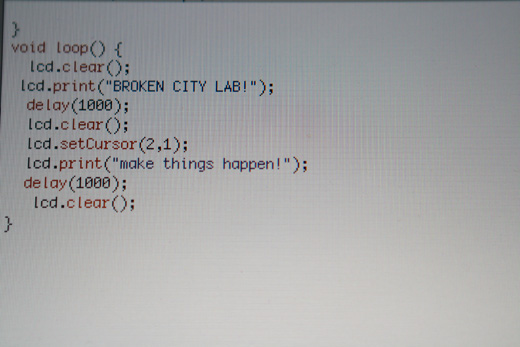
Here’s the code, trying also to change the position of the cursor, which didn’t work as anticipated because I didn’t initialize the screen with lcd.begin().
I switched the wiring around to try to figure out how to get text on two lines.
I also connected the backlighting.
Lots of confusion, I just couldn’t get two lines to work, so I went back to one line. I had momentarily wondered why I couldn’t get any decent contrast on the screen when trying to use two lines and the lcd.begin() line in my code.
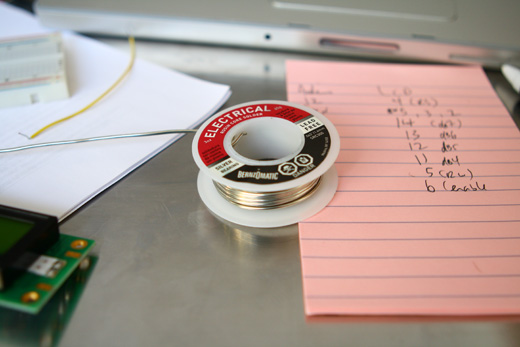
I wondered if it was just my poor connections, so I tried a bit of soldering, but it didn’t help.
I went back to the drawing board, trying different wiring set up again.
Still not the effect I wanted.
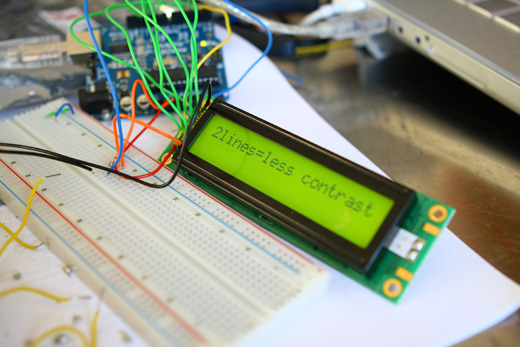
I can’t seem to get the correct contrast when using the lcd.begin() line, that is to say that at a very severe angle it’s possible to read the screen, but under normal viewing it’s no where near what it should be (as pictured above). I didn’t post a picture of that because it basically just looks like the backlight is on with nothing on the screen itself. I couldn’t find an answer online, so I’m going to try this again with a different LCD. Although it could be a number of other things, this seems to be the simplest way to move forward. All these screens are based on the Hitachi HD44780 LCD, so it shouldn’t be an issue, but I’m not sue what else could be causing the problem at the moment… As frustrating as it can be sometimes, I think troubleshooting is where I learn the most.
Here’s a bit of an annotated bibliography :
http://www.arduinoprojects.com/node/13 (for whatever reason, this was the most successful wiring setup, though I have my suspicions that I messed up the contrast at some point due to my shoddy and impermanent wiring)
http://arduino.cc/en/uploads/Tutorial/lcd_schem.png (a diagram for the wiring setup recommended on the Arduino site)
http://www.jamie.net/tag/arduino/ (a quick example of using the 4-bit LCD library, I haven’t tried it)
http://dawes.wordpress.com/2009/12/23/twitter-to-lcd/ (interesting project connecting twitter and Arduino)
http://blog.tinyenormous.com/2008/12/02/arduino-based-rss-reader-with-lcd/ (lots of interesting projects, hooking up Arduino + Twitter and Gmail + Arduino using Python)
http://www.alfonsomartone.itb.it/kwztcq.html (some helpful troubleshooting stuff)
http://www.arduino.cc/en/Reference/AnalogWrite (analog write, I used this to correct the contrast problem I had)
http://arduino.cc/en/Reference/LiquidCrystal (LCD library for Arduino)



Sweet writeup, I’ve been looking for a good intro to working with LCDs and my Arduino, because I’ve been having the same issues. I’ll be watching to see if you figure it out, yeah? And thanks for the links!
Jeff, glad the post was helpful … I’ll definitely be keeping an ongoing list of links in this series of posts as I figure things out. Goodness knows the Internet has already helped me out huge with this, so hopefully I can contribute back with some knowledge too.
You mentioned that you had a problem with the contrast. How are you controlling the contrast pin?
On my boards I use a pot and the contrast is quite good. Your LCD looks very similar to the Optrex 51505 that I use. The schematic of my board is in the datasheet at http://tinyurl.com/9mv2cs
I tried it two ways — I grounded the contrast pin and I also used analogwrite from pin 5 (if I remember correctly) to do a variety of tests (I figured this was more accurate than using a pot for troubleshooting).
The problem only appears when using lcd.begin(), regardless of trying to put text on two lines … so, I’m not sure what the problem is with that command (or with how I’ve tried to set things up).
The analog write is a digitally generated voltage. You need a filter cap to generate a stable DC value. As you draw current from the pin the voltage will drop. With a decent size cap the voltage drop probably would not be much in an LCD application.
Not sure how lcd.begin() could cause a constrast problem.
Thanks for the help with this … I’ll try the contrast pin with a pot.
I’m sure it’s a silly mistake on my part somewhere, but it’s really strange, because I can set up an Arduino sketch that simply says write “test”, and it works perfectly fine, good contraste totally legible. Then I’ll add the line lcd.begin(16,2) in the setup and the contrast will be so weak that it’s illegible.
That line is the only change I make, and whether I ground the contrast pin or try the analog write, it’s results in the same problem.
you own
I have the same problem…
One line – working perfect
Two lines – bad contrast…
The next try will be to use a negative contrast voltage, hope this will solve the problem…
Hi justin!
For the 2 line contrast thing I have run into similar issues before. I recommend using a pot to control the contrast line. Also, depending on how your script is written if you don’t have enough delay() then it will be constantly flickering on and off as it rewrites itself.
Lastly, as toaster mentioned, some lcds want to have a neg voltage for contrast. That’s never fun to work out. Check the data sheet, and if it does want that I’d just buy a different lcd!
Hey,
Nice post and was really helpful.
But I am having a very serious problem:
I tried a couple of example codes, with the respective schematics, and the LCD just doesnt work. NOTHING comes on, absolutely no dark spots!
I tried out with 2 LCDs.
Can u think of any reason?
I did try Grounding the contrast pin throught a pot. It also didnt work.
Bob
Is your LCD backlit? Maybe the first thing to try would be just connecting the power and ground for the LCD, then the same for the backlight, without having the Arduino programmed. Grounding the contrast pin, and avoiding the pot might also be a good place to back up, simplifying things is probably the best way to problem solve with this.
Sorry I couldn’t be of more help.