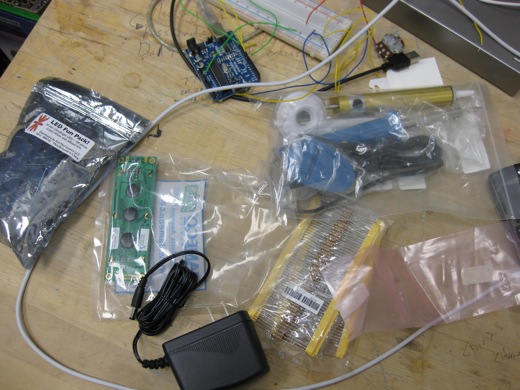
On Monday morning we set out all of the stuff that we figured we would need to start figuring out how to make an LED sign (+ some other things that aren’t really necessary for this project). We cut wires, soldered, used resistors, and mocked up a circuit on a breadboard and it was really, really fun. Lots of photos after the jump.
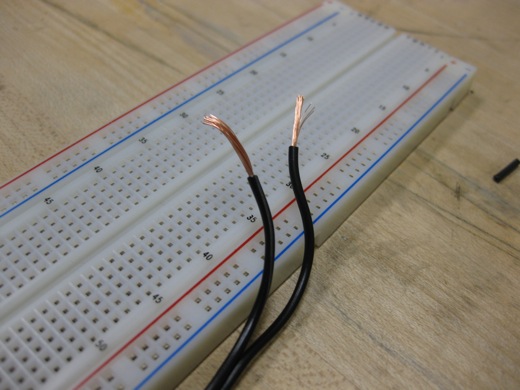
First thing we had to do was secure our power source. I had ordered a 9v power adapter from Jameco, figuring we wouldn’t want to try to run this sign on a bunch of batteries, so we had to cut off the male end, leaving these two wires.
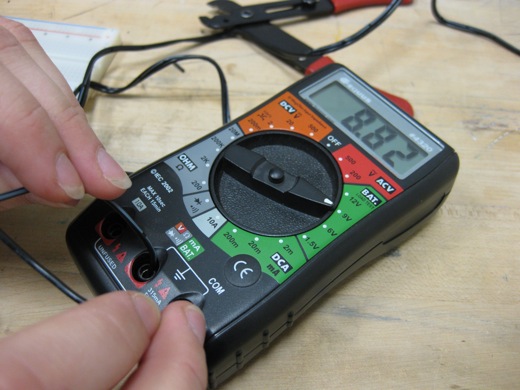
We were a little nervous, but we put the two exposed wires into the multimeter and found we were getting pretty darn close to 9v.
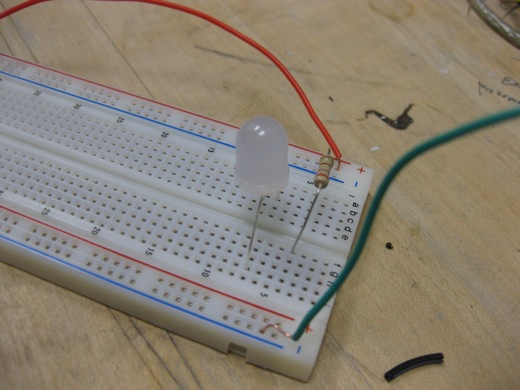
Next, we tried to figure out how to use the breadboard. I had previously figured this out, but that was back in the summer, and I had forgotten which way things needed to be plugged in. You can see we have the 10mm LED, the 270ohm resistor and the leads from the power supply. The wiring in the above photo is incorrect though.
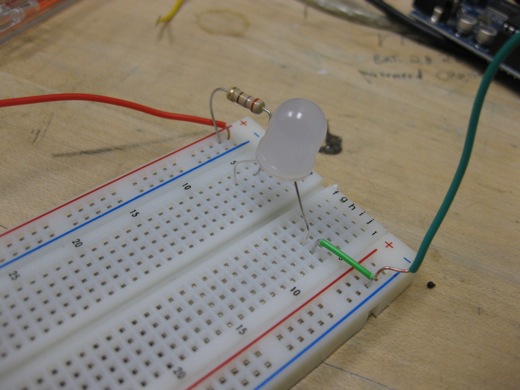
We looked up some instructions, but something about them wasn’t registering with us, so we opted to just start experimenting some more. The wiring above was pretty close.
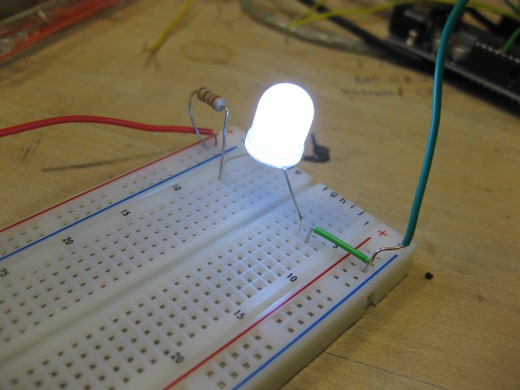
We realized that the LED was in the wrong way and that the resistor needed to be moved, then it worked!
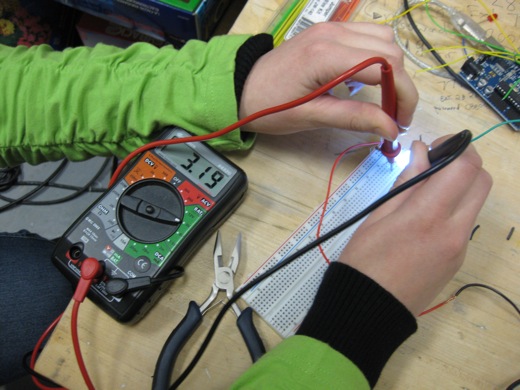
We used the multimeter again and found we were getting 3.19v, which is pretty close to the rated forward voltage of 3.6v.
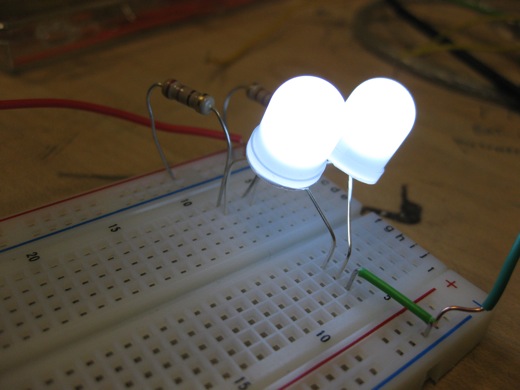
Then we had to try 2 LEDs.
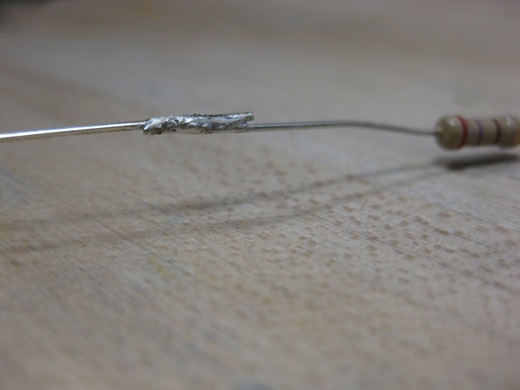
Then we decided to solder… soldering is really, really, really fun!
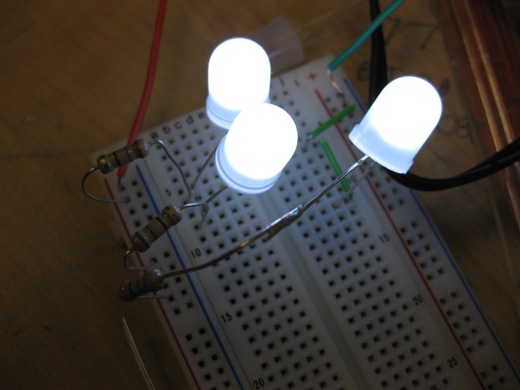
Then we had to try 3 LEDs, it was pretty awesome.
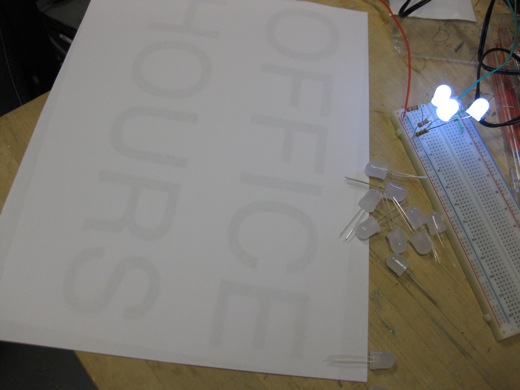
We also wanted to start doing some research about making an LED sign, so we printed some test text on 8.5 x 11 paper, layered a blank sheet on top and taped them together.
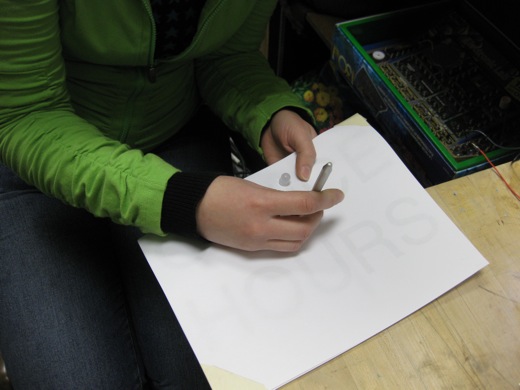
Using an xacto knife with what was essentially a nail on the end of it, we started making holes for the LEDs. We wanted to see how legible the letters would be, depending on the number of LEDs we used and the spacing between them.
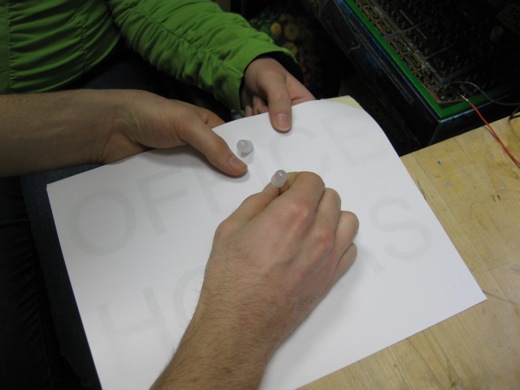
Josh reasoned it would be best to work from the extreme points of each letter to get the spacing right.
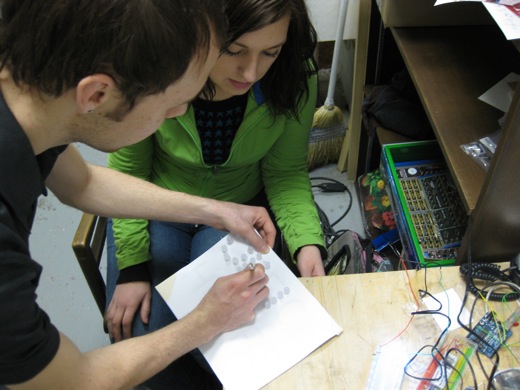
We tested a few of the letters, not the entire sign, as we would just have to take all the letters out eventually anyways.
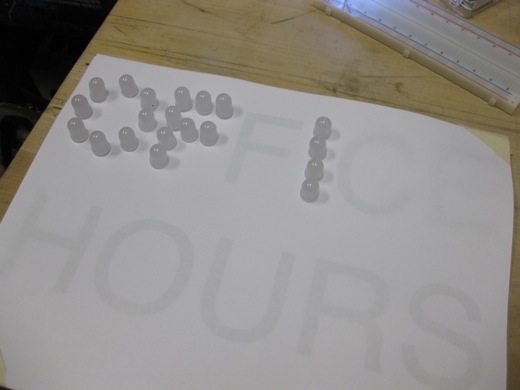
We were pretty happy with how these turned out, and these letters used about what we were expecting—on average between 4 and 8 LEDs per letter.
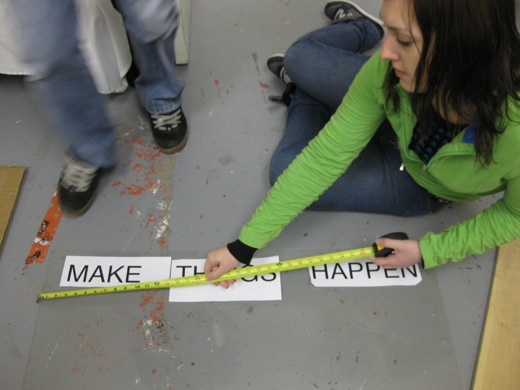
Then we started thinking about making a real sign, settling on “Make Things Happen,” which would be mounted above my studio door. Though we meet in room 125, we weren’t sure about trying to mount a sign semi-permanently on cinder block. The width of the sign will fit perfectly above my door frame.
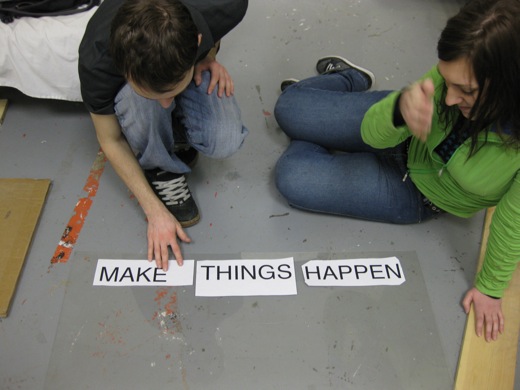
We’ll be continuing work on this at the next Office Hours, or next Monday, or both.

i’m glad that we got a lot done tonight. sorry if i was getting tired near the end. i don’t feel like i helped out much today. i’ll have the photos and video ready for you on thursday.
hey Darren, no need for apologies, it’s tough to get everyone’s hands on everything… especially since we were just really figuring out what we need to do. I think that next time, we can probably do more soldering. But again, thanks for coming, can’t wait to see the rest of the shots!
i’d love to help solder next time too. i just wasn’t sure what order to solder so didn’t want to mess it up. i think the photos are ok. i just need to remember to not get you in the shots with your camera. : )