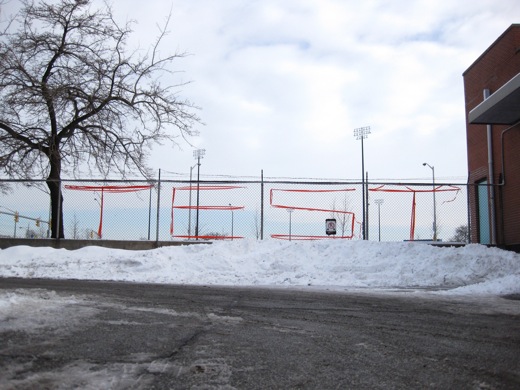
Broken City Lab Office Hours last night were hugely productive due, in no small part, to the many amazing people around the table last night. We completed a test with the flagging tape at Lebel (as you can see above) for the EC Row project and continued working on the LED sign. There’s lots of pictures of all the action after the jump.
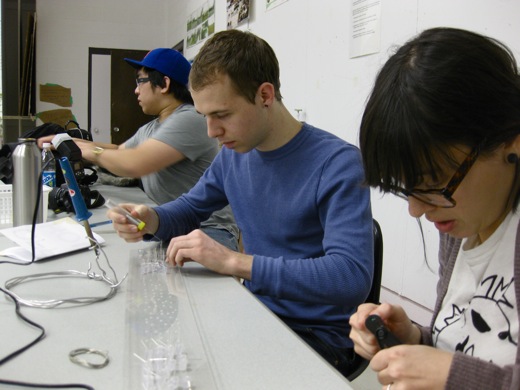
We had a great turnout with lots of hands to get a lot accomplished. Mike showed up to document, Josh, Danielle, and Michelle kept working on the LED sign, soldering the LEDs.
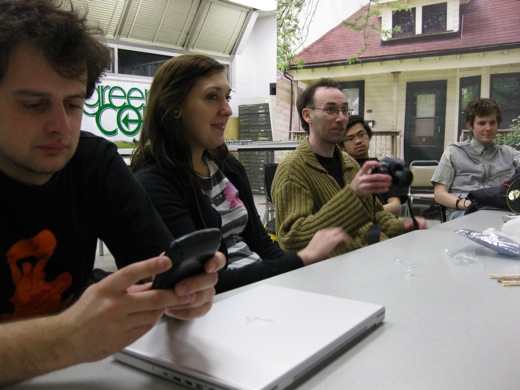
The other Mike came to offer the potential to work with thousands of leftover copies of The Lance (how could we turn down the offer?) Immony, Steven, and I took on the task of testing the flagging tape on the fence outside of Lebel, while Mike and Darren braved the cold to document.
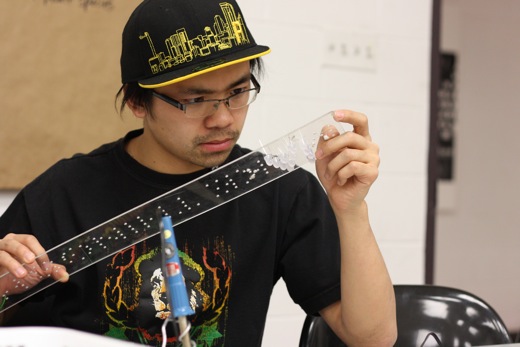
Immony looked over the progress of soldering from the last meeting before heading outside.
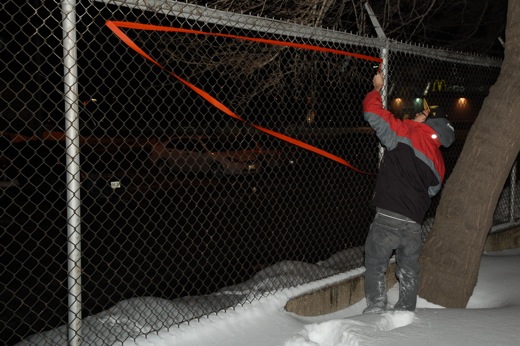
For this flagging tape test, we settled on spelling out TEST. Immony perfected the technique, using the intersections of the chain link to wrap the flagging tape around, then pulling it in the other direction.
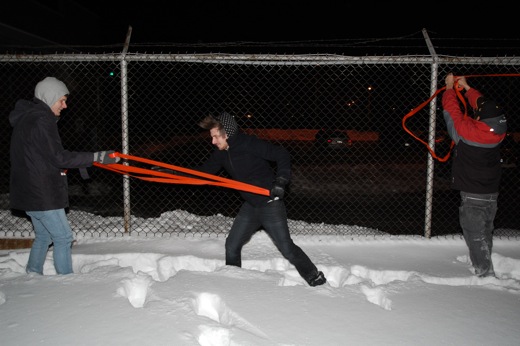
Steven and I worked out splitting up the flagging tape (we only had two rolls).
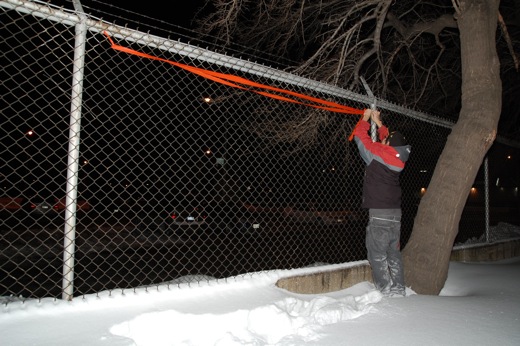
Immony went the fastest.
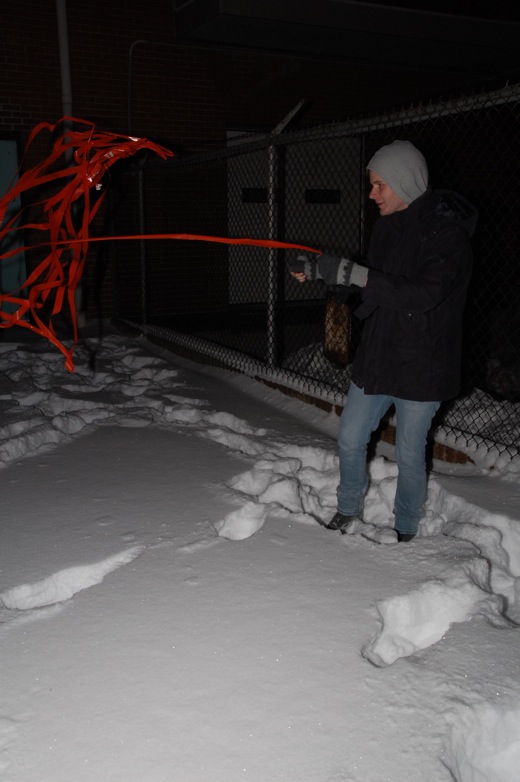
Steven battled the wind.
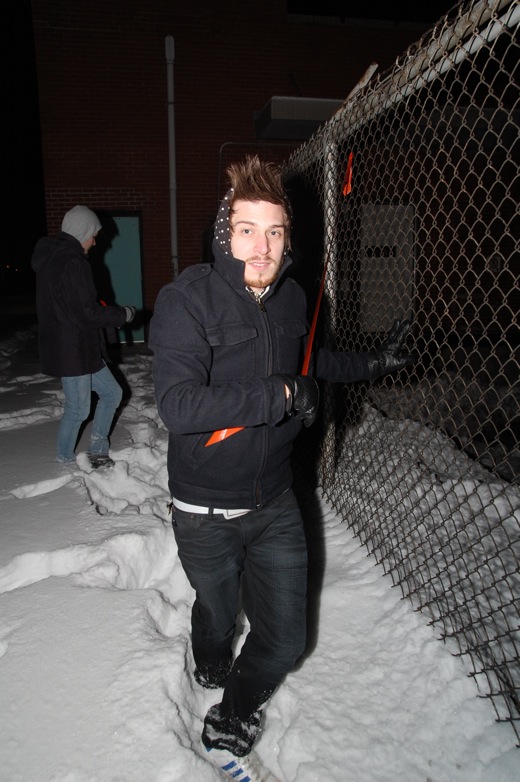
I was trying to make a path to move around, the snow was almost up to our knees in some places.
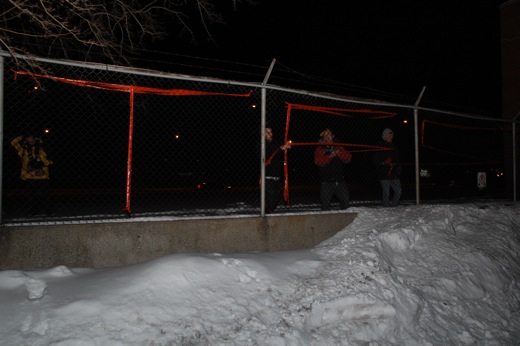
The letters were showing up pretty well, considering it was so dark, but we decided they needed to be doubled or tripled up.
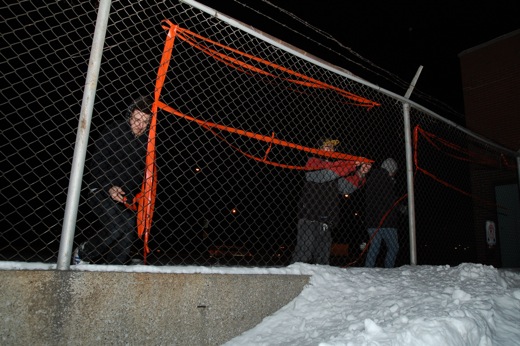
Immony finished both letter Ts and then started helping Steven and I with our letters.
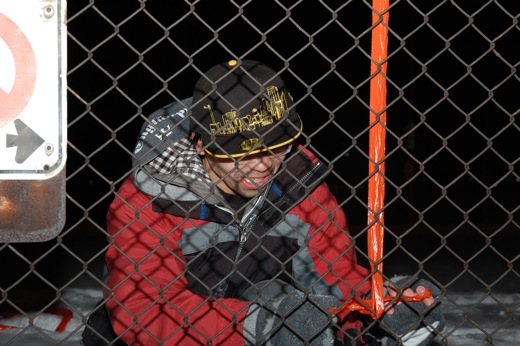
Steven generously handed his gloves off to Immony after he finished the letter S.
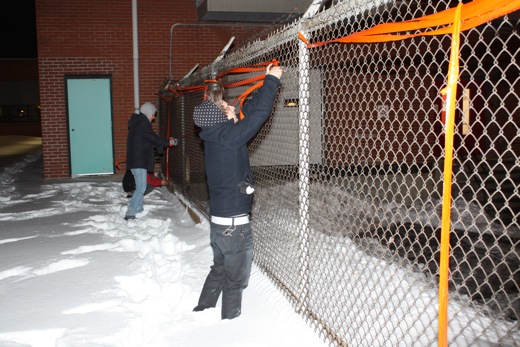
It was at this point that we definitively decided that we would not install the actual work on EC Row at night, it’s just way too cold to work.
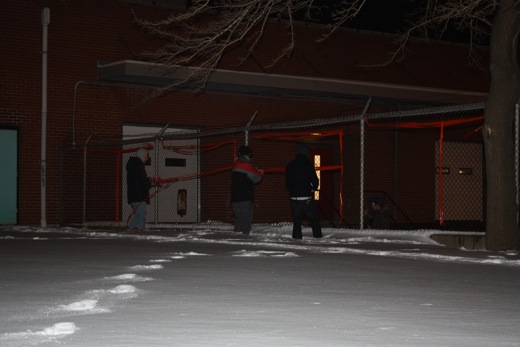
Immony stepped in to help me finish up the letter E.
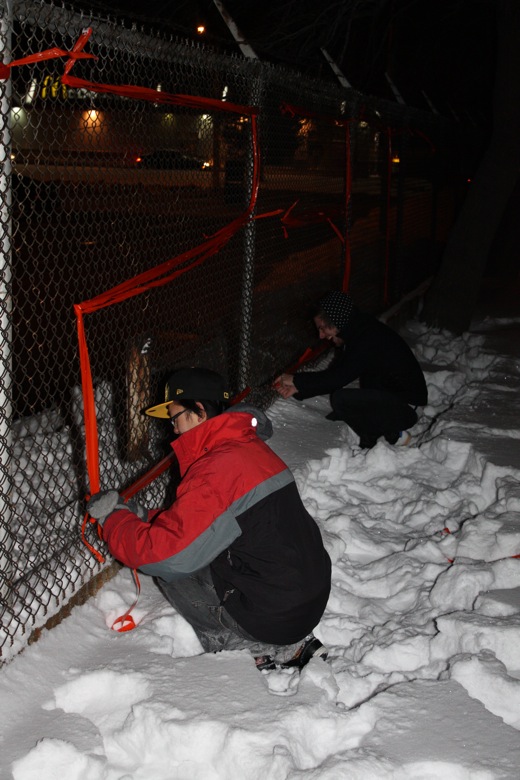
Our fingers were so numb. It was to the point where my fingers felt like they were just little cylinders of ice, it was really difficult to tie knots.
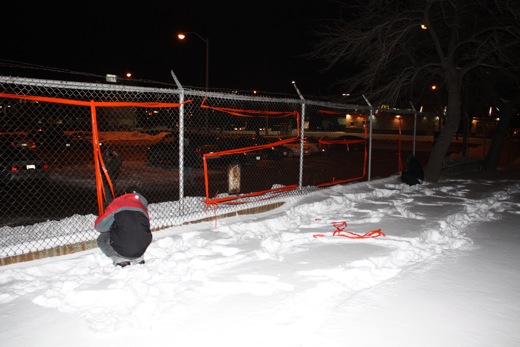
Immony and I were trying to add to the letter Ts, which weren’t showing up as well.
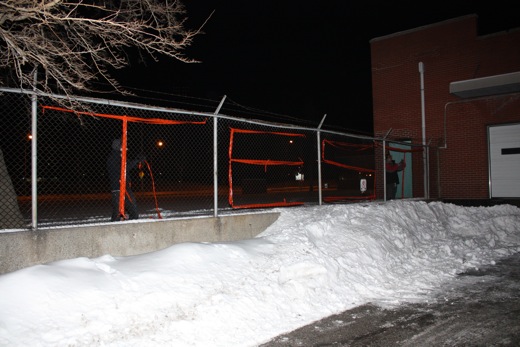
TEST – from the parking lot, finishing up.
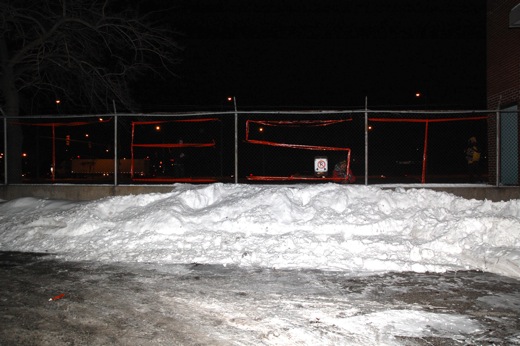
TEST in the dark.
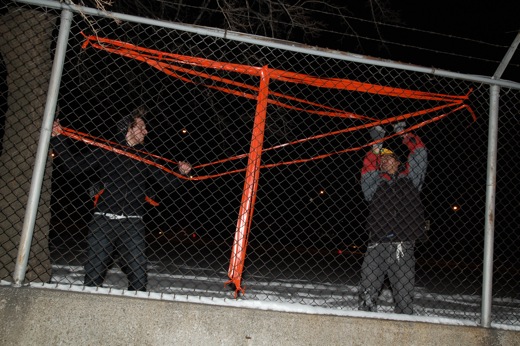
Immony and I went about adding some final touches to the letters to make them more visible.
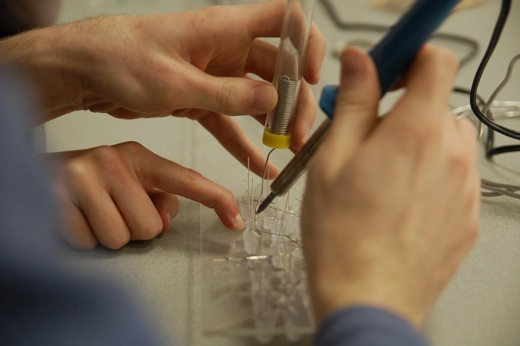
Inside, in the warmth, Danielle and Josh get a system for soldering.
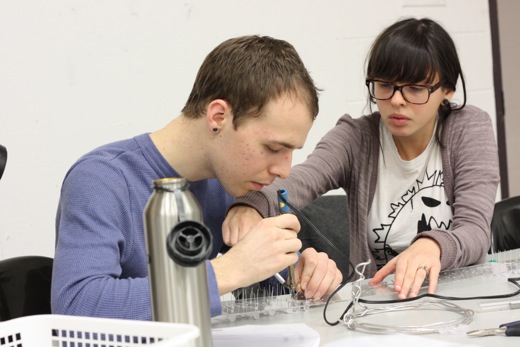
Danielle switched over to using an xacto knife to spare her fingers from being burned.
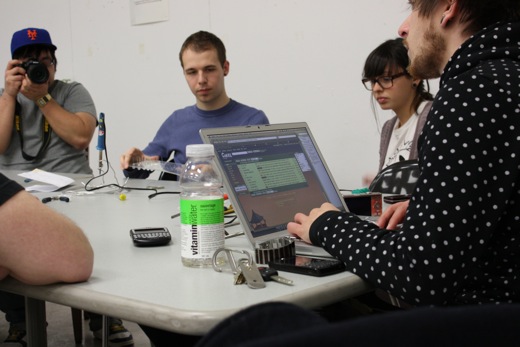
Mike gets a shot of the soldering action, while the rest of us brainstorm potential words for the text on ice project (for future iterations of this project, we’re going to use one letter per block to make it a lot larger.
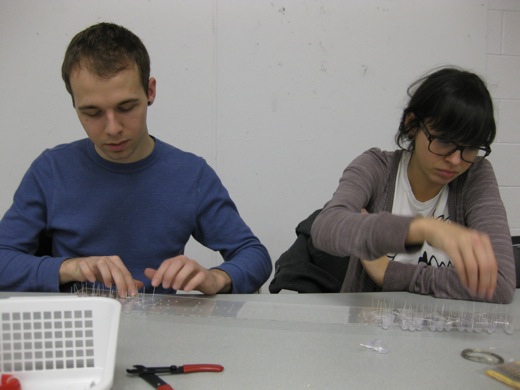
Josh and Danielle work from opposite ends bending down the anodes on the LEDs.
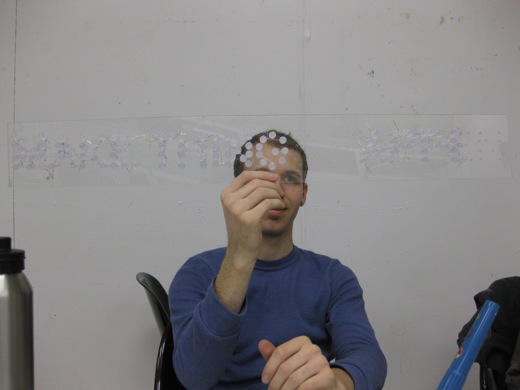
Progress on the LED sign… we’re going to end up with the word “happen” being a different colour, if I remember correctly, Make Things is going to be blue, Happen will be white. It was awesome to get so much done tonight, can’t wait for next week!!!

lots of fun… :)
awesome that you could come and thanks for all the great photos! see you next week!
That looks pretty great. Im wondering if maybe you made the letters in outlines (like bubble letters) it might be easier to read from far? maybe not
Hi Danielle, we considered bubble letters (though at the moment, I can’t remember why we didn’t try them last night). I’m not sure how much more legible they would be, in part because the outlines are really what would be visible, and I think that could be improved just by adding to the thickness of the letters.
Also, it took longer than I expected to do these test letters, even taking into account the cold, I’d still be a bit nervous about adding drastically to the time it would take to complete the install if we were to do bubble letters. It’s not that we plan to put it up and run away, but I’m also hoping we can get the entire text up in 45 minutes tops (I think we figured on 15 letters)… assuming we can get enough people to help out on the day of the install.
Is there any kind of thicker material you could salavage somewhere to make more visibile letters that can be installed faster? Like strips of siding, or long lengths cut from orange snow fencing? That would mean more prep work, as it would all have to be cut in advance (and siding drilled with holes). Snow fence strips could be tied on with your strips of tape so that it’s still got that heavy solid outline; it would be like Danielle suggested but more legible. And it would use up less tape.
Jodi, yes, good call, thicker would be better. I’m still trying to think how best to balance making this visible, easy to install, and accessible if anyone else wants to do it.
I wonder if we were just better with getting the flagging tape tighter and spacing it out more, like I tried to photoshop above, don’t mind the mess. It seemed like we didn’t do a great job at spacing out the tape vertically or horizontally, but trying to visibly thicken it by continuing to add to the same parts.
Anyways, if we had the time and resources, using snow fencing could be pretty awesome. Oh, and Talk20 was a great excited discussion tonight at a BT meeting, looking forward to it Jodi!
Hey I like the idea of the tape but I think you are going to have to weave the tape through the fence and make it more visible. Here is a link to a picture that I made on paint.
http://i677.photobucket.com/albums/vv135/Filbert1988/fence.jpg
Just so it’s easier to see, here’s what Issac suggested…
It looks like this could work, in terms of getting it more visible, but to do this at the scale that we’re thinking might be kind of tough (though certainly not impossible). We figured each letter would be the size of one section of the fence, which measures 92″ x 66″… which I think might be close to the size in the photos above. Any other ideas, would Issac’s method work better? Certainly it would be more visible, but I’m still a bit worried about the time it would take to do it this way.