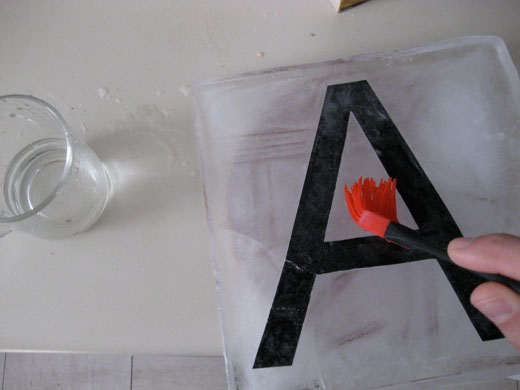
Over the past couple of months, we’ve been working on making blocks of ice with letters and text embedded in them to create temporary street art. I think this idea came out of working with wheat paste, realizing the enjoyment of working in public spaces, and wanting to continue to work throughout the winter.
I liked developing and working on this project for a number of reasons—especially the durational experience of freezing a number of blocks of ice, cutting out the paper letters, then slowly covering those letters with thin layers of ice, eventually securely embedding them into the blocks.
After the jump, there are some step-by-step photos and documentation of our learning process.
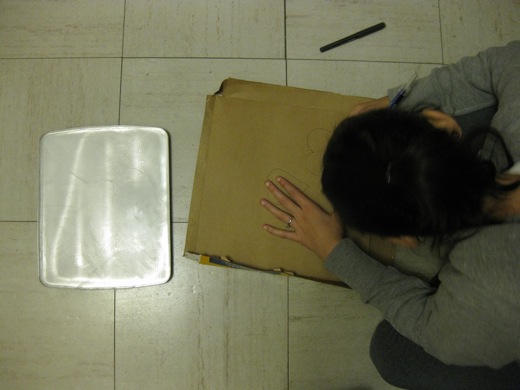
Back in December, after some discussions at Office Hours, we decided to start on the ice project. Our first thoughts were to try to freeze the ice in the lid of a metal container. It wasn’t very deep and was a good size, so we thought it would be a good place to start. I should also note that at some point, Steven tried some other iterations of this, with varying degrees of success. Above you can see the first block of ice we tried to freeze and Danielle cutting out a heart to stencil onto the ice.
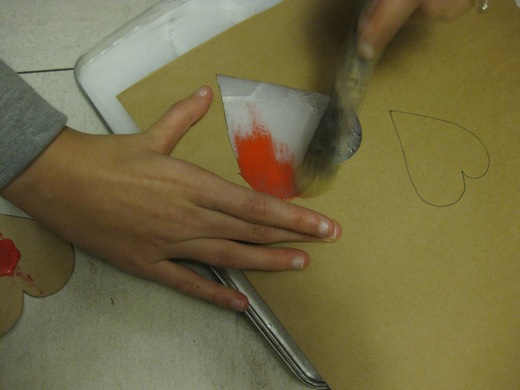
Danielle painted the ice with some acrylic paint (I think). It seemed to work pretty well, but I had hoped to use spray paint, thinking it would be a thinner layer of paint and less harmful as the ice eventually melted.
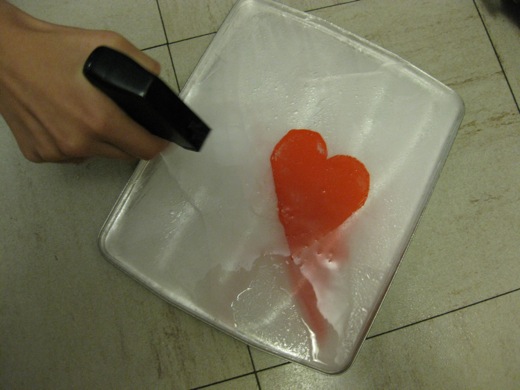
We quickly realized the difficulty in working with water-based paint and ice. When spraying the layer of water onto the paint and block of ice to slowly embed the paint into the ice, the paint inevitably began to run. We wanted to embed the heart in the ice to make it something like centre-ice at a hockey rink. I thought it would give it a bit of a different aesthetic (there’s always something interesting about seeing things frozen in puddles or just below the surface of a pond, etc), as well as protecting the design a bit if it warmed up enough to start melting the block of ice.
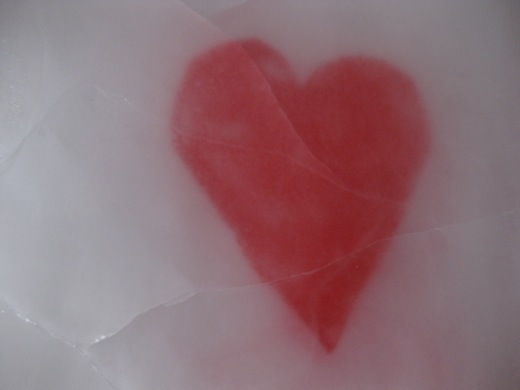
This is how the heart turned out after a good number of layers of water / ice on top of the paint. As you can see, the ice start to crack when the water was being sprayed on and the paint lost its fine edge.
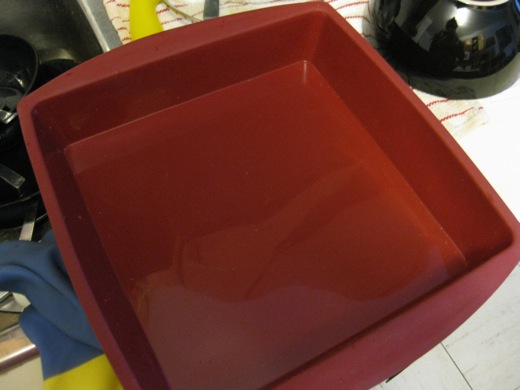
After another week of office hours and some more brainstorming, this silicon baking pan was suggested as being a good candidate for making the blocks of ice. This is really similar to those multi-shaped ice cube trays from Ikea—flexible and freezable. You can pick these up at Canadian Tire for $10.
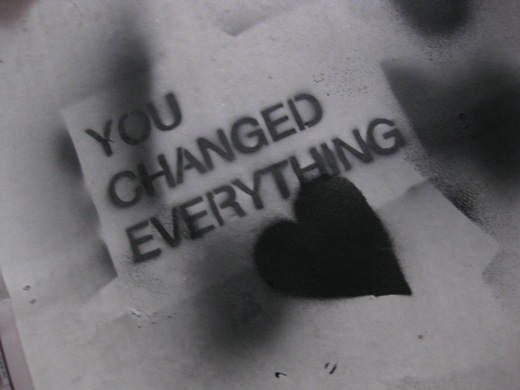
This was the first stencil we tried to make for the ice block that we made in the silicon baking pan.
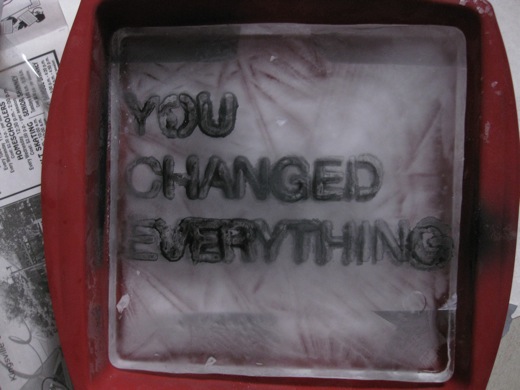
This was our first try with spray paint and a stencil on the ice. It was tough to get the stencil to lie flat on the ice to get good, clean lines.
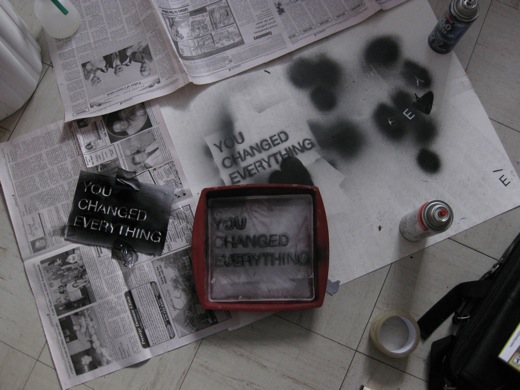
As you can see, we tried a couple different spray paint. I tried one water-based and one really cheap normal black spray paint. The idea behind the water-based paint was that, again, it would be less harmful once the ice block melted. Not only did the text look pretty rough, but it also didn’t dry on the ice, and because of that, would get washed away whenever I tried to apply another layer of water to make the top layers of ice.
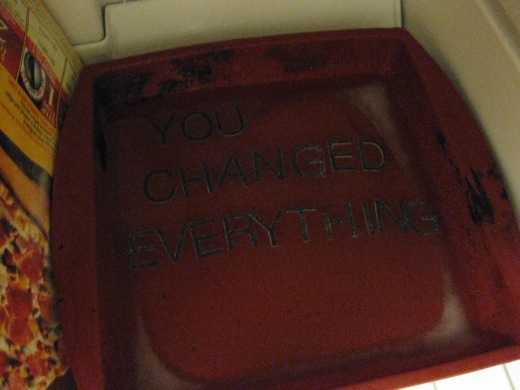
The next process we tried involved cutting out letters from paper, rather than working with paint. We also started to boil the water before freezing it to help make the ice clear.
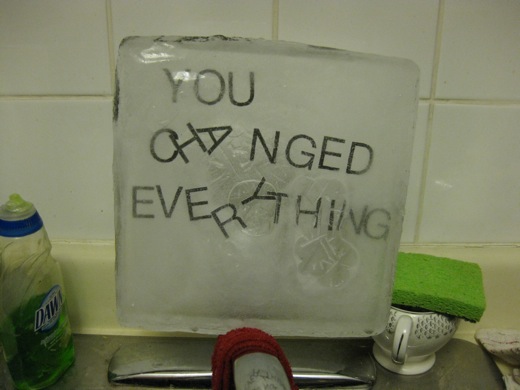
A couple things went wrong with our first try at paper in the ice. The major problem was the ice not being entirely frozen all the way through as I started to add thin layers of water on top. Eventually the ice below cracked and water neared the layer with the paper letters on it, resulting in these floating letters.
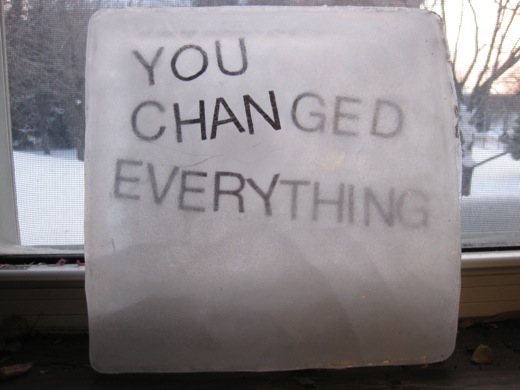
I fished the letters out from the malfunctioned ice block and tried setting them again, this time with more success. This process seemed to work the best. The silicon bakeware made it really easy to freeze a decent sized block of ice and to remove it once it was frozen. The paper letters were a lot easier to work with than the paint and I reasoned would biodegrade once the block melted.
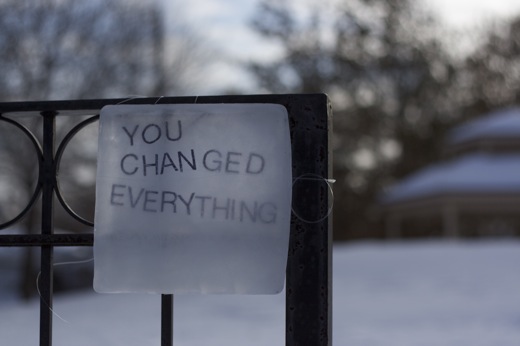
This is the first block we installed, YOU CHANGED EVERYTHING. We used monofilament line to attach it to the fence. It was tough to install in the cold, but seemed like it would work pretty well, being invisible and easy to remove once the ice block melted. This block stayed up until it melted.
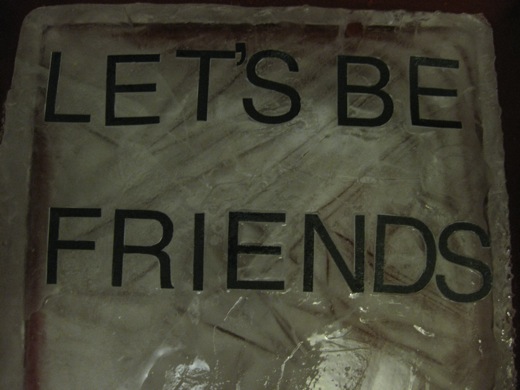
This was the second attempt at using cut-out letters on ice. The process went more smoothly this time, and with the letters being larger, made the entire process a lot easier.
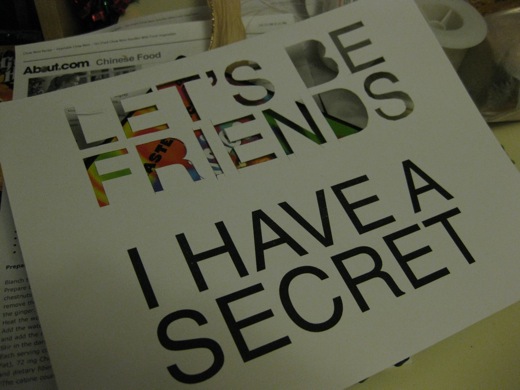
This was the stencil we used, I Have a Secret is still waiting to be cut out. We were using card stock, in hopes that it would stand up better to the layers of water and could be rescued if we needed to restart it.
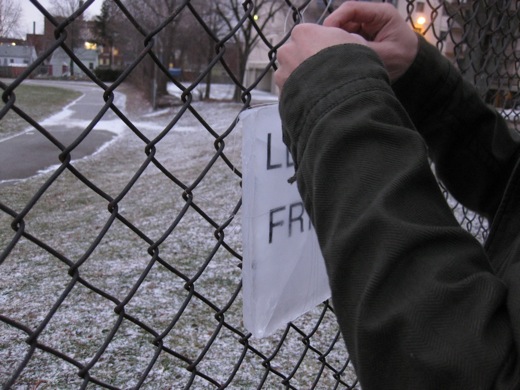
Installing LET’S BE FRIENDS on a fence near a high school football field using monofilament line. It seemed easier to work on the chain link fence.
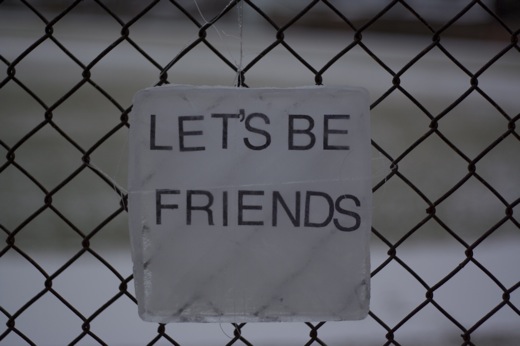
The monofilament line worked well on the chain link fence. I think this install of LET’S BE FRIENDS lasted until it melted as well.
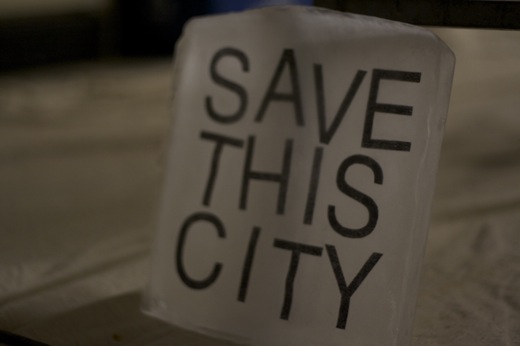
I worked on this one, SAVE THIS CITY, over the Christmas break, freezing it outside. It’s still in the freezer though.
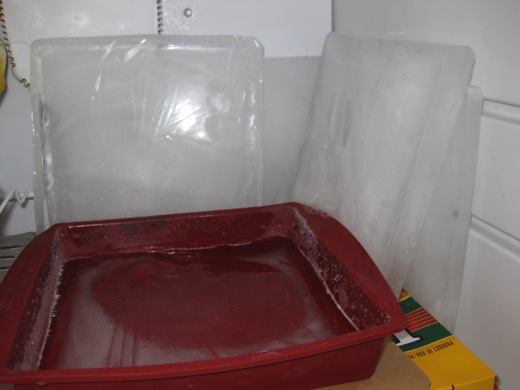
We decided to move on to a larger version of this project. Rather than getting an entire statement on one block, we would use one block per letter. It took a few days to freeze enough blocks of ice to try a decent-sized text. I think that because of the fan at the back of the freezer, the blocks of ice all froze with a particular part that was raised. This made it a bit difficult to get the letters on, but wouldn’t necessarily be an issue in everyone’s freezer.
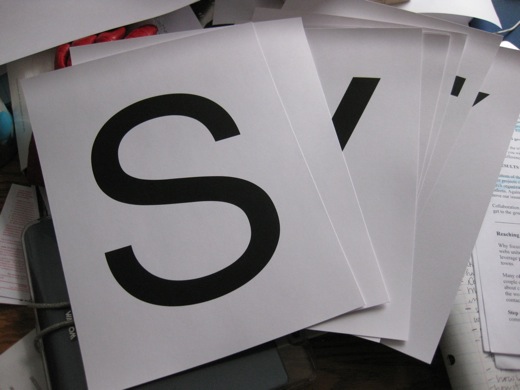
Since the baking pan is about 9″ x 9″, the letters are about 8″ tall. Of course, with the letters so large, it was a lot easier to cut out. Rather than an Xacto knife, I was able to cut out the letters with scissors.
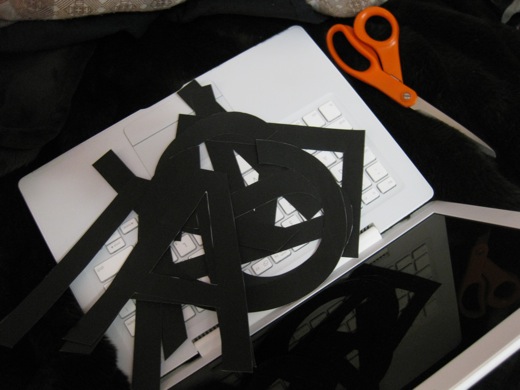
The cut out letters ready to be embedded in ice.
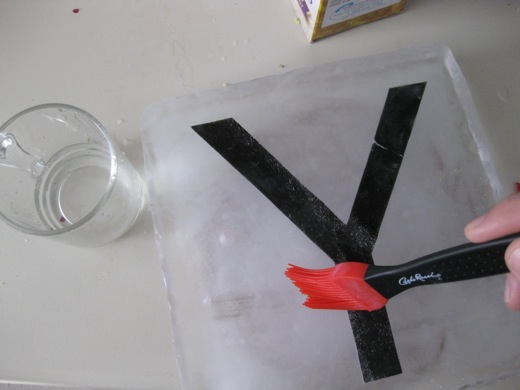
Using a sponge to wet the back of the card stock letters, I lied them down on the ice and then used this silicon brush to layer some water onto the ice block. The letters stayed in place, immediately freezing to the block of ice, and using the brush prevented the ice block from cracking when I applied layers of water.
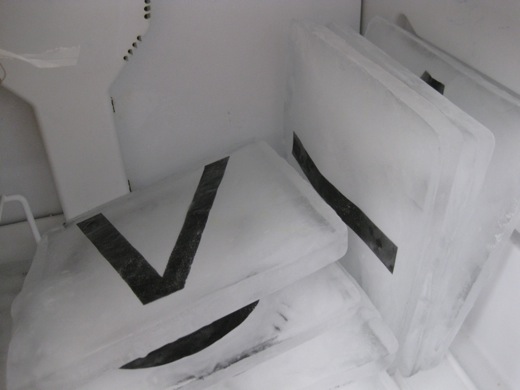
The blocks of ice jumbled in the freezer.
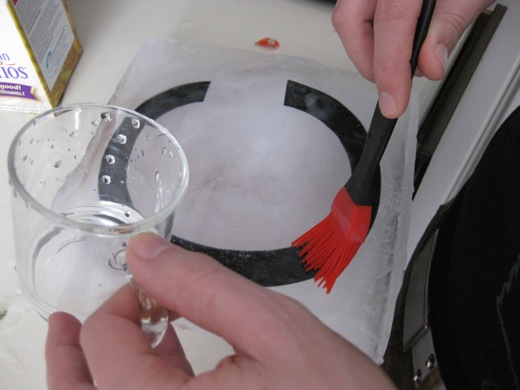
This process was really effective, making it easier to build up the layers of ice, and keeping the ice from cracking. Building up the layers this way made the ice less clear and took a bit longer, but it was better than using a spray bottle, which always seemed to crack the ice.
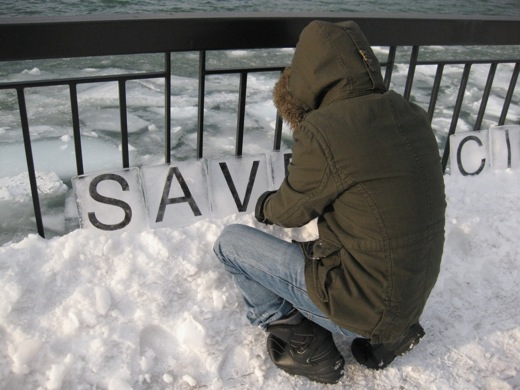
Installing SAVE A CITY on the riverfront. At first we tried to use the monofilament line again, but it was really difficult to get it to work with this particular fence. Instead, Danielle came up with the better idea of leaning the letters up against the fence on the top of the bank of snow.
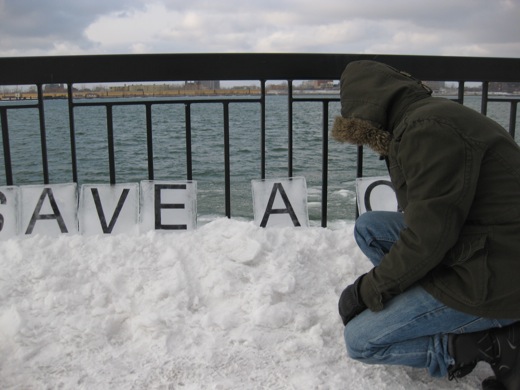
We carved out a little trough on top of the snow bank against the fence to rest the letters in, then piled some snow up around the bottom of the letters. Hopefully this would keep the letters from slipping.
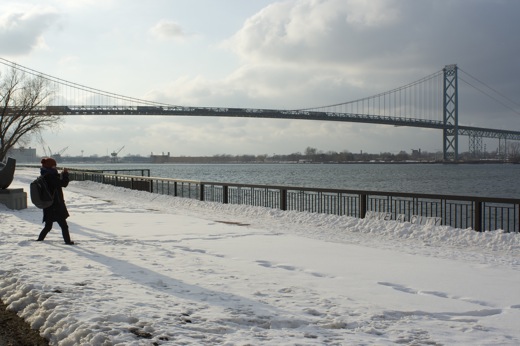
Danielle documented the install of SAVE A CITY against the fence at Windsor’s river front.
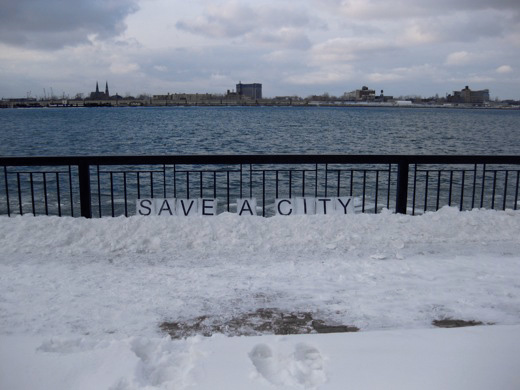
I was really happy with how this turned out, though now I want even larger blocks of ice, or maybe just more. I think this process could go really quick, as it only takes about half a day for the block of ice to freeze. It’s just a matter of making them flatter so that they can stack easier in the freezer. We’ll see if it gets cold (and stays cold) enough to try another one of these projects in the coming weeks. I’m quite sure SAVE A CITY has already melted given the warm temperatures over the weekend.

Someone should try this on the outdoor ice rink downtown at Charles Clark Square. Make sure you cover it with lots of water after because the Zamboni scrapes a small layer of ice off before it floods the surface. If you can get it below that layer, it will be there all winter.
You could even go really big on this, painting a message with a roller over the whole ice rink and flooding it with water from a nearby tap (check near/in the plants.. used for watering). You might even be able to make something viewable from google earth, but I doubt they’ll be updating the images of Windsor any time soon.
That would be a great, huge project, and at some point it crossed my mind, but seemed like it would be tough to do (good call of where to look for water sources though).
This will definitely go on the “projects for next winter” list!
definitely a must!
This was bittersweet… once it was up it looked great, then it melted in a day or so, courtesy of the glorious Windsor weather.
Danielle, it was totally a good call to forego the monofilament line on this last install… we should keep on thinking about other ways to get these up that leave less (or nothing) behind and are easier to work with.