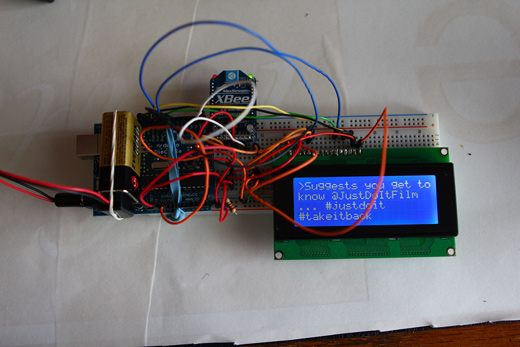
I made some huge progress over the last week or so on this ongoing Arduino / LCD project — it’s finally gone wireless!
With some more silly mistakes behind me, I’m finally getting a better handle on how to break down the problems I run into and solve them a lot faster. I remember back in February, it seemed as though it was going to be impossible to actually get this wireless part happening, so I’m super relieved to know it’s at least partly working.
Also, there have been people asking for the code used in this project (in terms of PHP and Arduino scripts), I will upload them! I just haven’t had the time to go through and appropriately clean them up and comment them, so I’m not sure how useful they would be at this point. I just wanted to note that I will indeed be doing that soon though!
Lots of photos of wireless glory ahead…
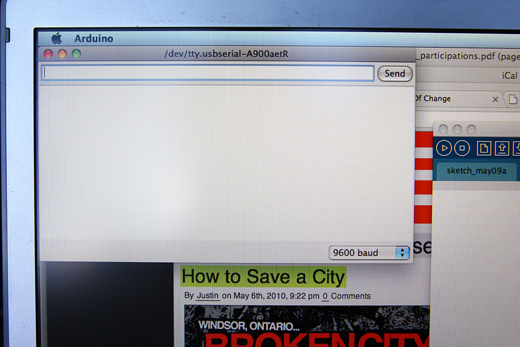
First up, opening the familiar Arduino IDE serial window.
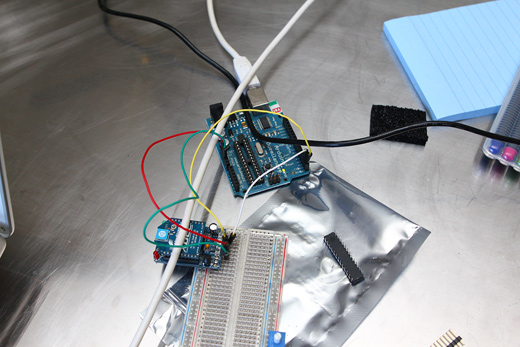
The simple configuration I had last time — a de-chipped Arduino to act as an FTDI converter (I’ve since ordered the cable so as not to waste the Arduino), sending messages on to a receiving XBee.
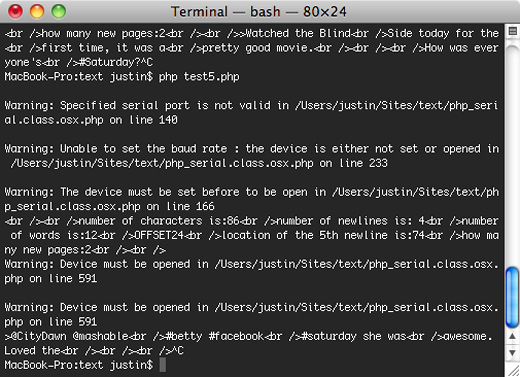
At first though, I was receiving messages that you can see above, Warning: Specified serial port is not valid, etc…
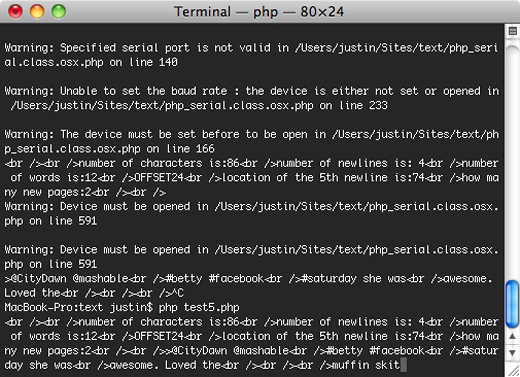
Basically, for reasons unknown to me at first, the PHP script that I had hacked together wasn’t able to communicate with the Arduino anymore.
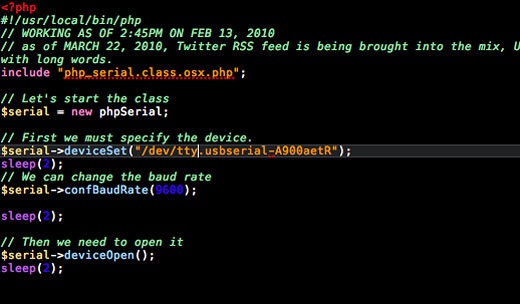
Though I’m not 100% sure, I think that the reason this was happening was that instead of communicating directly to the Arduino, I was now just sending data through the XBee. So, I had to change back the device to /dev/tty.usb…, which was the default setting, as in a previous configuration, I had it set to /dev/cu.usb… to get it to work with the Arduino and LCD wired to the computer via usb.
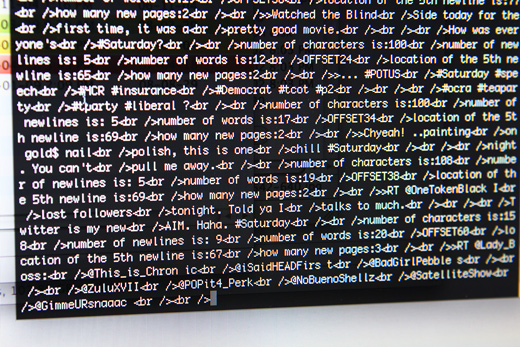
I also ran the same old Magpie RSS test getting a feed from Twitter just to make sure the LCD was still wired up appropriately.
And, again the red LED lit up on the receiving LCD means it’s received some information wirelessly, all good signs!
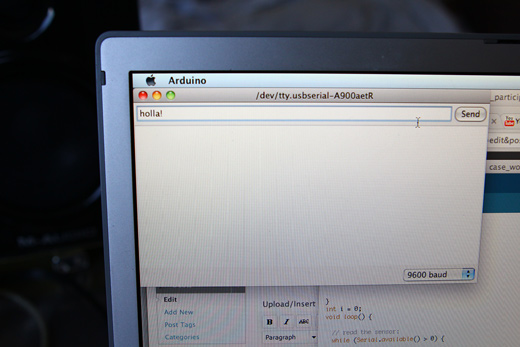
So, using the simple serial monitor in the Arduino IDE…
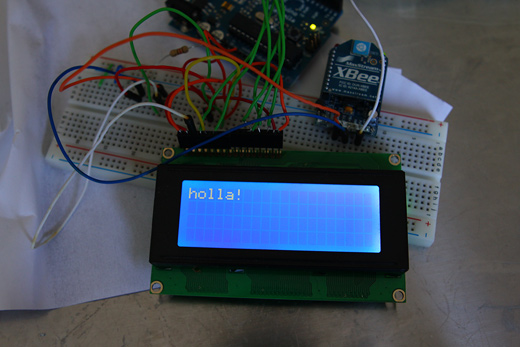
…I successfully passed a message to the LCD screen wirelessly!
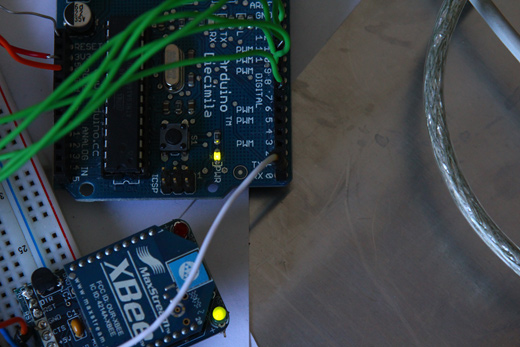
However, I was running into some over power draw type issues, which I resolved by just disconnecting the TX pin on the receiving Arduino board. Since I’m just using the Arduinos to run the code that parses the text data to display on the LCDs, there was no reason to have the Arduino also being able to send data.
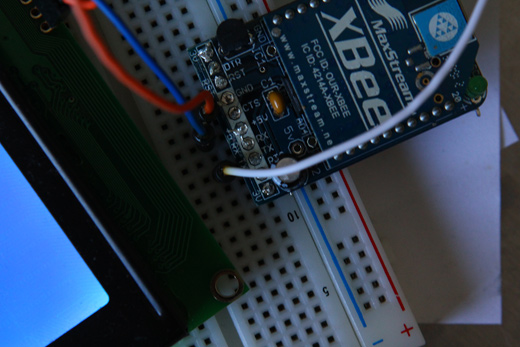
The XBee is wired to send the data it receives to the Arduino with the attached LCD.
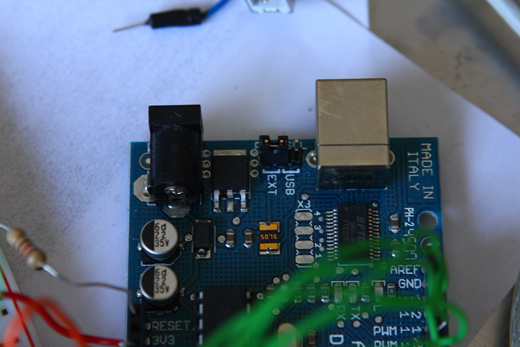
Oh, and I also changed over the power settings to run this from a 9V battery.
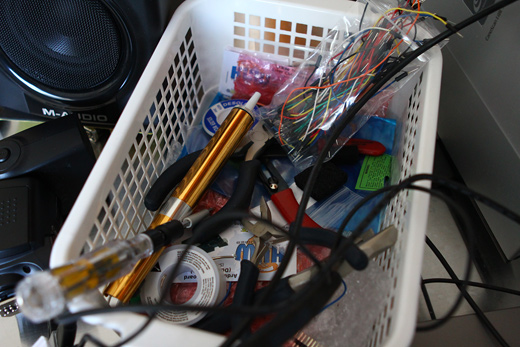
Oh, the mess…
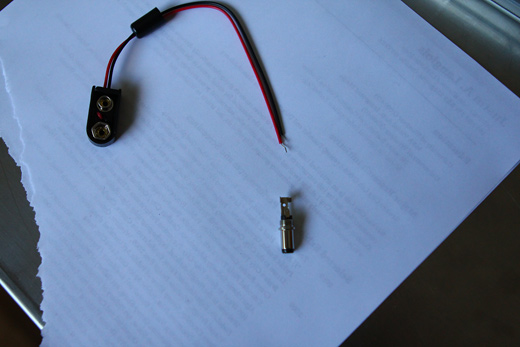
Some more soldering ahead, I had to do the basic assembly on this 9V battery adapter.
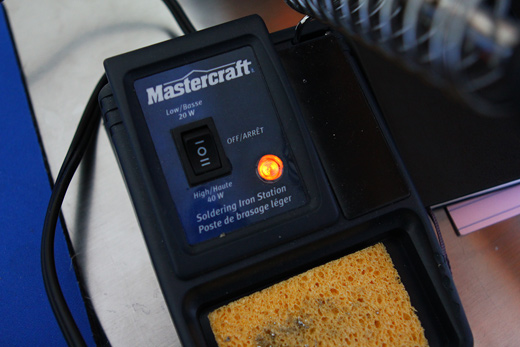
I’m definitely not good at soldering, but at least this is a lot of practice … so much more ahead.
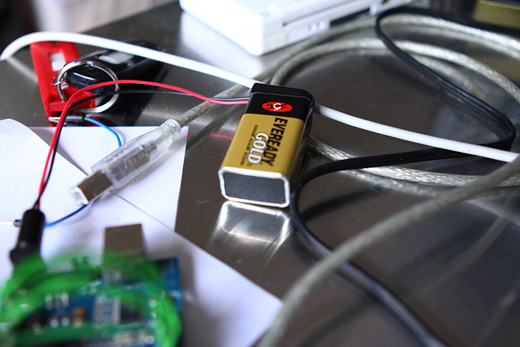
Anyways, the battery connected and powering the Arduino, the LCD, and the XBee.
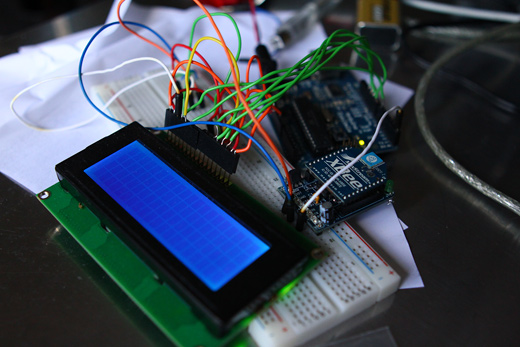
Lit up and ready.
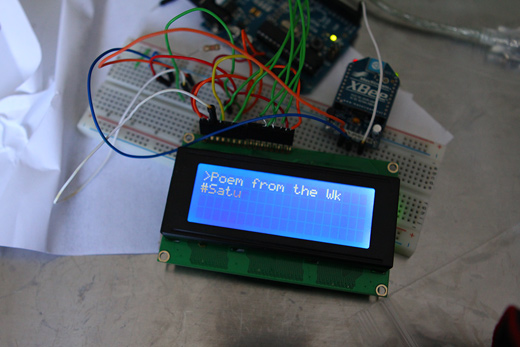
And finally receiving information wirelessly from Twitter.
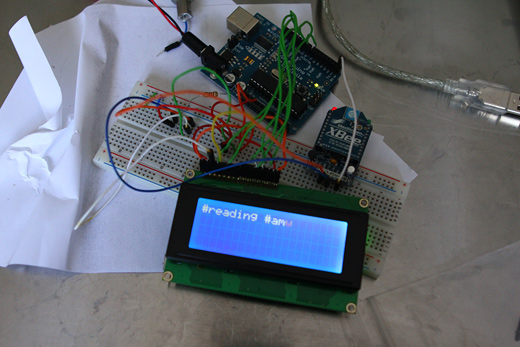
More text being received wirelessly!
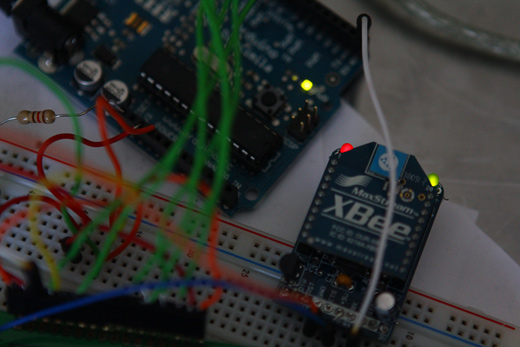
XBee receiving data.
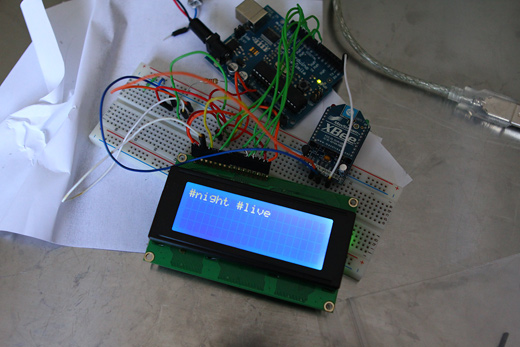
And some more.
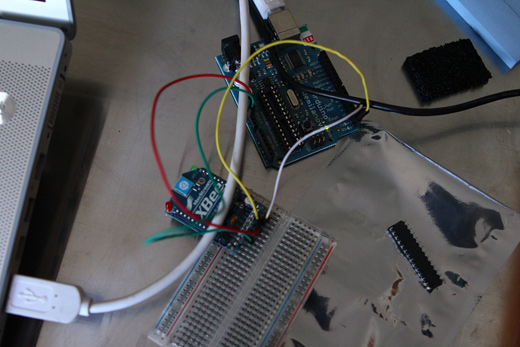
On the other side, the XBee and Arduino standing in for the FTDI cable, sending along the text that has already been parsed by PHP, and will be formatted by the Arduino script on the receiving end.
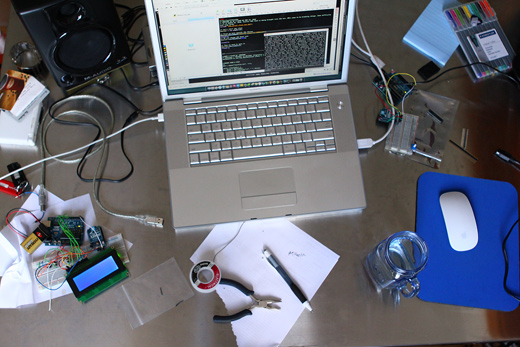
So, it worked, but now I knew I needed to redo the wiring to actually make this portable.
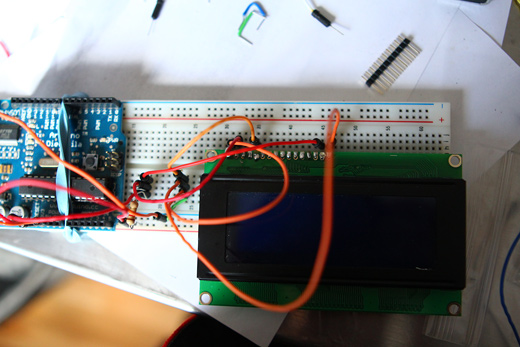
It took a while to try to remember how I had got the screen working in the first place, and at first I had stupidly soldered wires right to the LCD, rather than soldering some pins to it.

And, I struggled a bit to make it all fit on a breadboard.
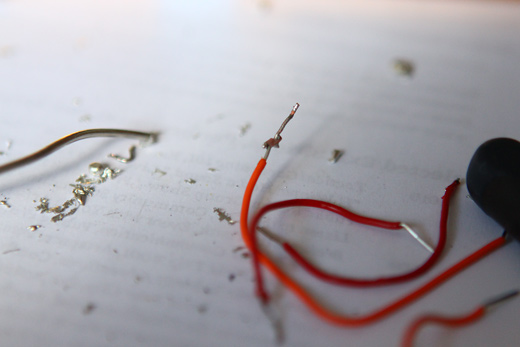
And then I realized I shouldn’t have soldering wires right to the LCD.
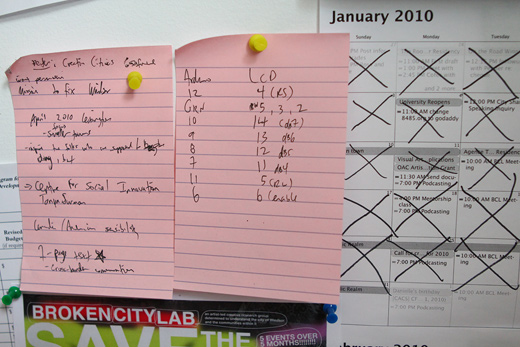
And so I went back to my old notes…
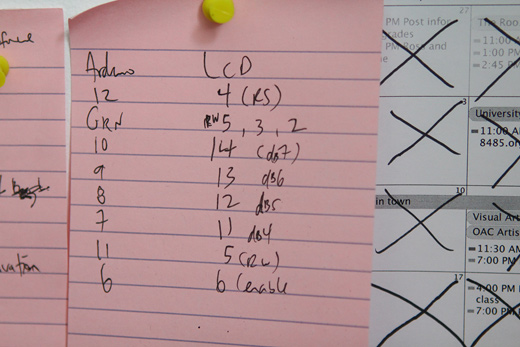
…and tried to make sense of them. Eventually, hand-written notes combined with previous blog posts filled in the gaps in my memory.
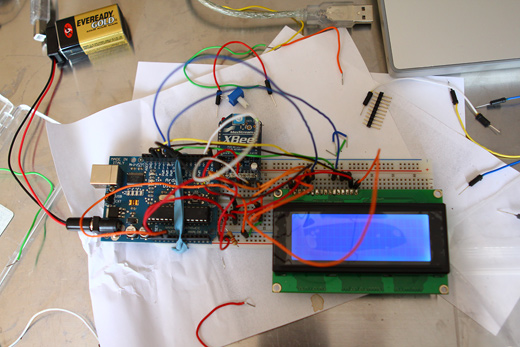
And so the rewired LCD / Arduino / XBee was ready for action…
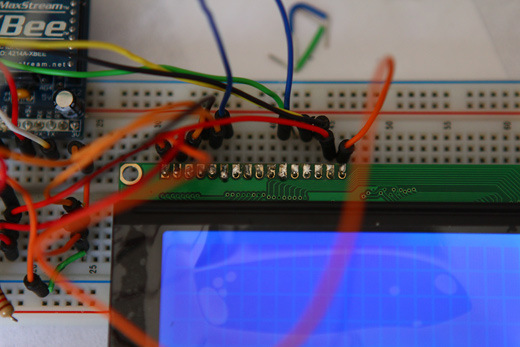
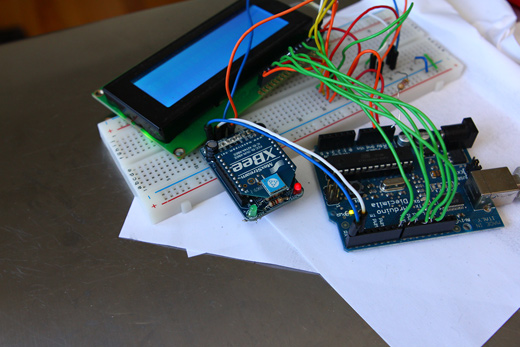
I took this shot to try to remind myself of the configuration for future reference. Oh, and to explain the plastic above, in the process of soldering wires directly to the LCD screen, I think I killed it, so I had to use a new screen.
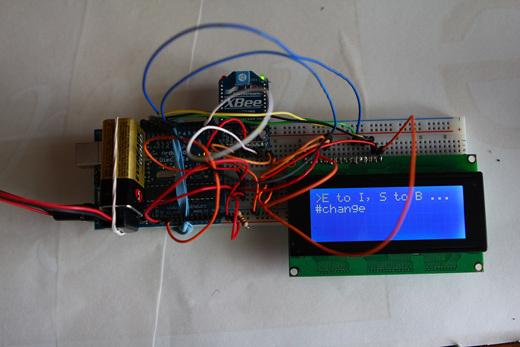
And finally, in another room, across the house, there is still successful wireless transmission!

It looks kind of suspicious, I know, but I’m just happy both sides are talking to one another.
There’s a lot more work ahead, but the next steps will be building a few more of these to test the possibility of setting these up as a mesh type of network, or more realistically, having a one-to-many kind of setup. More work once the new parts arrive!
—
Annotated Bibliography
http://www.arduino.cc/en/Guide/ArduinoXbeeShield (XBee shield info, not what I’m using, but still helpful)
http://www.faludi.com/projects/arduino-and-xbee-battery-test-results/ (battery tests with Arduino + XBee ***important***)
http://www.kobakant.at/DIY/?p=772 (XBee Serial Communication)
http://forums.trossenrobotics.com/tutorials/how-to-diy-128/xbee-basics-3259/ (basic XBee tutorial)
http://hcgilje.wordpress.com/resources/xbee_arduino_code/ (tutorial, shows timed “waking up” and some unfolding of data packets)
http://www.youtube.com/watch?v=7A7coLAUyfQ (wireless temperature sensor, XBee, Arduino + solar)
http://www.glacialwanderer.com/hobbyrobotics/?p=15 (PHP, XPort, Arduino)
http://www.flickr.com/photos/35434449@N08/4324916783/in/pool-adafruit (basic how-to photo for soldering 9v Arduino battery adapter)
http://www.ladyada.net/learn/lcd/charlcd.html (reminder on how to hook up LCD to Arduino)
I would like to thank the Canada Council for the Arts for their generous support.


holla!
For some reason this post made more sense to me than your other ones, and now I slightly understand what you’re doing! This is some crazy stuff, Justin.
Glad to hear this one made more sense to you — hopefully it will make sense to me when I look back on it in a week or so when I start up the next part of this.
The bigger idea is to have these installed in some public space, and not just receiving any Twitter messages, but messages that are responding to where the LCDs are installed, and also the potential to have text messages there as well!
You should help me solder! :)
Justin,
Glad to see you got it working :)
I am curious to see the code. I am actually creating something similar except I am using Processing to send data.
Kevin, thanks!
The Arduino code mainly just looks for characters to insert line breaks where needed, as directed by the PHP script. Since the LCDs I’m working with like to jump the text from Line 1 to Line 3 then Line 2 to Line 4, I had to manually keep track of it. I think that there’s a library that does this now (though I can’t recall it off the top of my head), and I imagine my implementation is considerably cruder, but it works for me for now. The PHP code basically does some string analysis and manipulation (and now with the help of Magpie, parses the RSS feed from Twitter), and then passes the text through a serial port.
Your graphic LCD project is interesting … looking forward to seeing what comes of it!
PS. I like the look of your blog … interesting to not just seeing things happen in a linear time line, but it really allows a readability across space a bit as well.