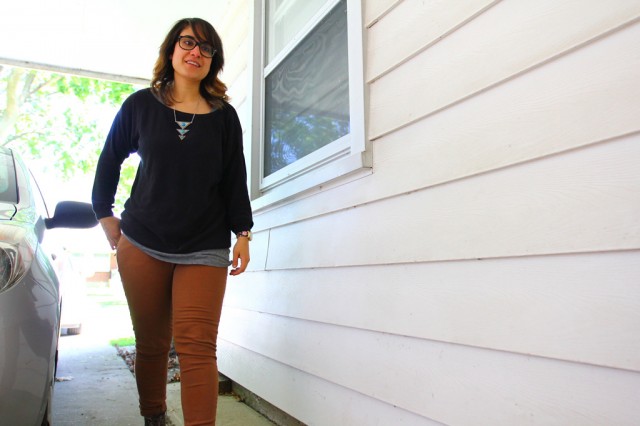
These are early days for a spontaneous new project, but here’s how we’re starting. Rosina, Hiba, and I met on Friday and after going through our usual to-do list, we started discussing some new projects. These new projects are all going to be tied together, and we’ll be writing about what that tie might look like soon.
The starting point for this new project — maybe called the Letter Library Project, or maybe something very different — came from thinking about how we might collectively be framing the city of Windsor as it transitions (slowly) and what we might want to reframe, piece by piece. The city is once again at the top of the unemployment statistics, but there are some large infrastructural projects that are going to dramatically change the physicality of the city itself and in turn, the way we experience it, though it remains to be seen if this will actually change the city, or just reframe it for us.
And the background of this project might actually go back even a bit further, in terms of material, as Rosina and I had met earlier in the week to talk about working on some signage. Research led us to wanting to experiment with styrofoam — givens its rigidity and ease to work with.
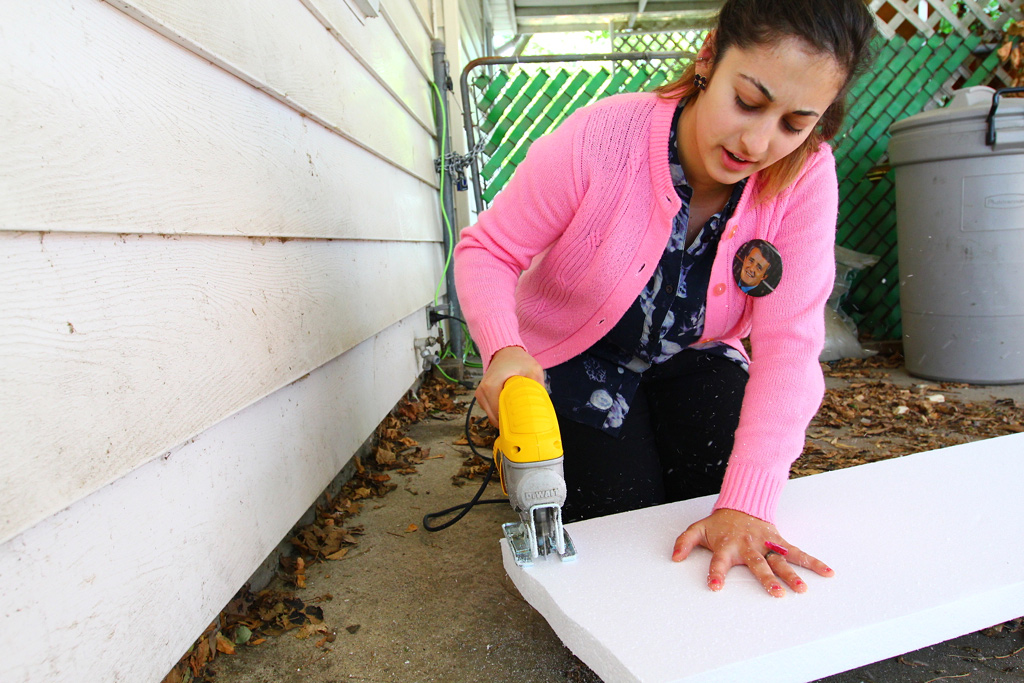
We saw a lot of videos online of people cutting styrofoam into different shapes (and certainly letters) with hot wires, electric knives, and yes jigsaws.
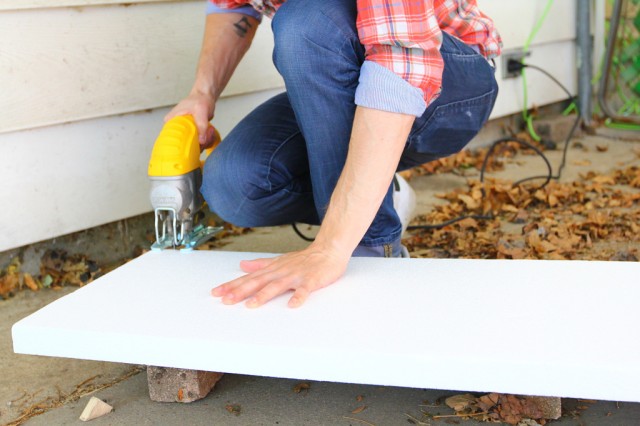
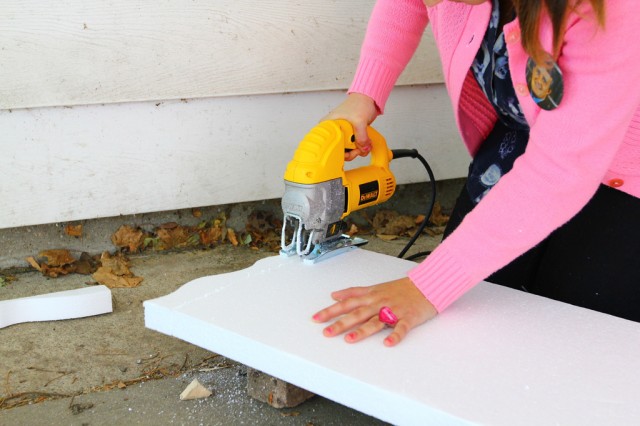
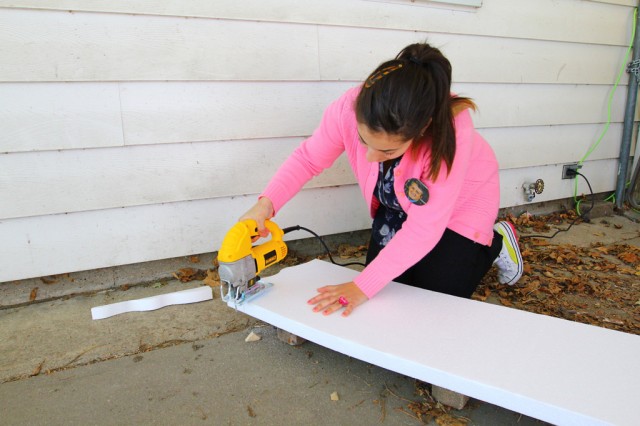
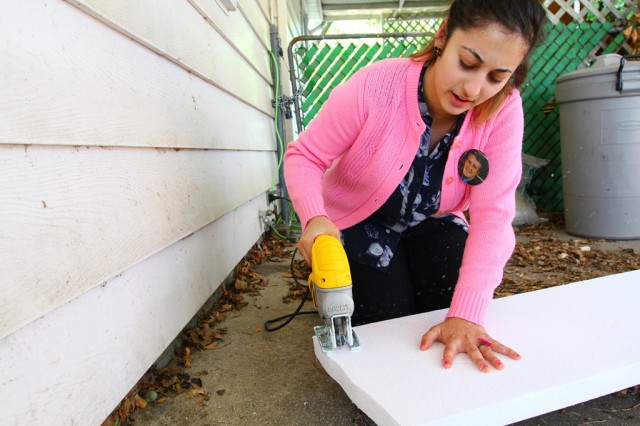
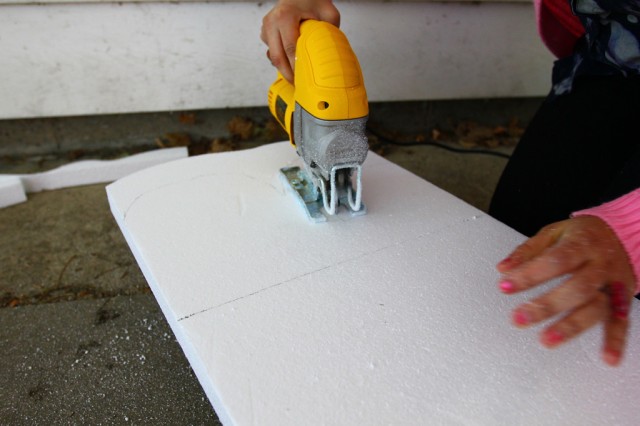
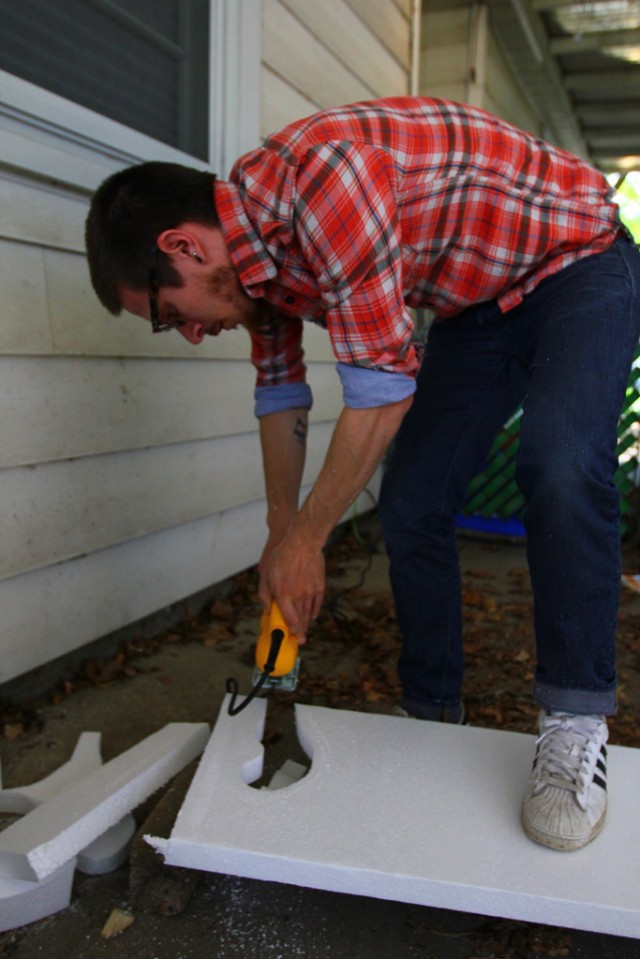
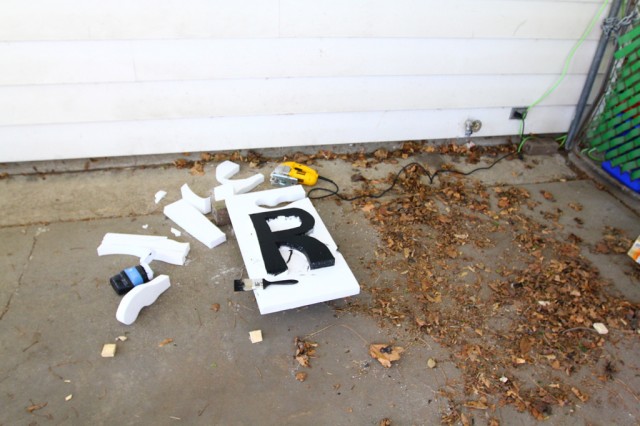
We had a jigsaw and so we went to it. The styrofoam we got was packaged at Home Depot as basically made for crafts and very small home projects. We weren’t sure that it would be dense enough for the cuts — at the time, we had assumed that the denser (and pink) insulation type of styrofoam would work better, but it was too expensive to bother testing with.
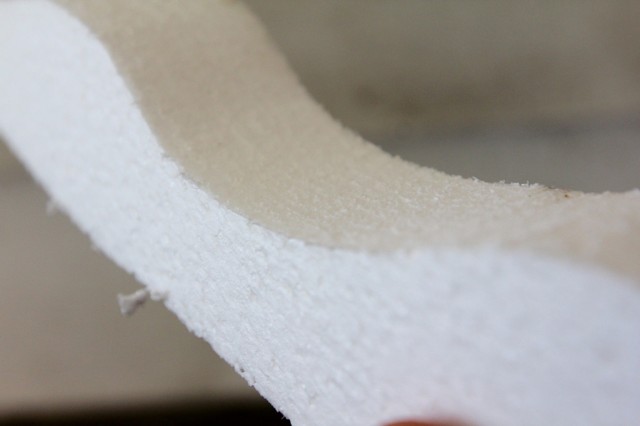
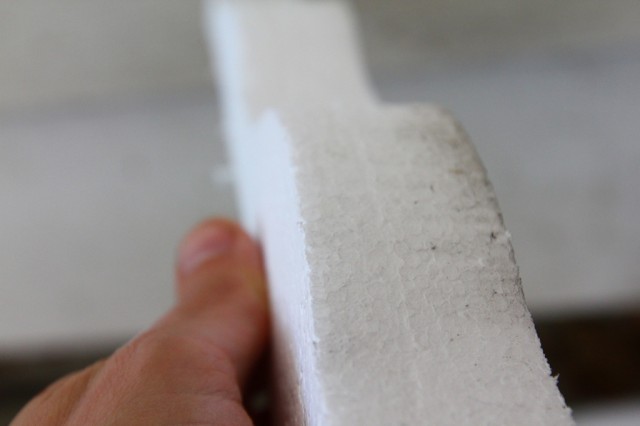
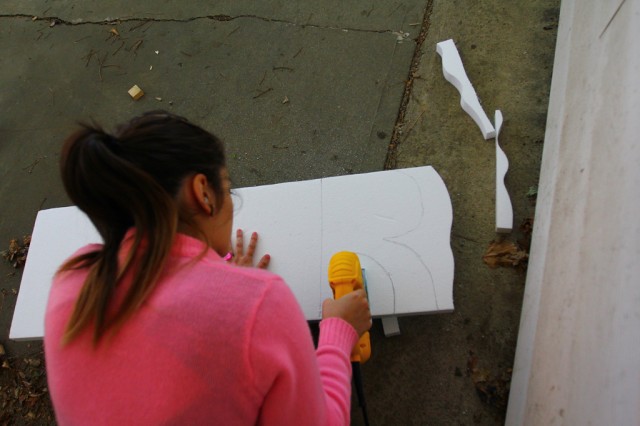
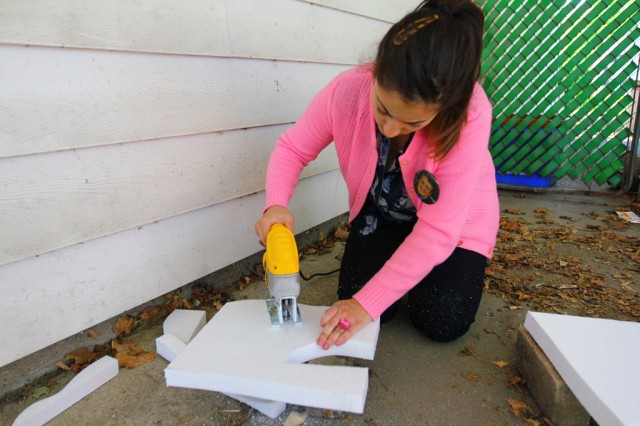
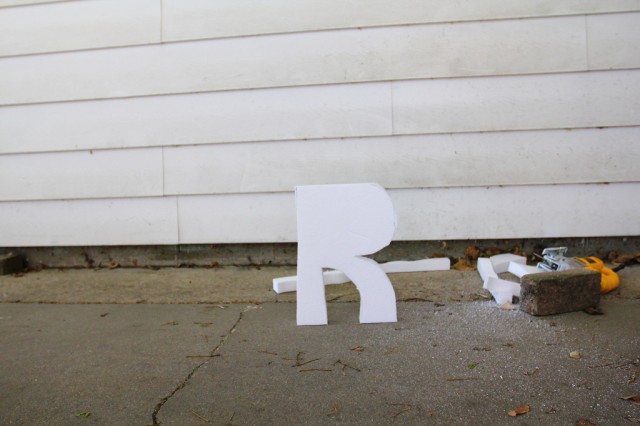
Given the scale of what we’re planning to do, the cost would have been enormous, so we went with the cheaper stuff to just get a feel for possible scale and process, even if the material itself may need to be changed down the road. But, as you can see above, the jigsaw with a 24 TPI metal blade did the trick and cut the styrofoam with a decent level of precision without the messy edges we had anticipated.
Hiba and I both took some test cuts before deciding to attempt a more complex shape.
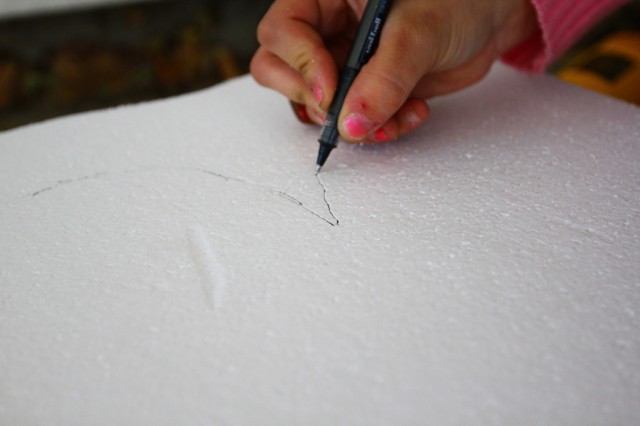
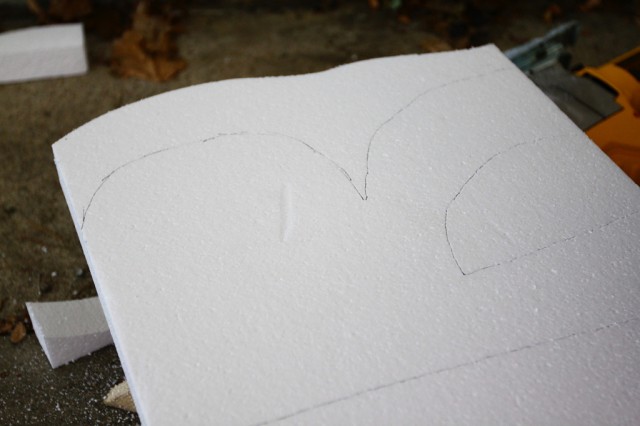
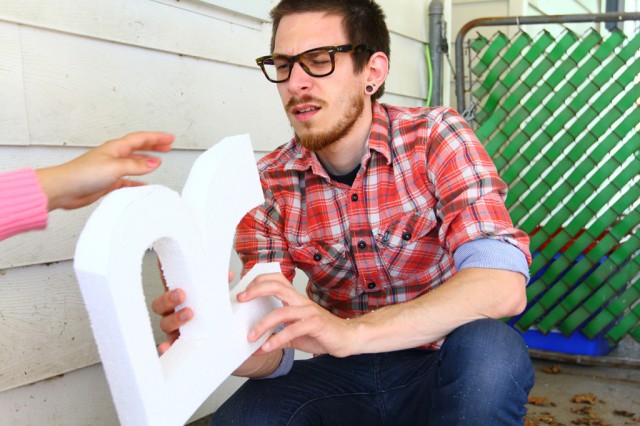
We selected the letter R for a test.
Hand-drawn for now.
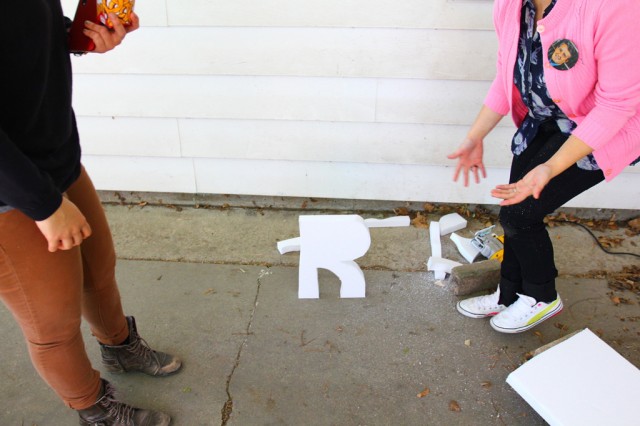
Rosina made the cuts.
Easy.
Rosina with the saw.
Hiba arrived a few minutes later.
We had a test letter.
Another bonus of this type of styrofoam was the thickness allows the letter to stand up.
I think Rosina was really happy.
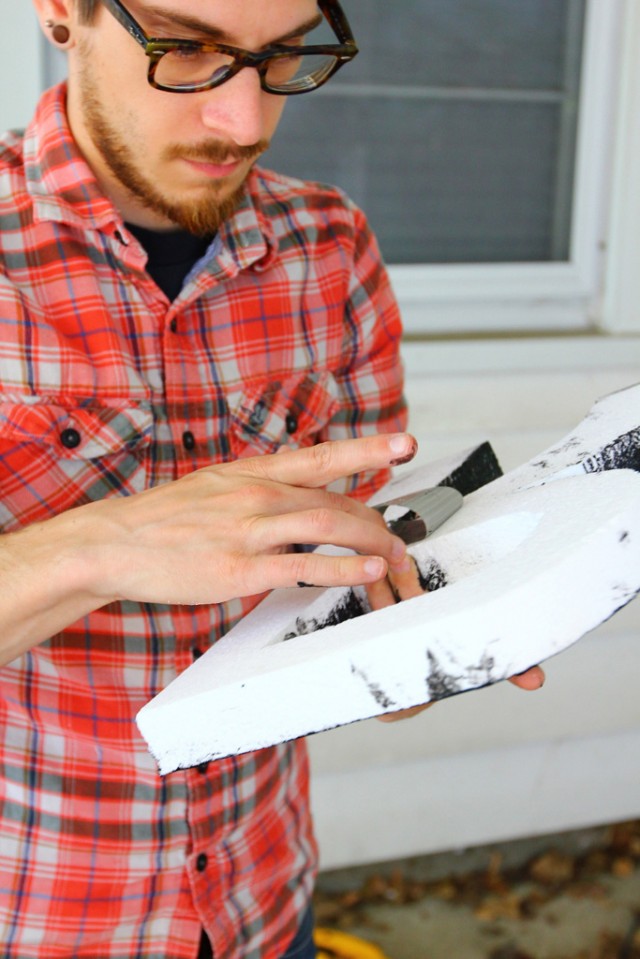
The cuts were fairly good, though we briefly wondered about finding a better way to avoid an angle on the edge of the letters — that is, the face of the depth of each letter would undulate a bit as we failed to hold the saw consistently at 90 degrees. A ban saw would be good for this, but it’s not essential.
I was trying to get a sense of how much we were moving the saw and what the effect was on the angle of the depth.
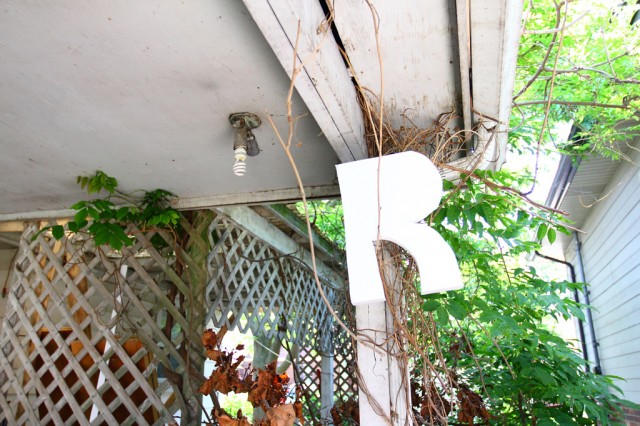
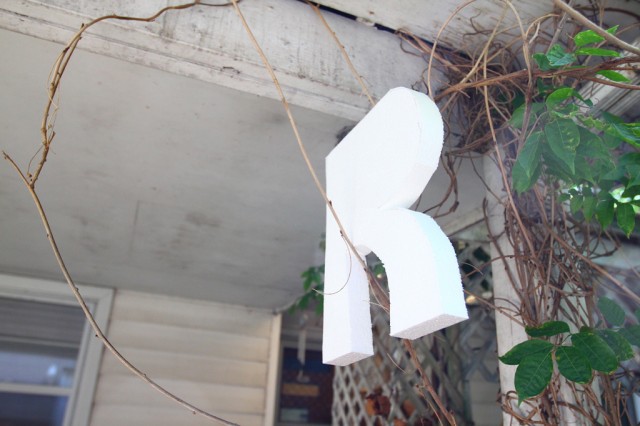
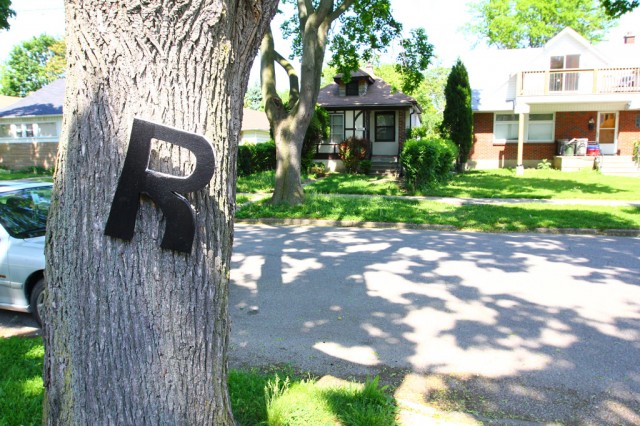
The letter R moves into the wild…
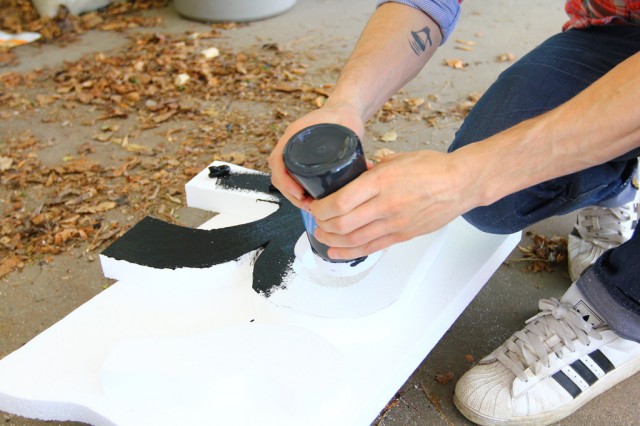
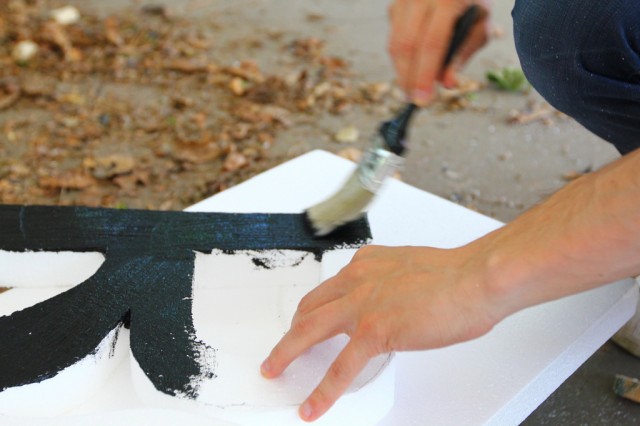
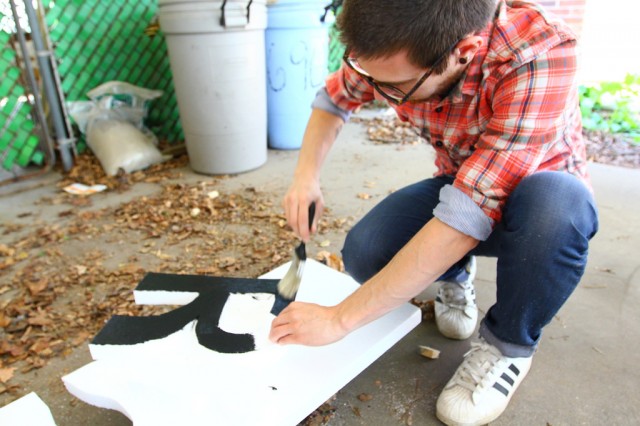
… and then returns for a quick coat of paint.
Spray paint would eat the styrofoam, but craft paint was no problem.
More painting.
The letter R dries.
Then, some duct tape.
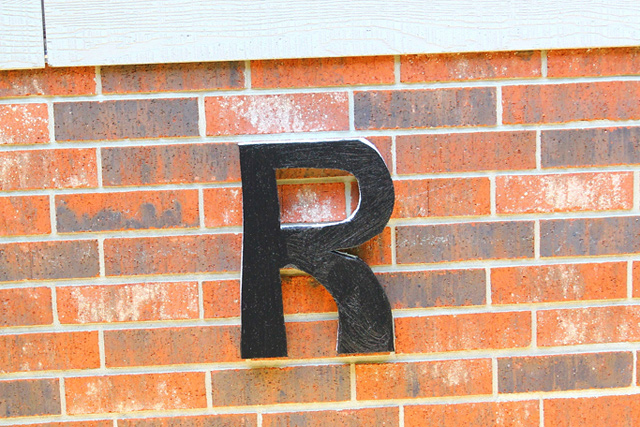
Given how incredibly light-weight the styrofoam is, duct-tape makes for a great mounting device. On brick.
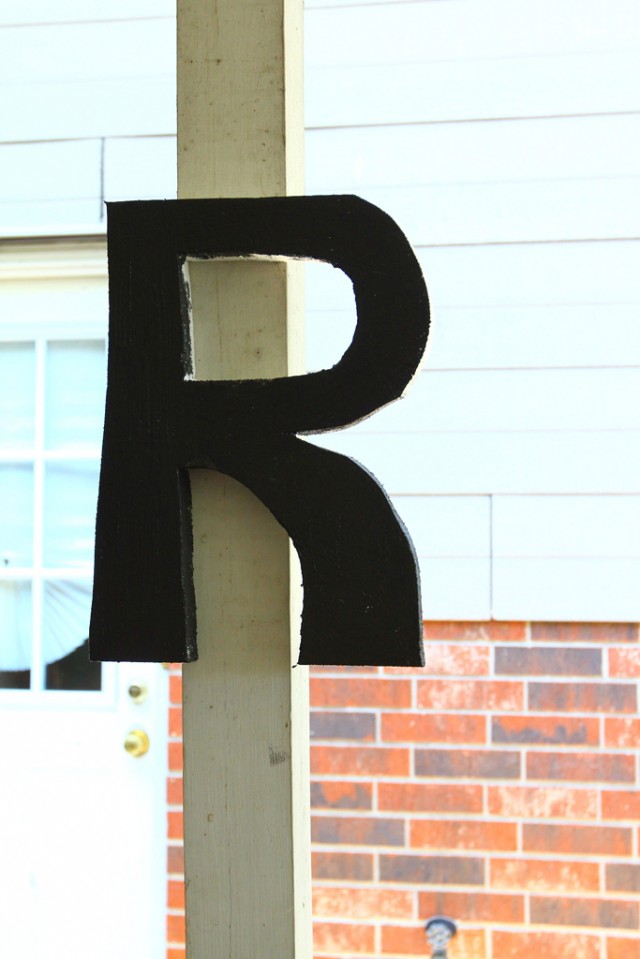
On wood.
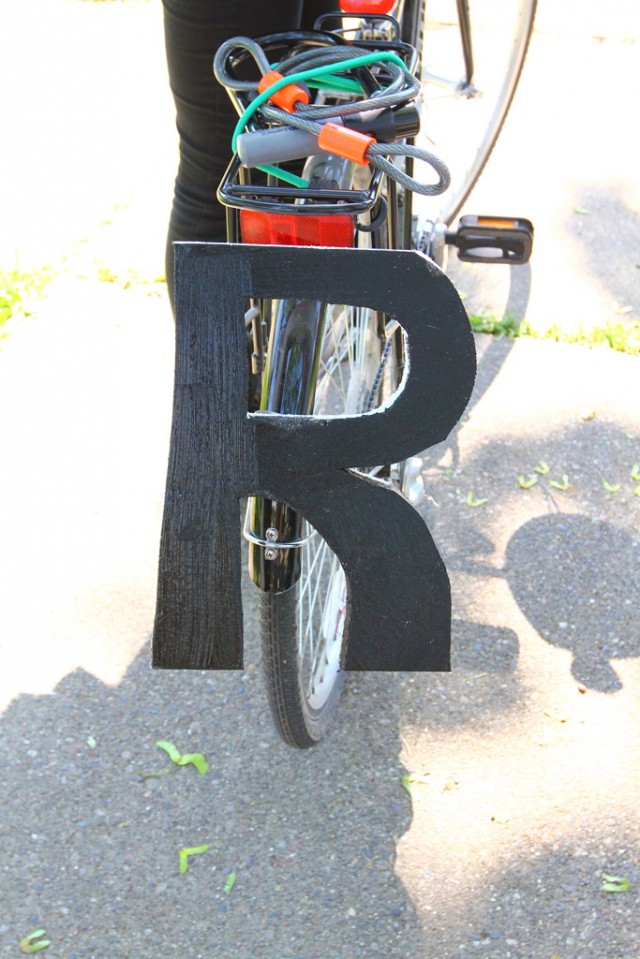
On metal.
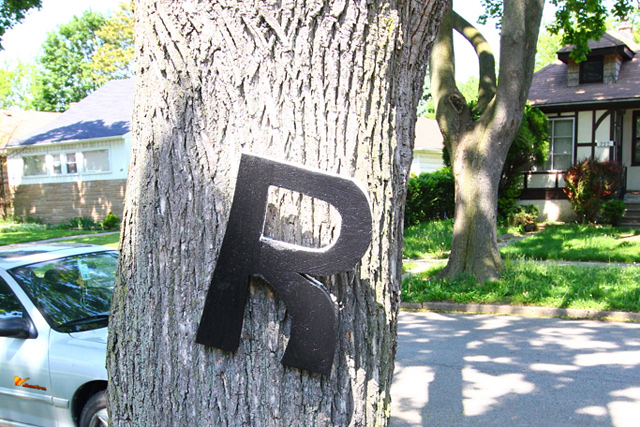
On a tree didn’t work as well, there wasn’t a lot of surface area for the tape.
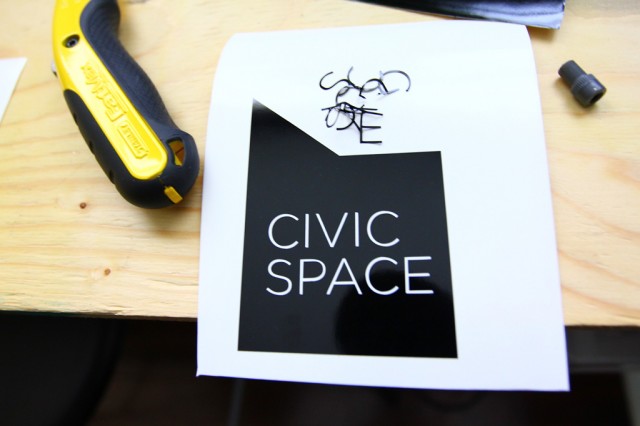
So, that’s the very early stages of a new project. The next steps will be cutting out a bunch of letter templates with the vinyl cutter in card stock, stencilling, cutting, and then a painting party, and then the project launch. Assuming all goes to plan.
And then there’s this … more soon.
