Two Tales of a City: Acrylic Medium Transfers on Fabric

Over the past few weeks, we’ve been testing out methods for transferring photocopies onto fabric using acrylic medium for the banner and bunting that will be installed on the exterior of Hamilton Artist’s Inc.

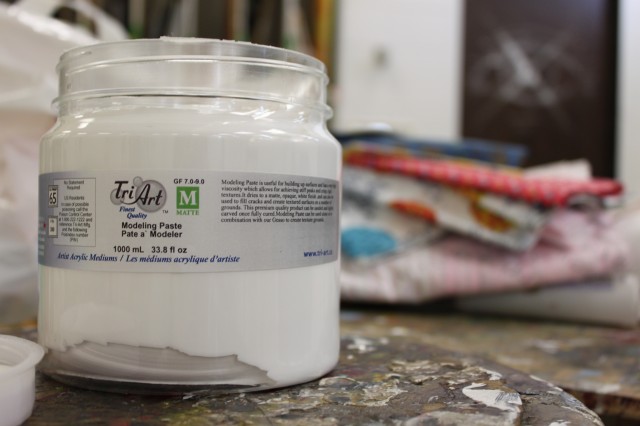
Rosina picked up this 1000ml tub of acrylic medium for The Store at SoVA‘s Store. We had some leftover scrap material to play with that we picked up from our technician and collaborator Jodi Green‘s studio at The House.

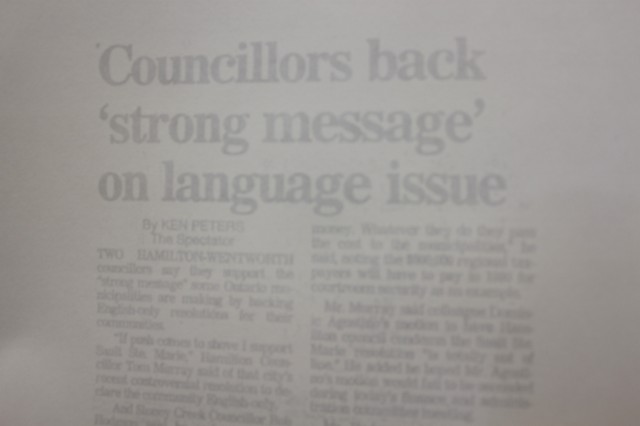
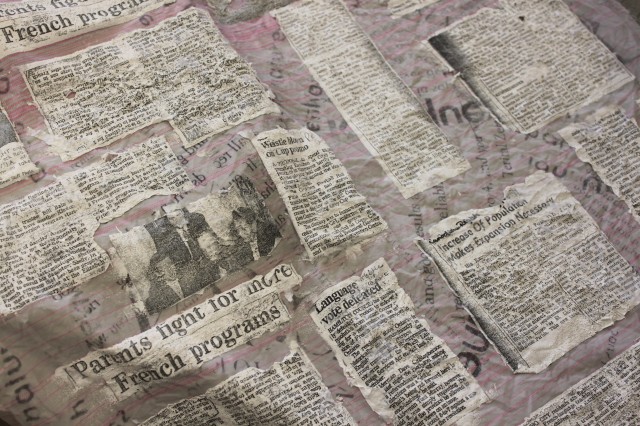
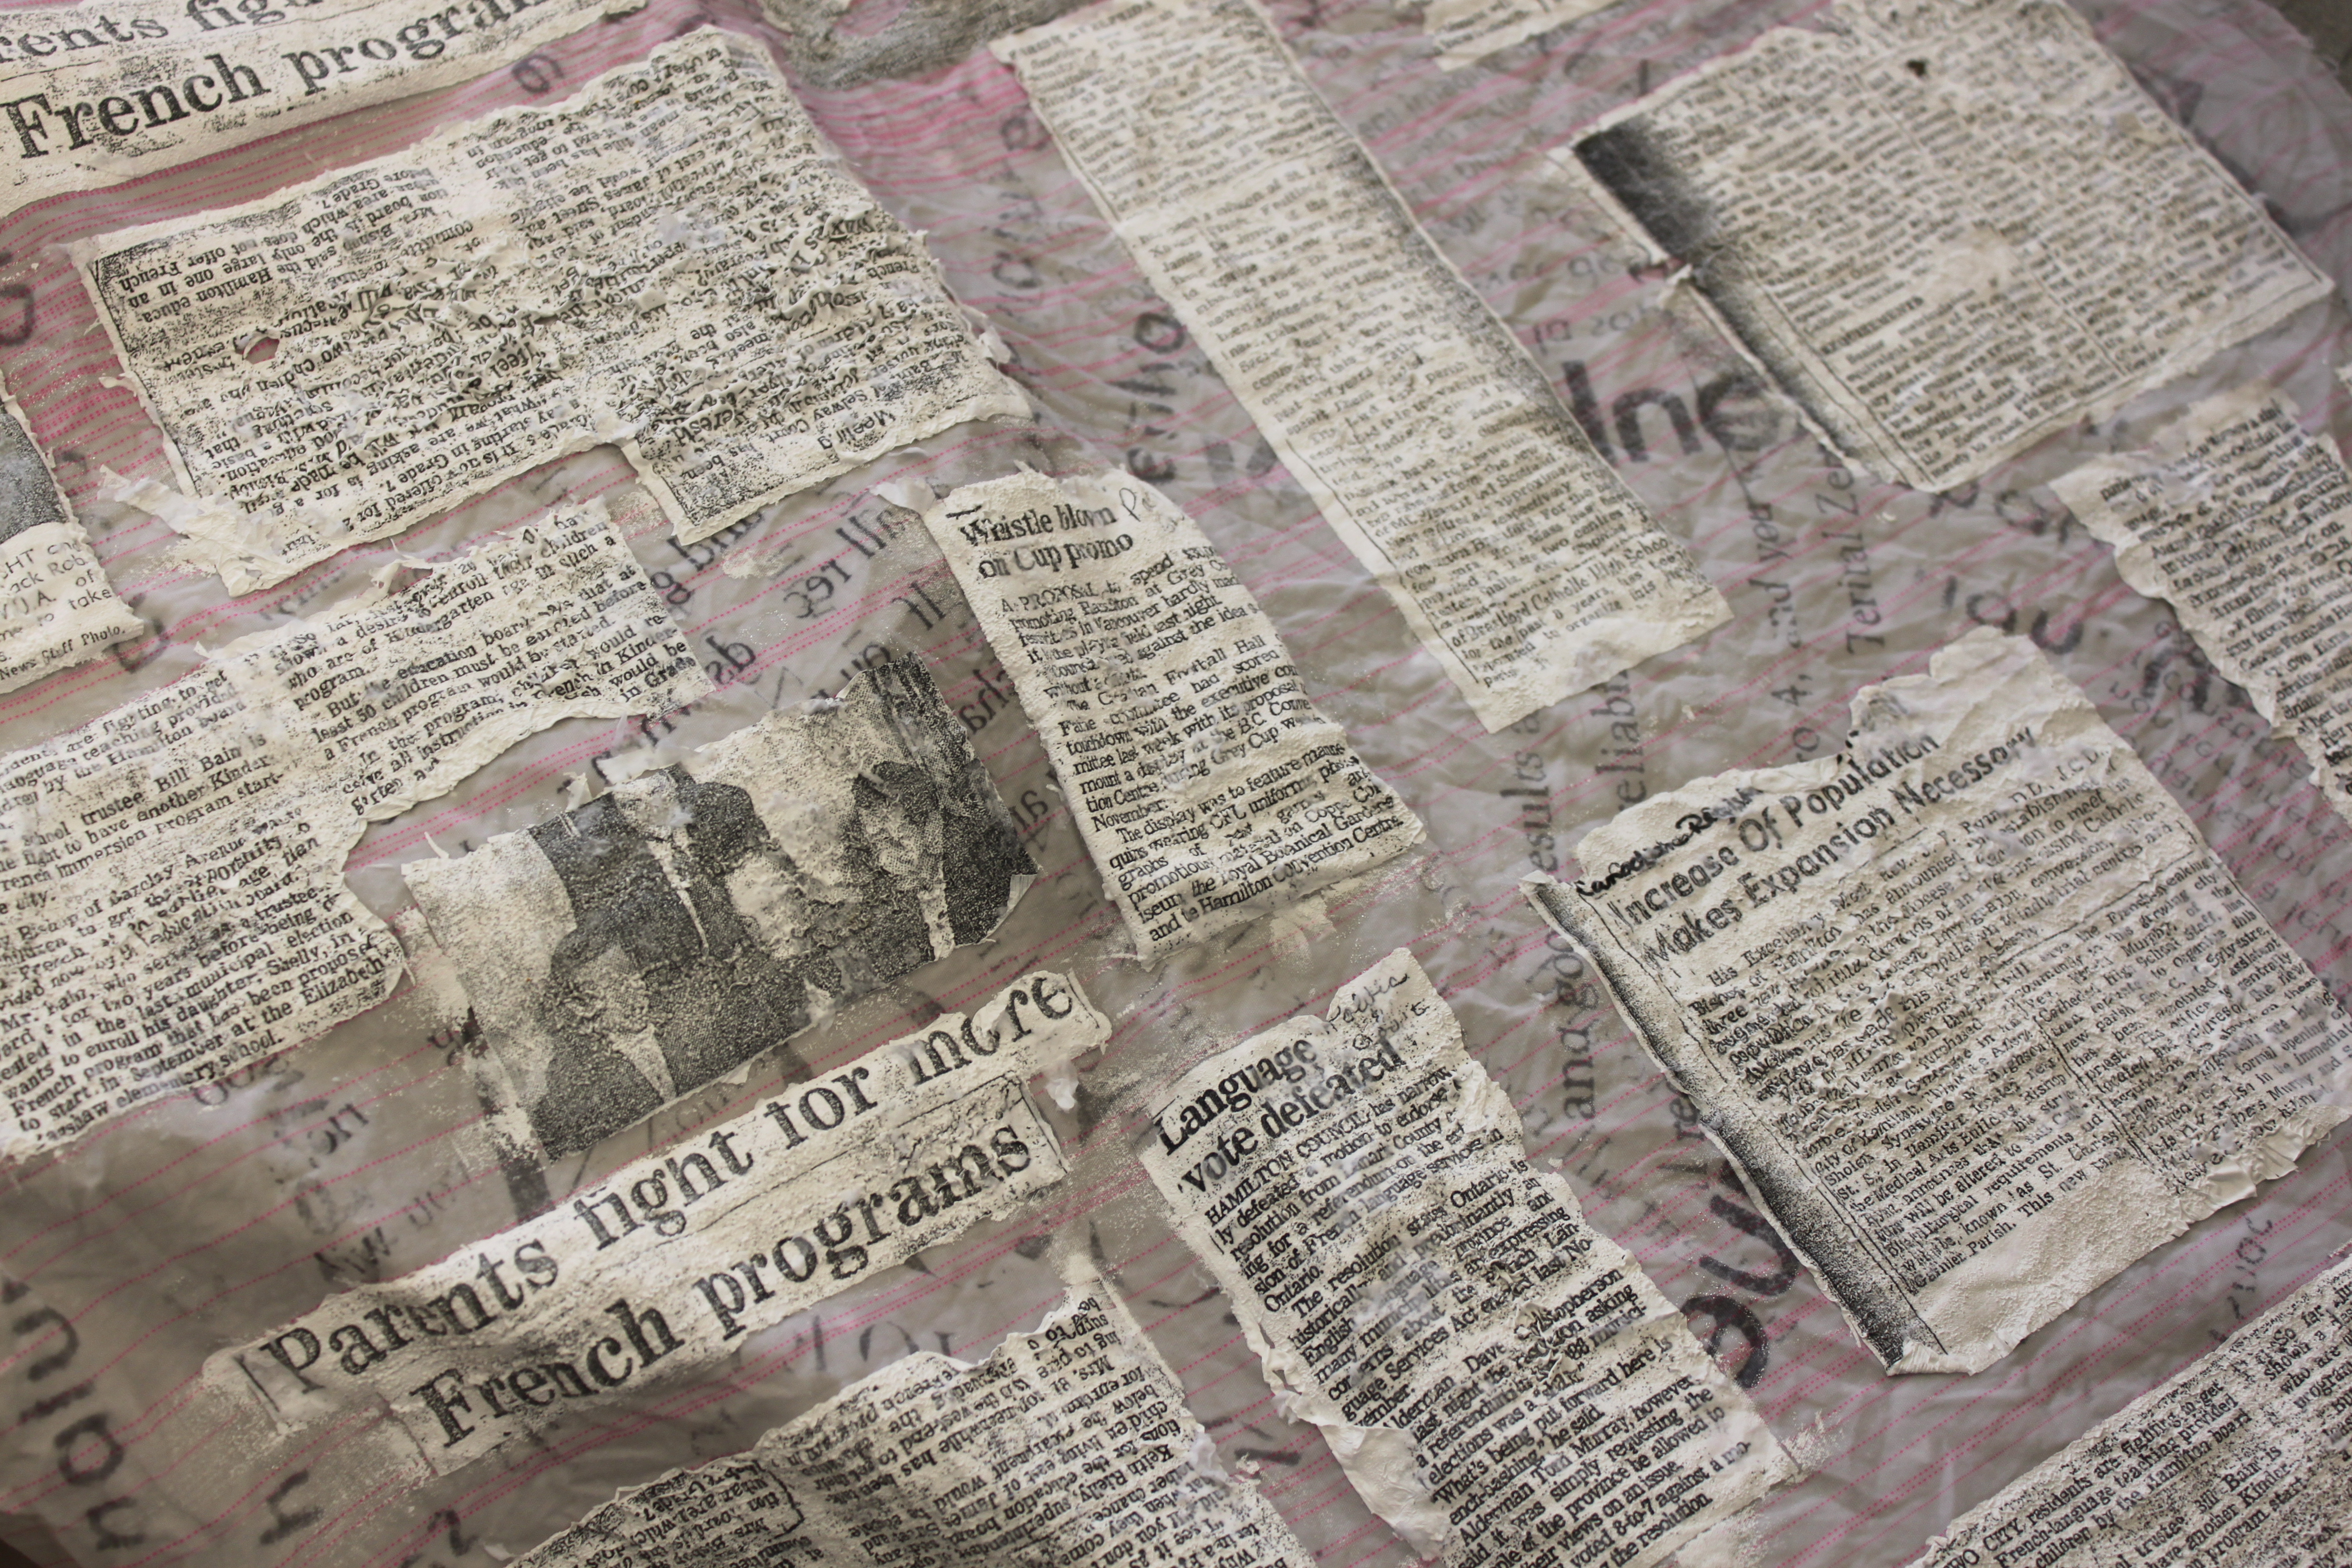
Using some photocopies of historical articles we collected from the Hamilton Archives regarding francophone feats and struggles and both the textile and steel industries in Hamilton, we got to work doing a few different test transfers .

The medium is applied directly to the fabric then the photocopied paper is placed over the fabric and rubbed in to ensure a crisp image.

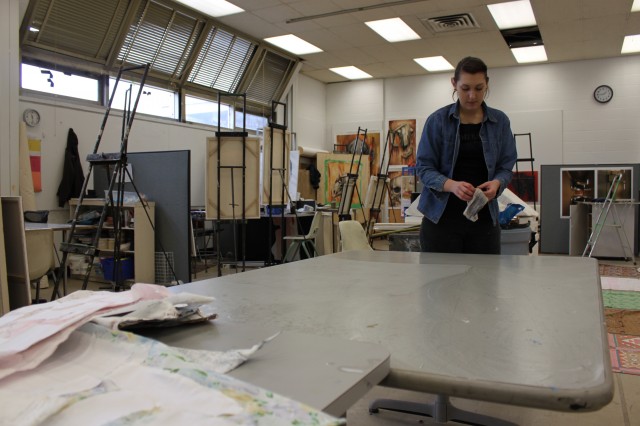
We tested on both light and dark coloured fabrics, as well as pure white, to see the difference from one tone to the next. Then, we set our tests to dry overnight in the BFA studio at the SoVA.

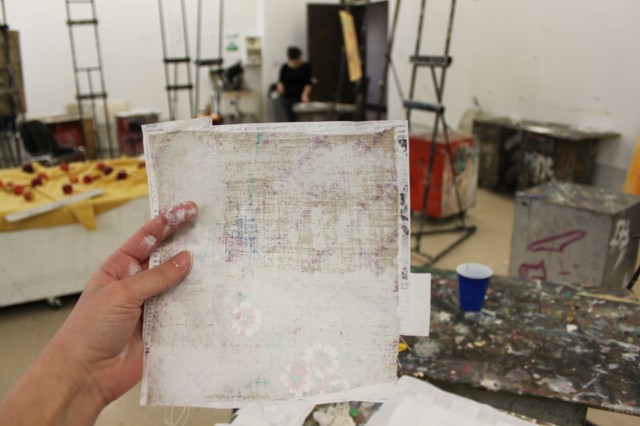
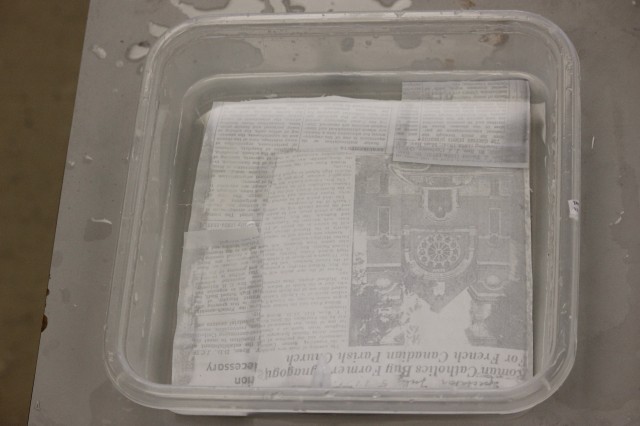
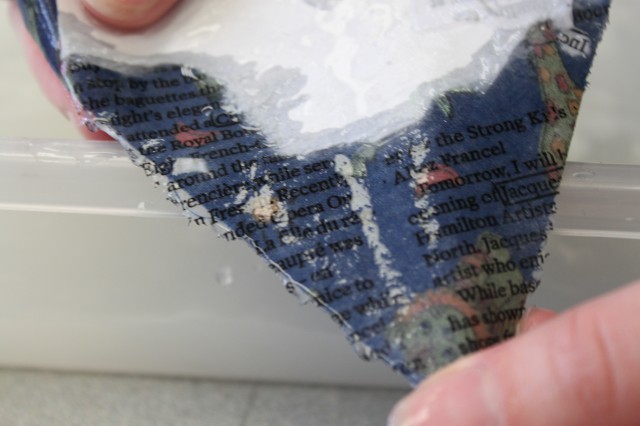
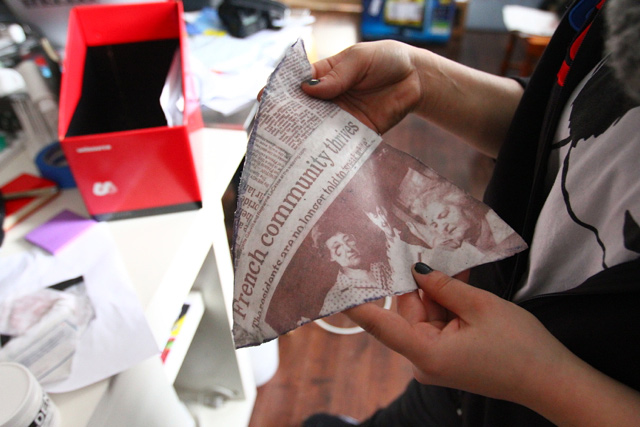
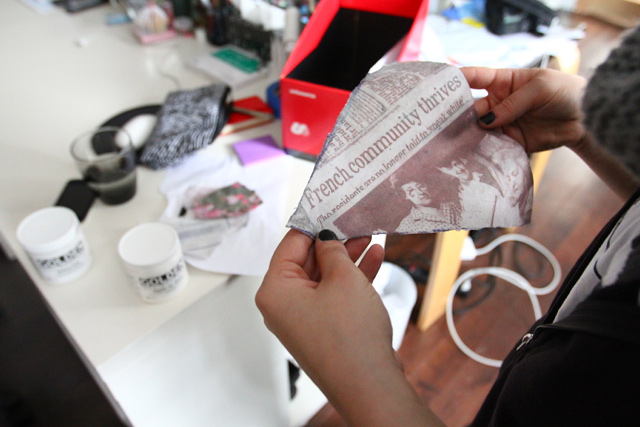
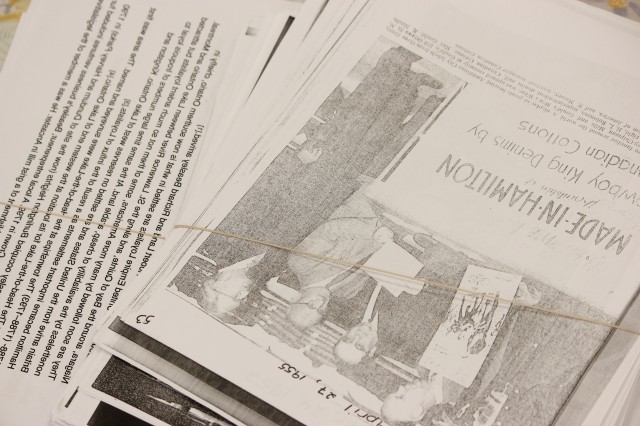
Here’s an example of the bacl side of one of our photocopied articles. The text was photocopied in reverse so that it would come out onto the fabric in the correct direction.

The back of on of our tests before setting to dry.

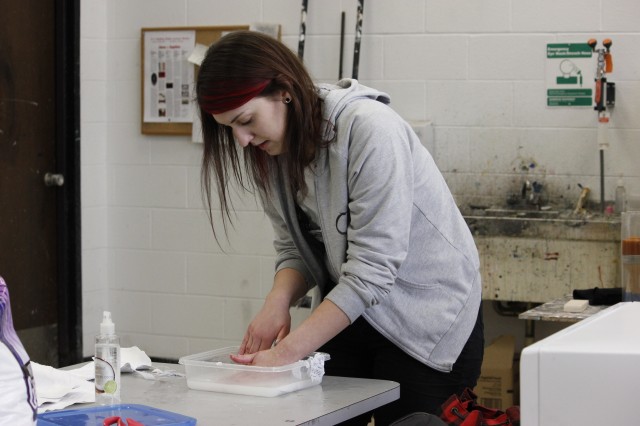
After the first tests had dried at least 24 hours, we got to rinsing them to see the results.

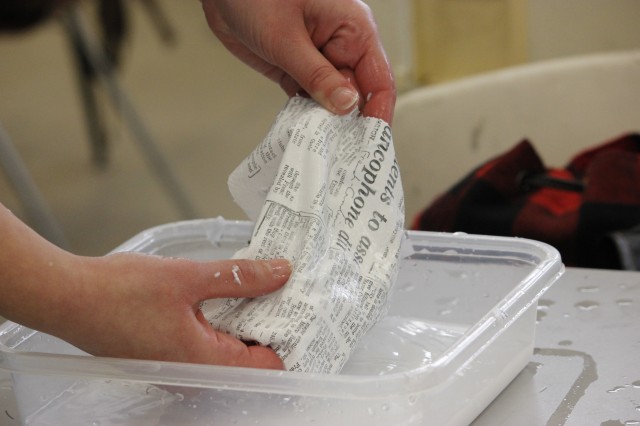
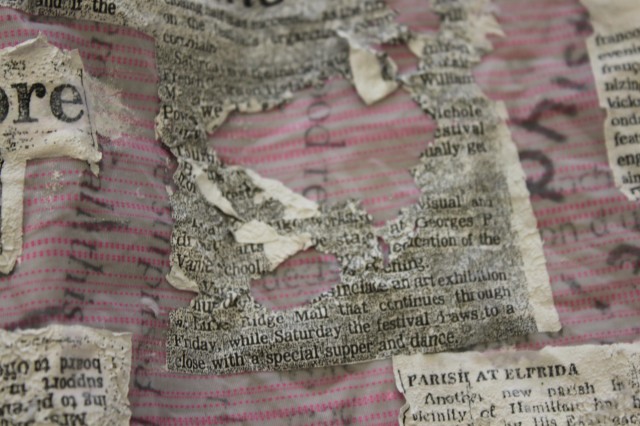
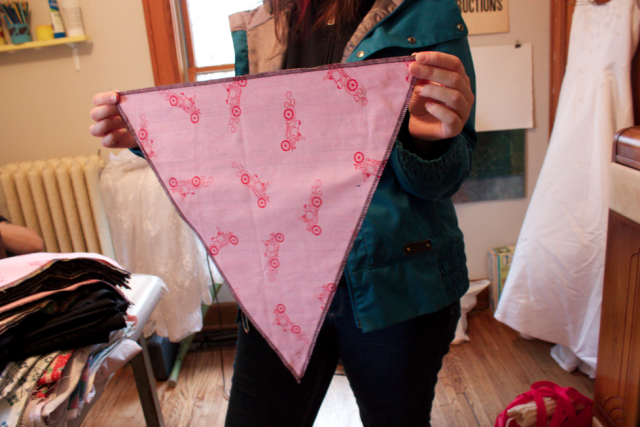
They came out nice and clear! Here’s an example on white fabric.

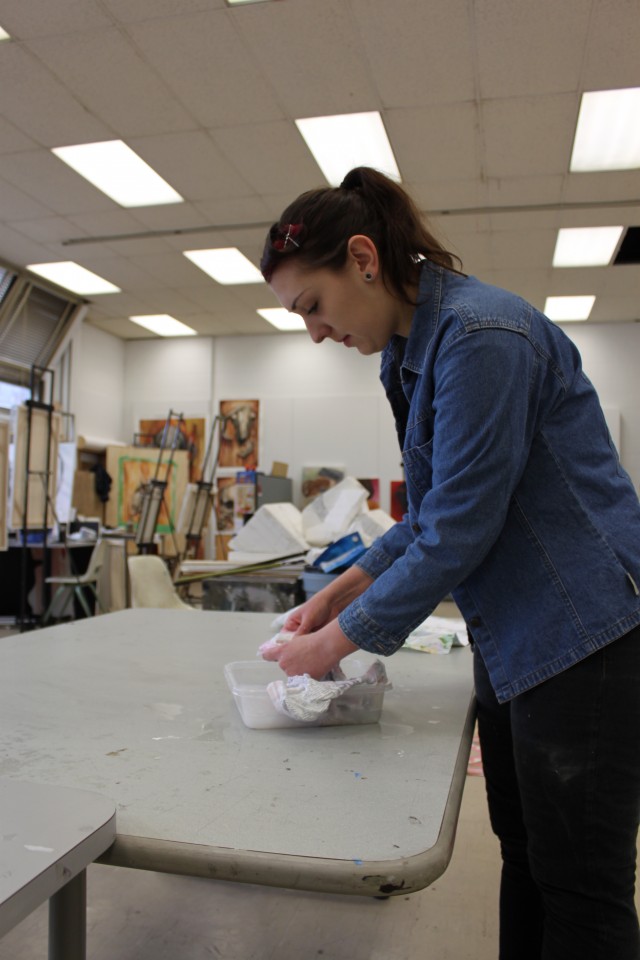
Another sample soaking for a few seconds in cold water. After trying a sample with hot water, we soon realized that the heat was removing some of the transfer. It seems that cold was the way to go.

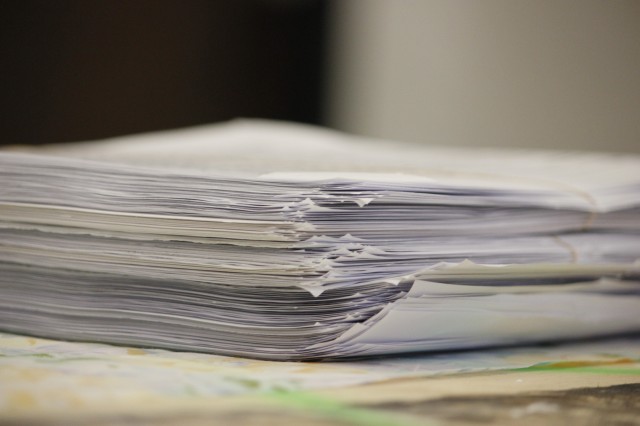
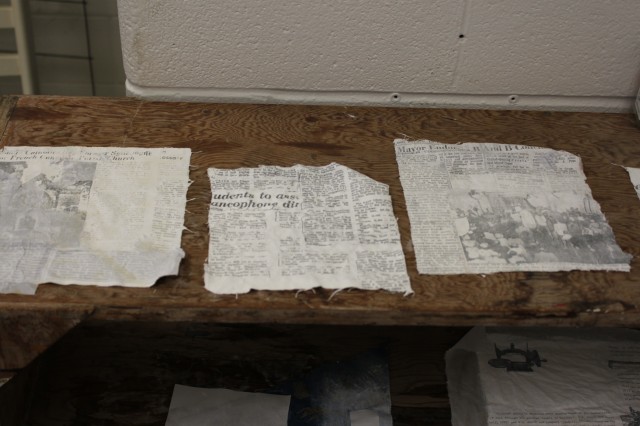
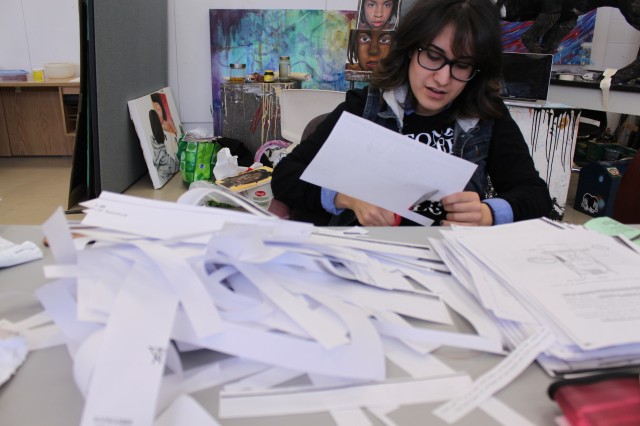
Our stack of photocopies.

Next we decided to do a few more tests on a larger surface area to play around with style and placement of the photocopies on the fabric.

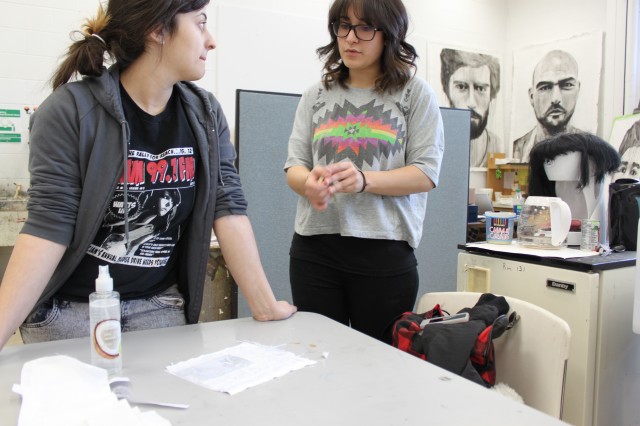
Hiba was around working in her studio and giving us helpful hints for rinsing out the fabric transfers.

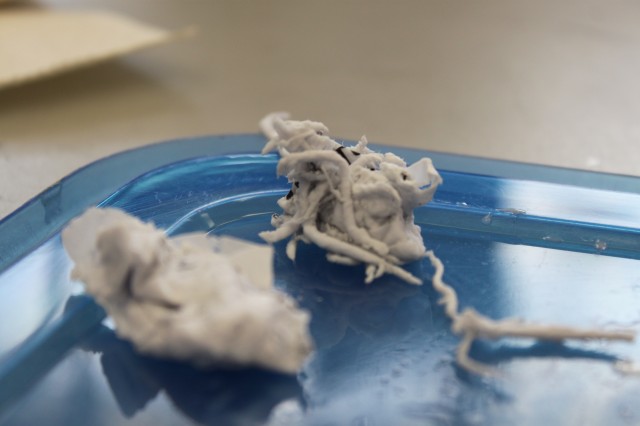
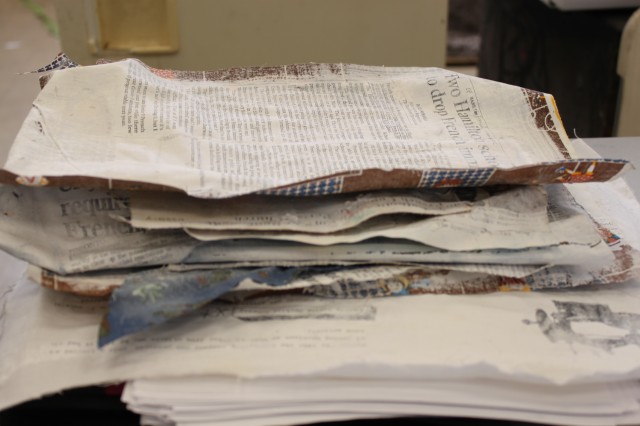
The remnants of paper post-rinse.

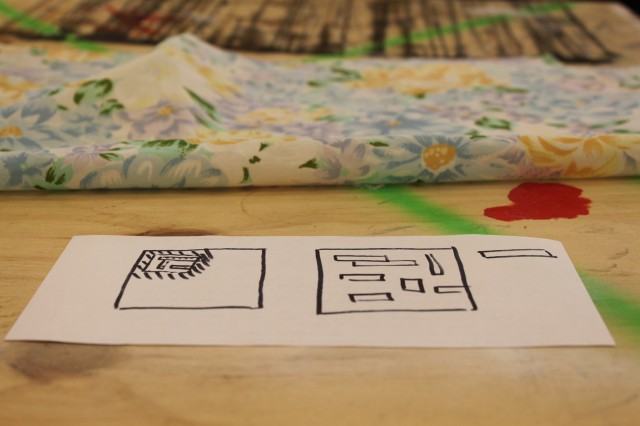
Sketches describing two different methods for transfering; one with medium painted directly on the fabric, the other is painted onto the paper then pressed into the fabric.

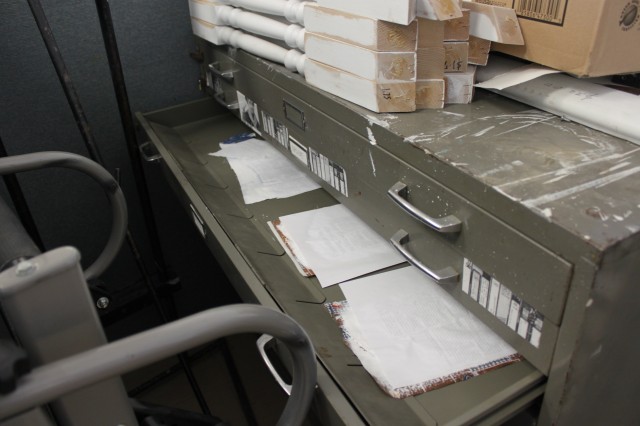
Our tests from last time drying. They all turned out well. Some were more interesting than others.

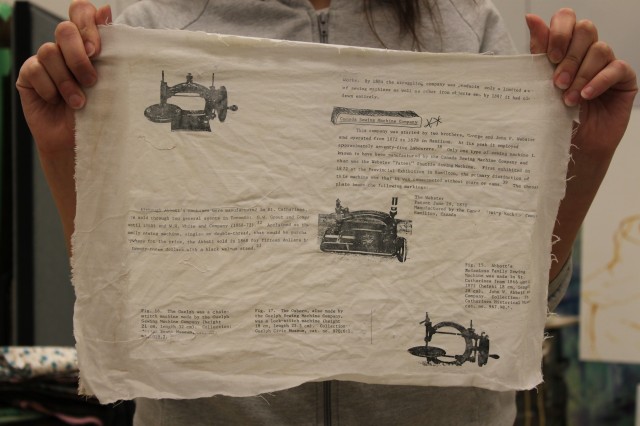
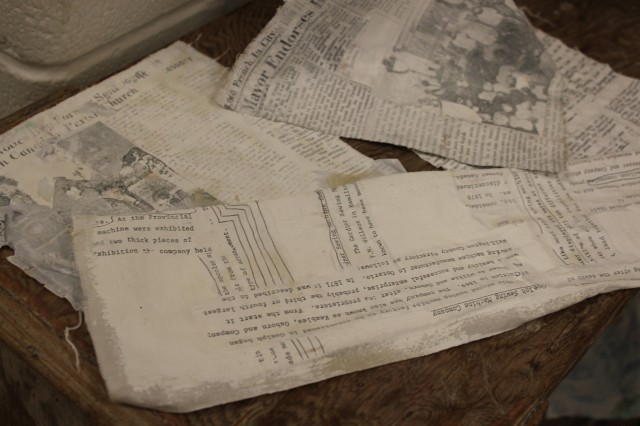
Old photographs of sewing machines made in Hamilton & Region during the 1800’s.

More samples of tests.

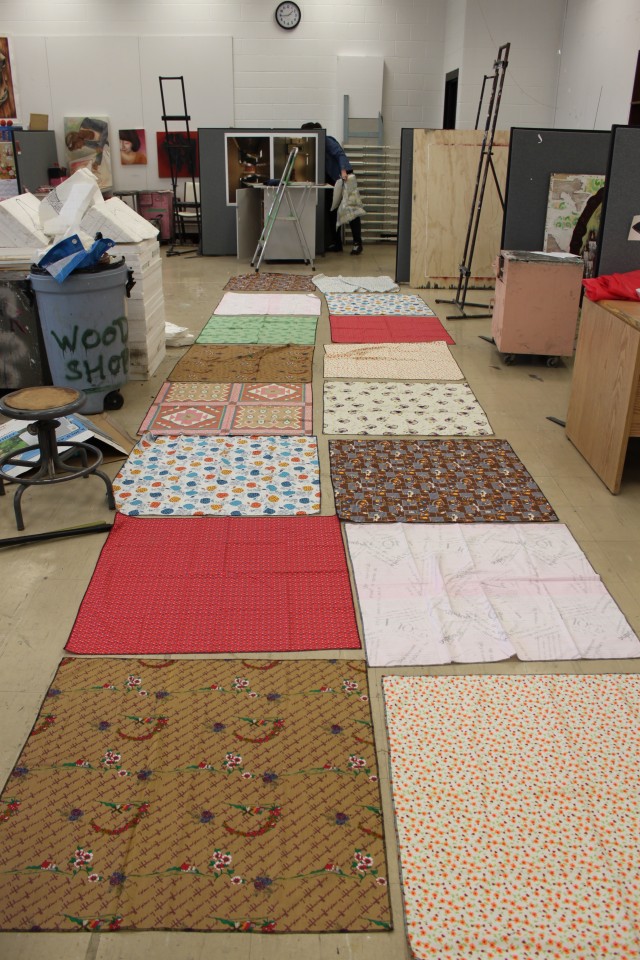
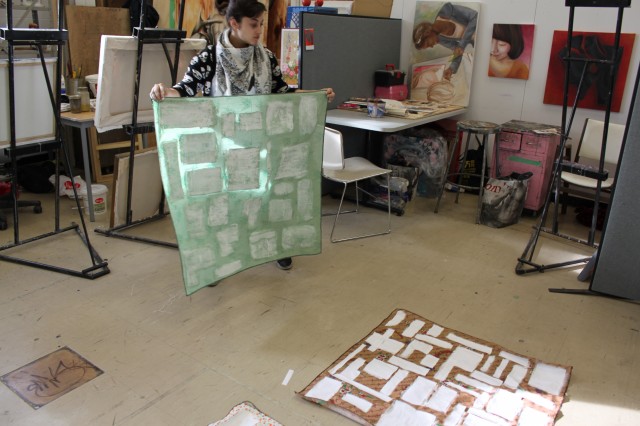
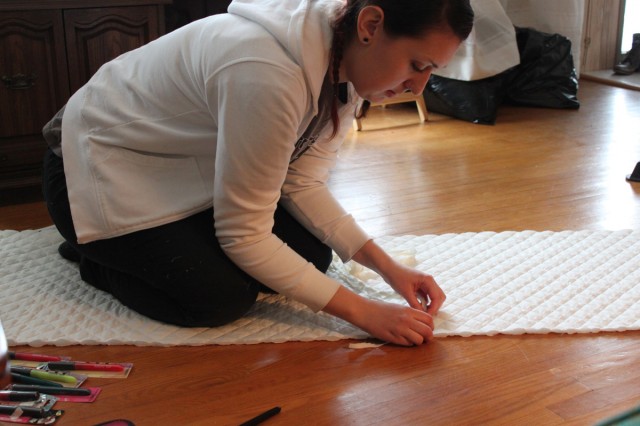
After picking up the squares from Jodi, we placed them out on the floor in the general shape of the sign they will become.

I rinsed off the larger tests we had done from last time.

Here’s the first test, medium painted on paper.

The edges were curling and the transfer was not very durable.

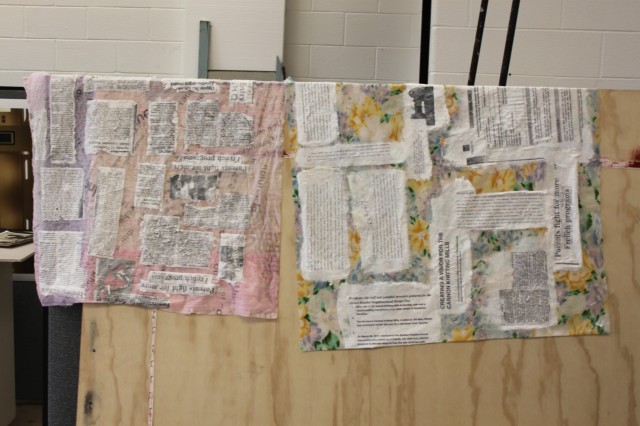
Two of the tests hanging to dry. The one on the right will be similar to the end results.

Just for fun, we did a test with clear glossy medium (rather than solid matte) The results were interesting and cool but would only work well on solid coloured fabric. Future t-shirts perhaps?

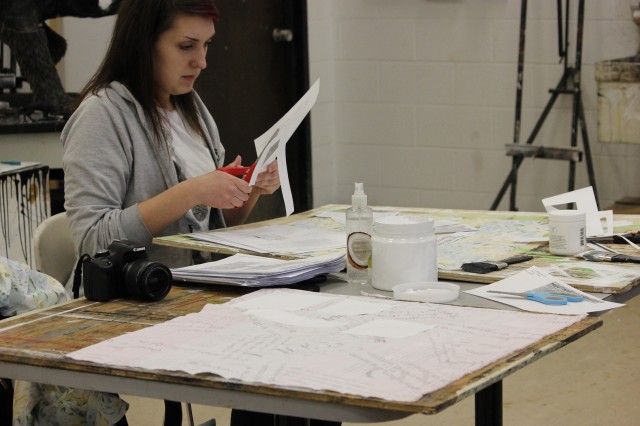
We started by cutting up all the photocopies in preparation for transfering 16 36″x36″ squares.

We also arranged the events from the timeline Hiba and I compiled during our last trip in Hamilton to be photocopied and transfered onto the Hamilton History timeline bunting.

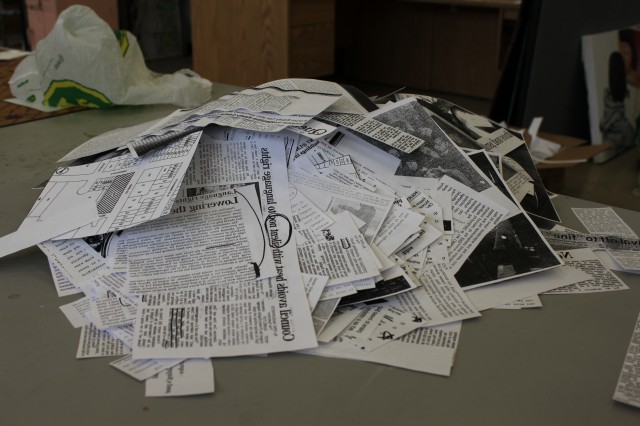
A giant pile of pre-cut photocopies. After Cristina arrived to help, the pile of 8.5×11″ paper was reducing quite fast and we plowed through it in no time.

Dried samples from previous tests.

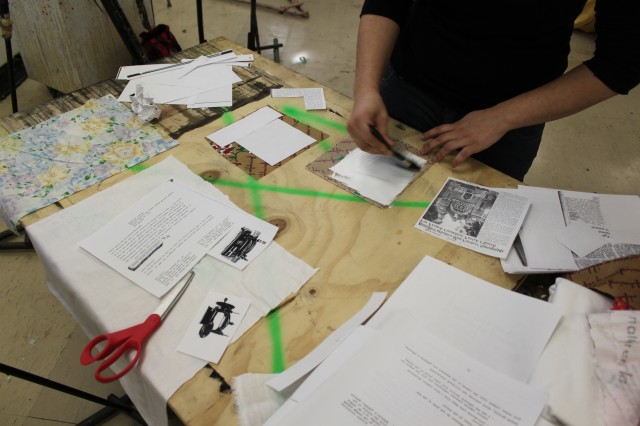
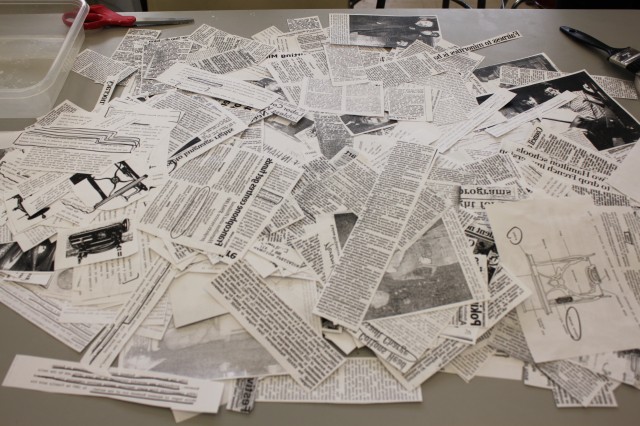
Our photocopied strips ready to go. It proved useful to dedicate a whole table for laying them out.

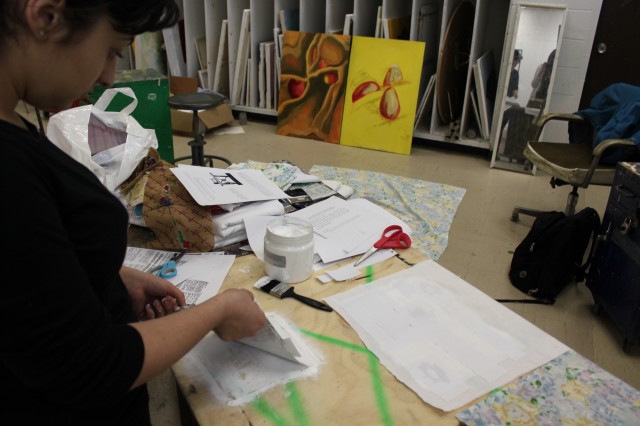
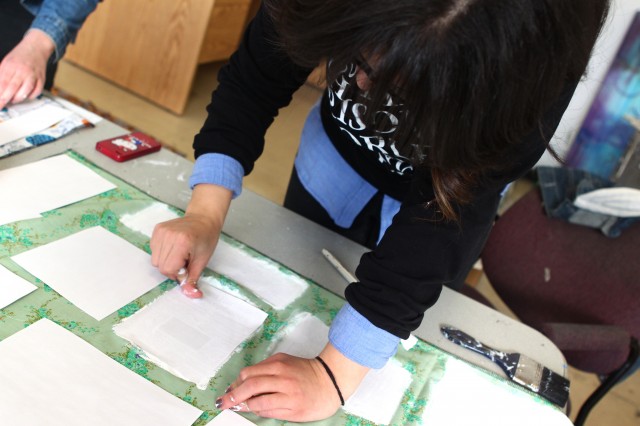
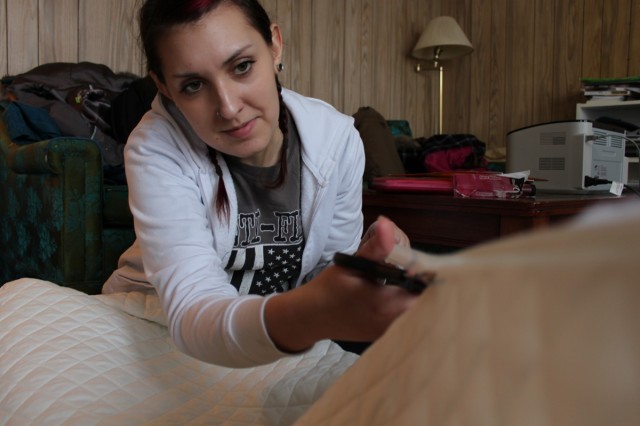
I wipe down the table before laying out two squares for transfering. Always important to start with a clean work surface! Soon after, Rosina and Kevin joined us.

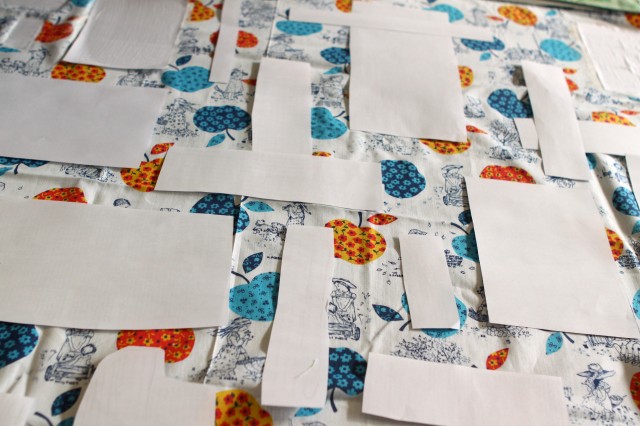
We laid out the strips before securing their placement with the gel matte medium. We went with a broken grid pattern that sometimes crisscrosses over and under itself.

We had fun! We decided to keep working until we ran out of medium for the day.

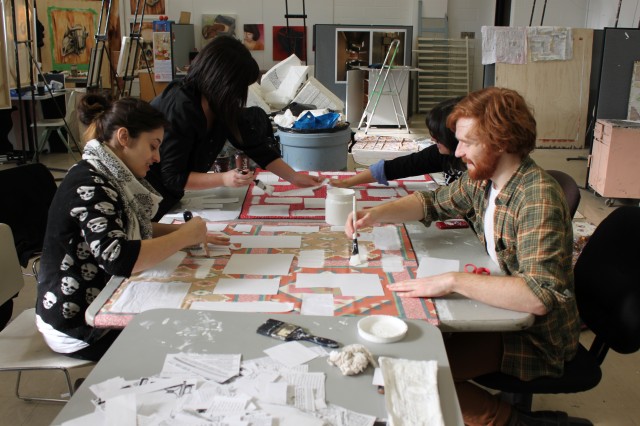
Hard at work.

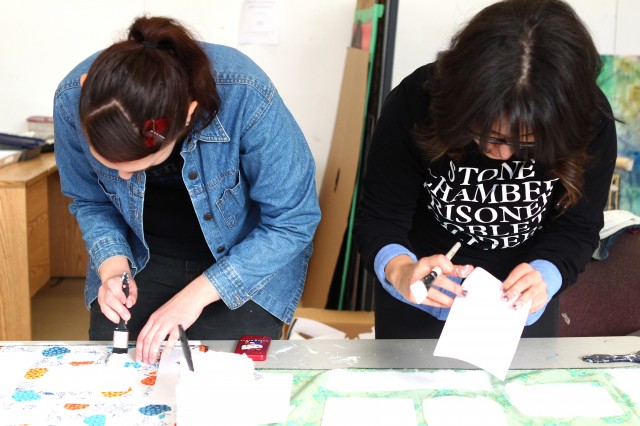
We each hard a slightly different method for applying and adhering the transfers, all with the same basic idea; paint the medium onto the fabric then rub and scratch the paper into the fabric.

After cutting up all of the articles and finishing to transfer 8 / 16 squares (each one will hold a letter to spell a word on the giant sign on the side of Hamilton Artist’s Inc), we ran out of medium and called it a day. Rosina will be finishing these squares today and we will get started on transferring the bunting on Thursday.


Two Tales Of A City: Hamilton History Hunters


Michelle and I headed up to Hamilton to continue the research portion of Two Tales Of A City. The three and a half hour car ride  gave us plenty of time to develop a working plan of exactly what we wanted to accomplish for the next two days in Hamilton, Ontario. To get a better understanding of the history of Hamilton, we thought that making a community timeline would be a great start. Along with that, we would pass out photocopied newspaper articles pertaining to the steel, textile and francophone history of Hamilton for people to highlight and circle the most important parts.
But first, we needed the right tools.

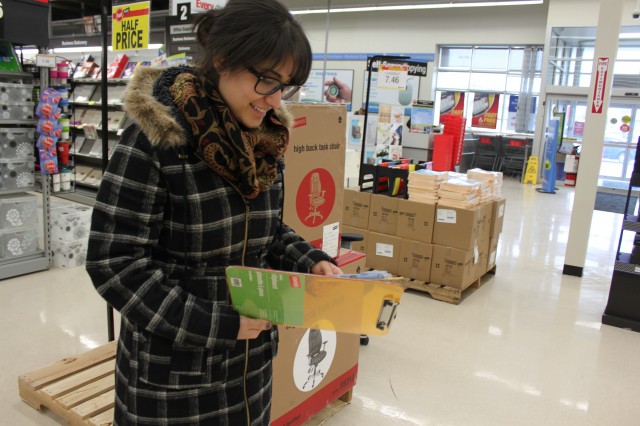
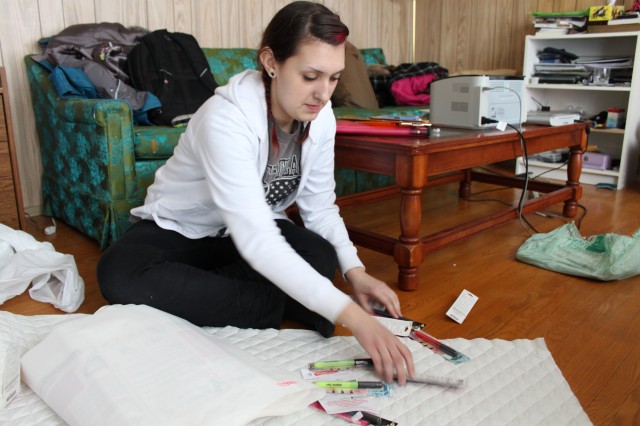
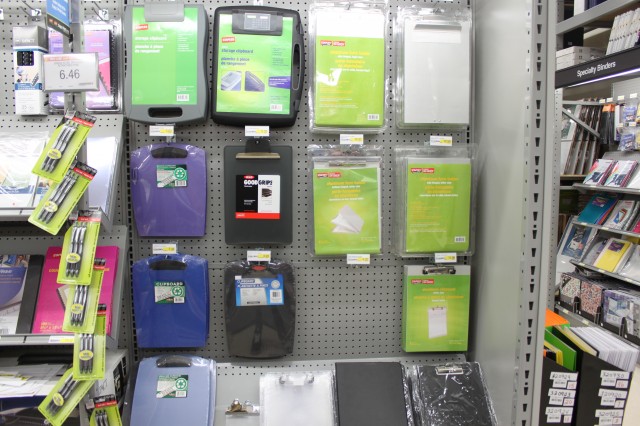
At Staples, we stopped to buy a clipboard, some markers, post-it notes and some kind of paper/board/foam that was long enough to build a time-line.

After some discussion and selection of this awesome yellow clipboard, we decided that for a time-line, it would be much more suiting to use fabric! We thought that playing on the textile history of Hamilton would make for some interesting discussions and story-sharing.

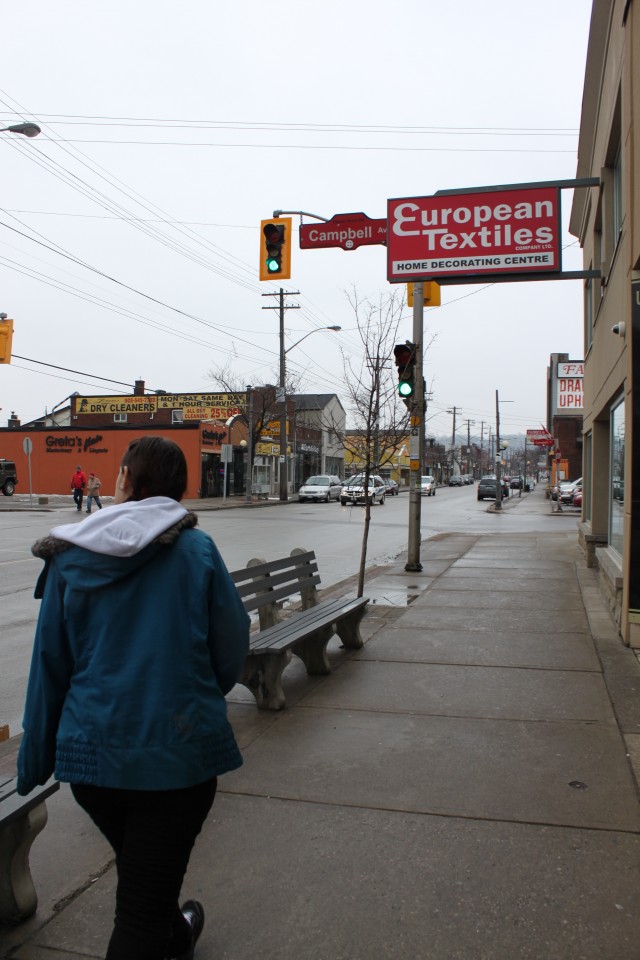
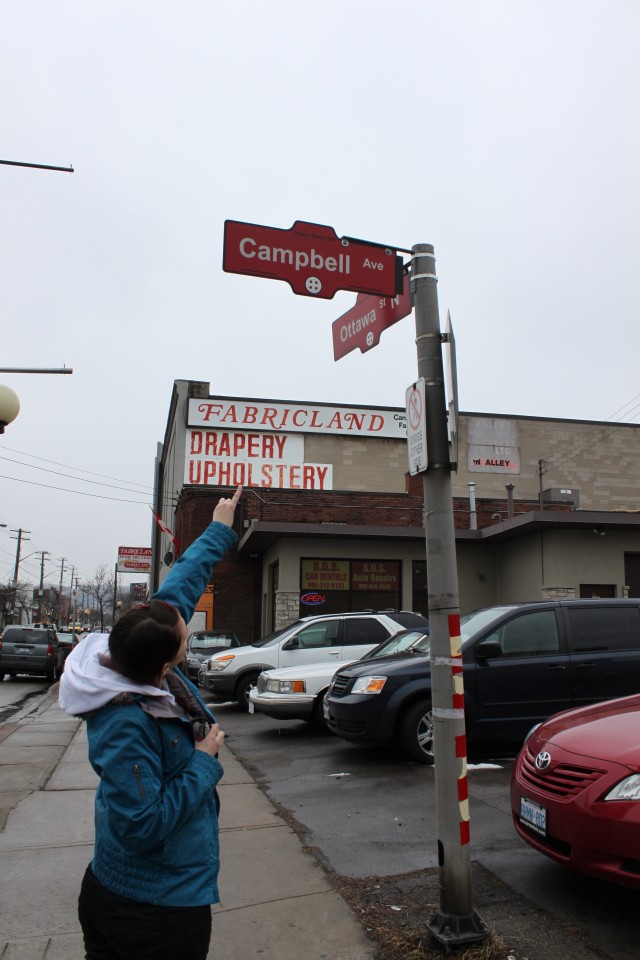
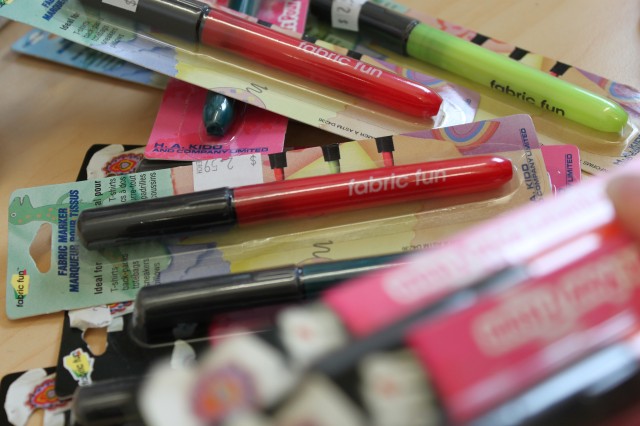
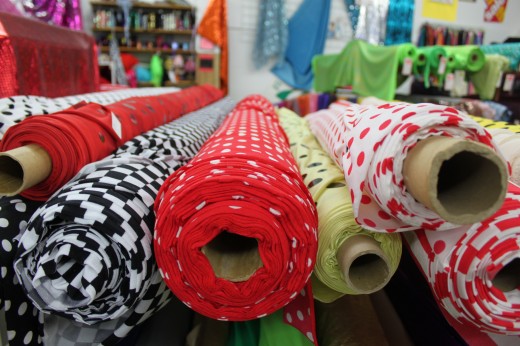
Next, we headed off to the textile district on Ottawa Street to seek out a fabric markers and of course, fabric.

Michelle noticed that all the street names in the textile district had little buttons on them. Neat find!

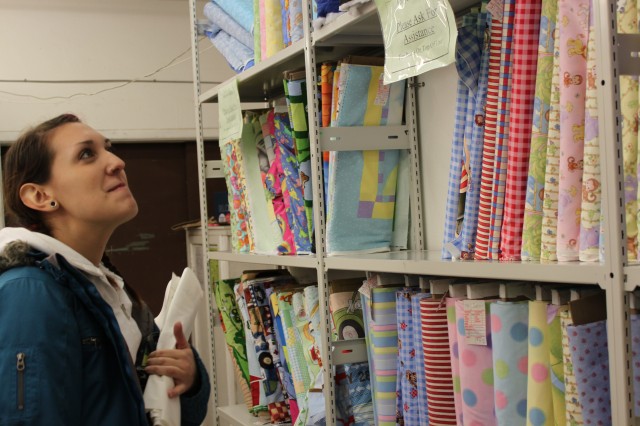
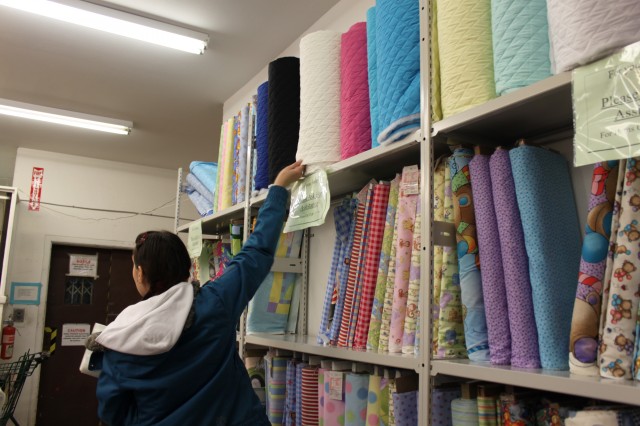
Inside Fabricland, we sorted through to find the colours to use on the timeline.

Then went on to find the perfect fabric.

Found it.


After gathering our supplies, we headed to the upper part of Hamilton, where Irene lives, to start making our timeline. Above: the escarpment.

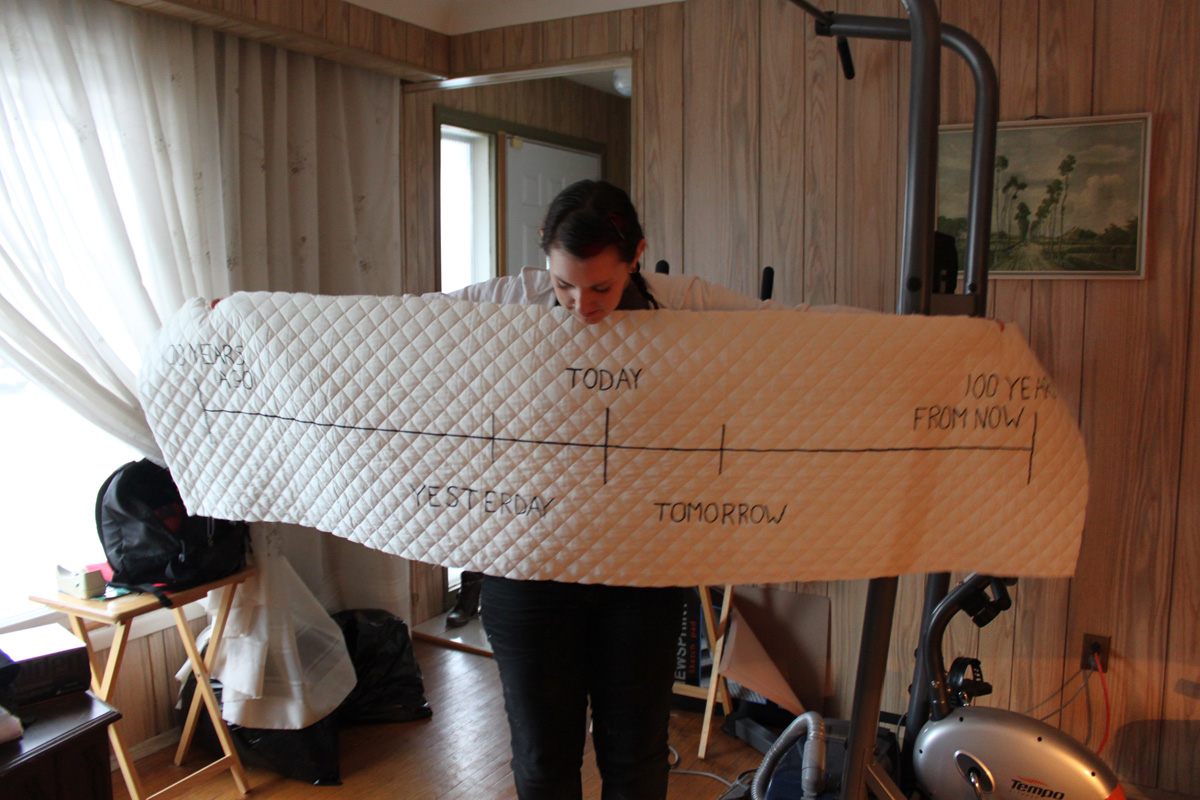
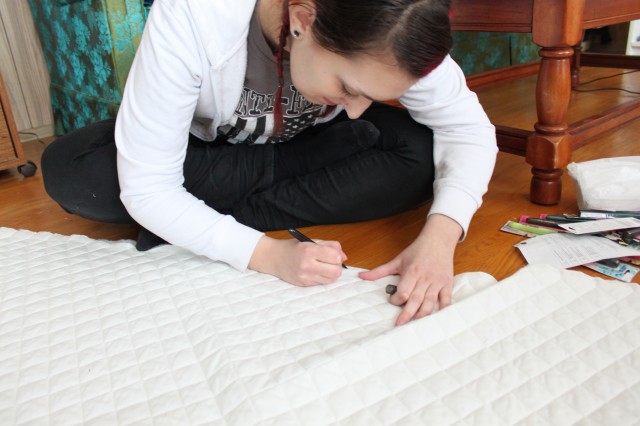
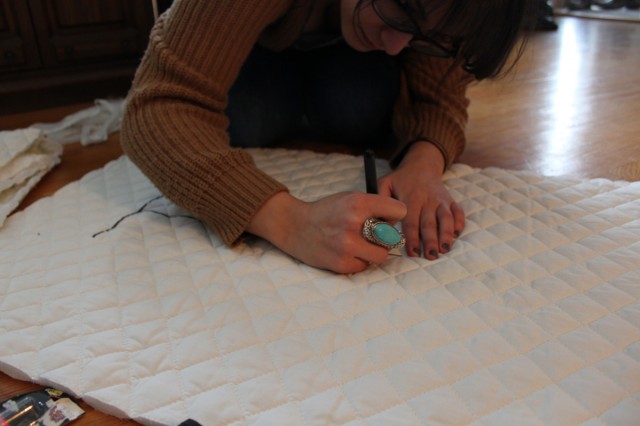
At Irene’s, we started the construction of the timeline. Here’s Michelle testing out the fabric markers.

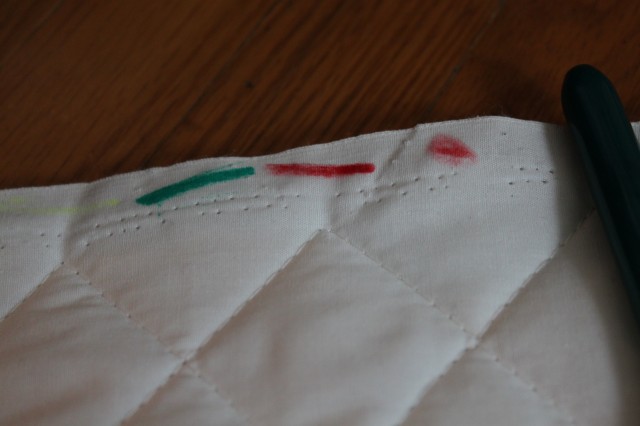
The black worked out really well. Sadly, the colours shown above, barely showed up.

We decided that we would return the colours and look for a different alternative. Michelle thought that pinning post-it notes with text written on them would look better than writing on the timeline itself, similarly to what was done in Calgary.

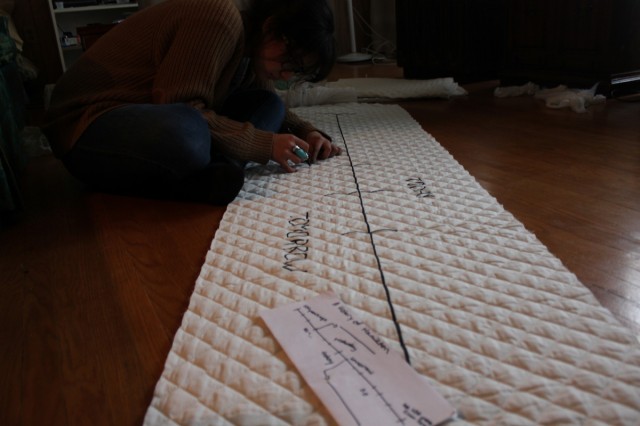
Cutting straight lines.

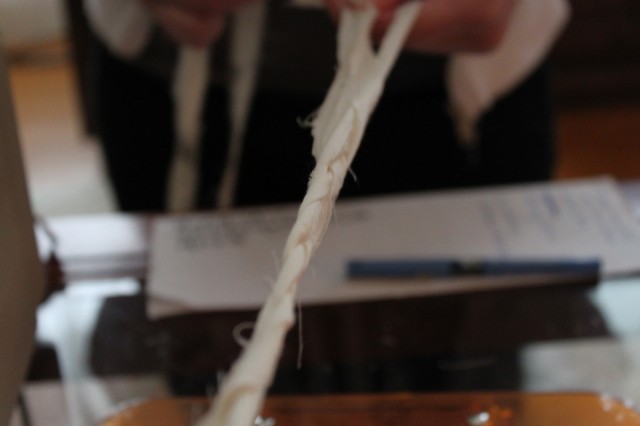
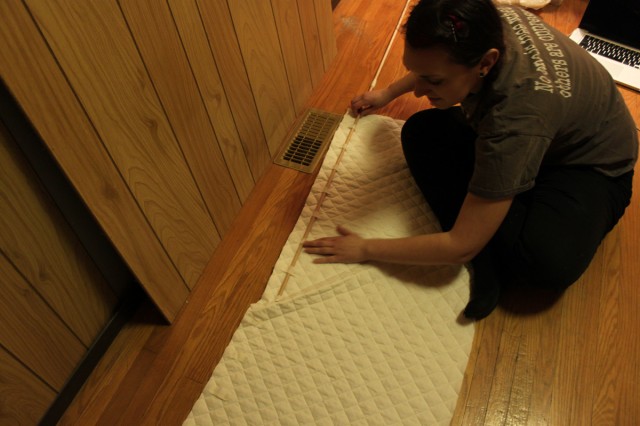
Since the timeline is made out of fabric, we had to consider how we could hold it up and keep it sturdy enough to resemble a sign. Michelle took some scrap fabric and started braided it as an example for some kind of reinforcement to place on the back of the timeline. The discussion led us to believe that adding wooden dowels as support would be the answer.

Close up of the timeline.

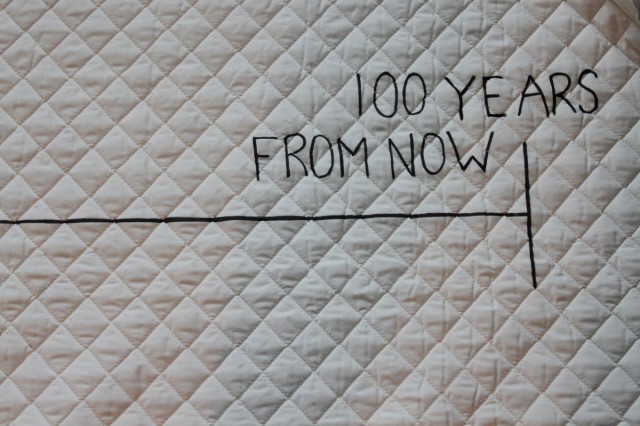
Marking the date of “yesterday”.

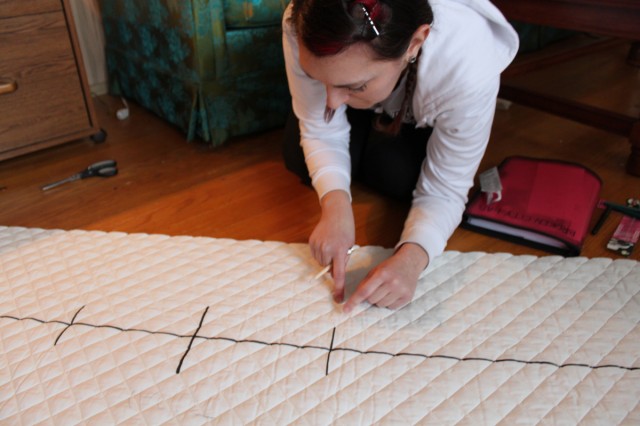
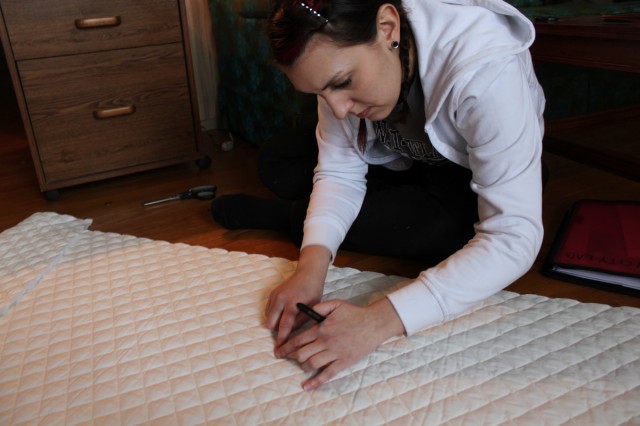
Using black fabric marker to create some thick lines.

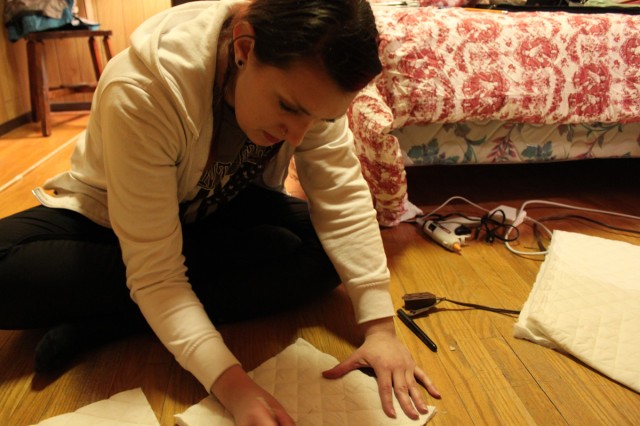
Since the fabric had the quilt squares on them, it made it a lot easier for us to measure across and mark the lines.

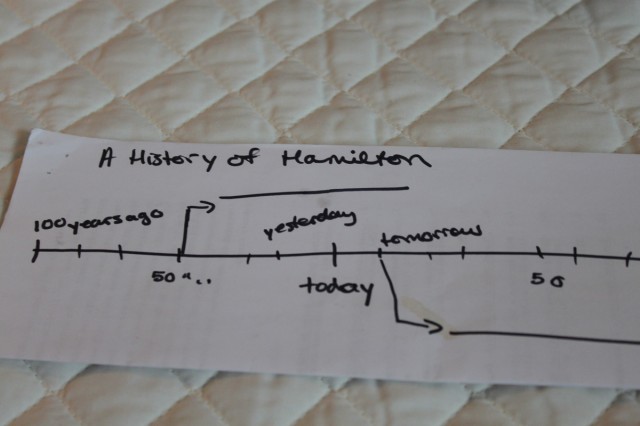
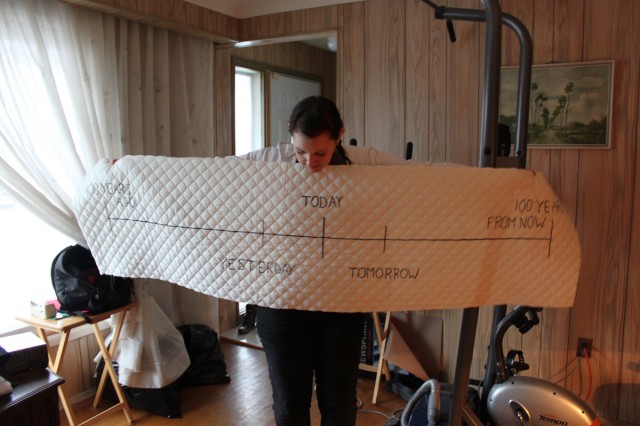
Mock up sketch of the timeline.

Inserting key words.

Again.

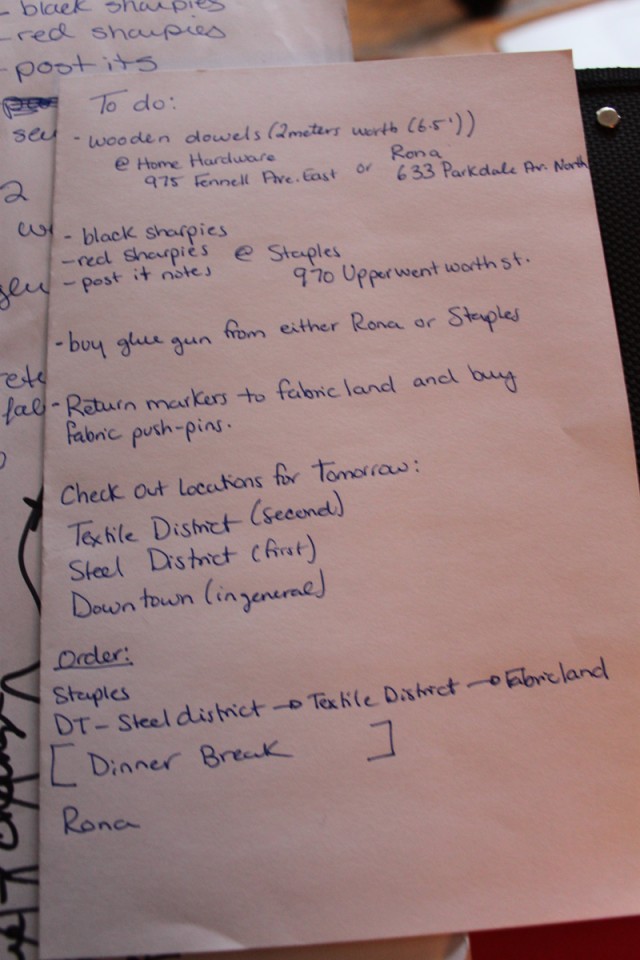
After that section of the day was done, we wrote out a schedule that dictated how we would spend the rest of our night. We decided that there were some new materials to buy and that we should visit the sites in the textile and steel districts where we would want to set up our timeline.

Michelle with the timeline.

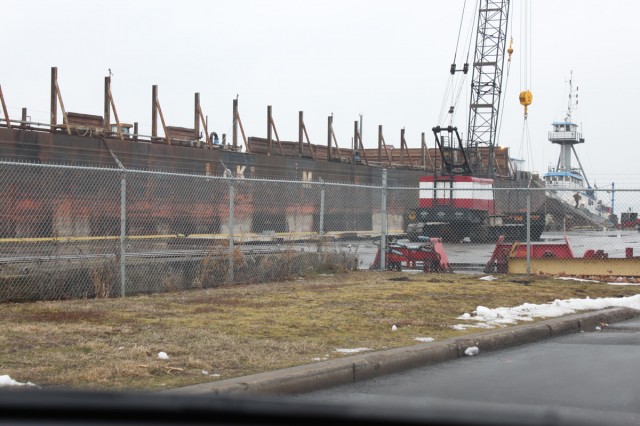
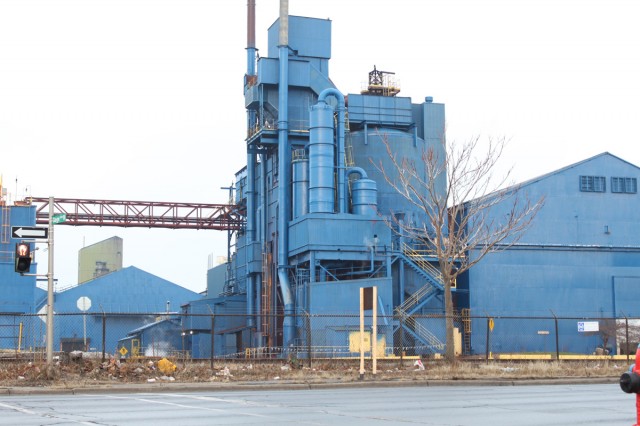
We drove through and around the steel district that is located along the bay area in Hamilton. By car, we encircled the factories and felt how empty this part of the city was compared to the rest.

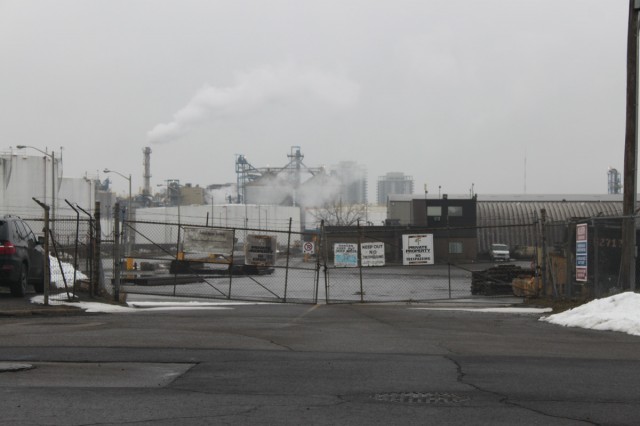
A lot of the places we drove by were heavily fenced off with multi signs reading “No Unauthorized Entry”.


We realized that the steel district would not work very well for gathering information because there were nearly no pedestrians walking and no way we could gain access to the factories.

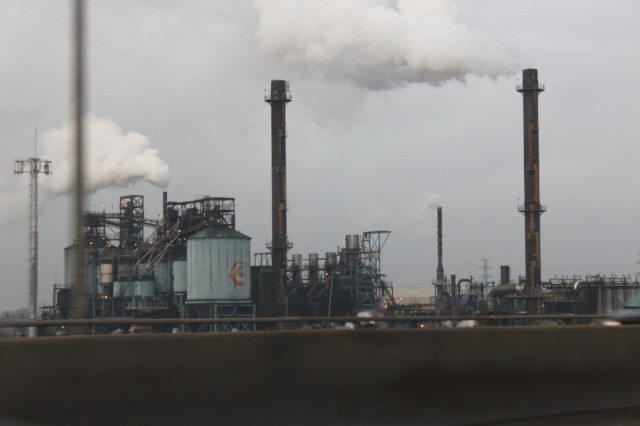
Industrial steel factories.

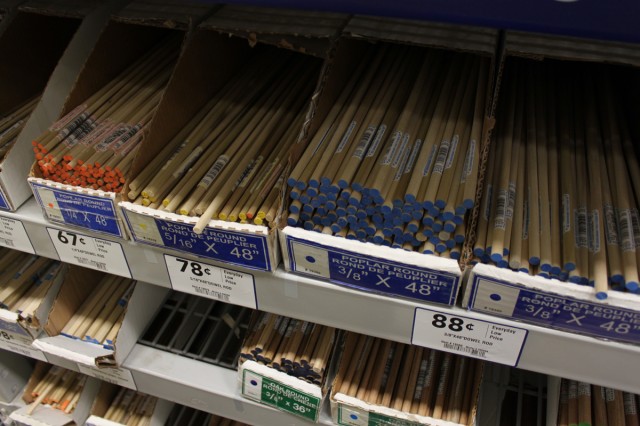
Next, we stopped at Lowe to pick up some wooden dowels.

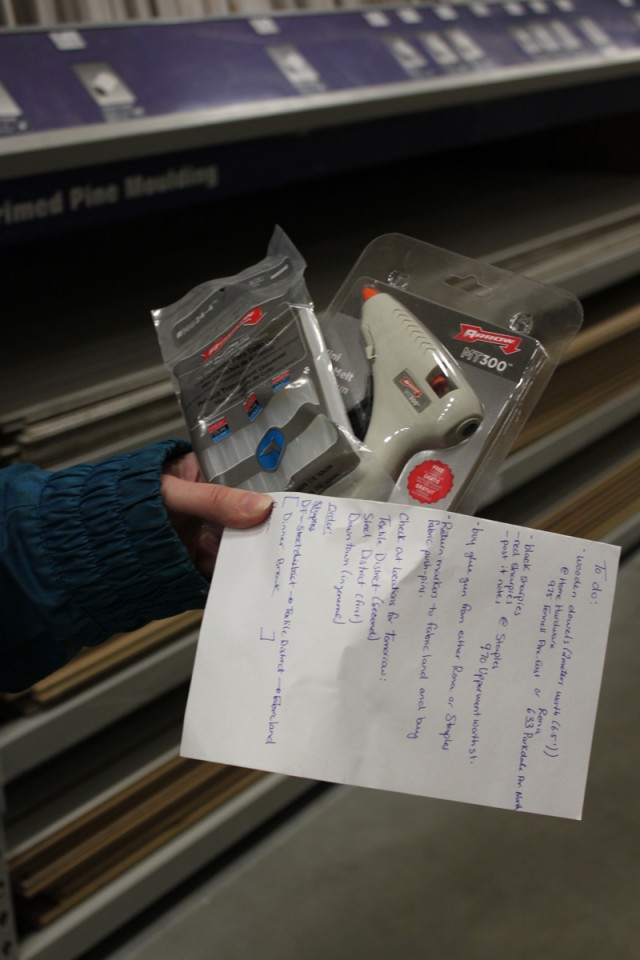
Glue gun, glue sticks, to-do list.

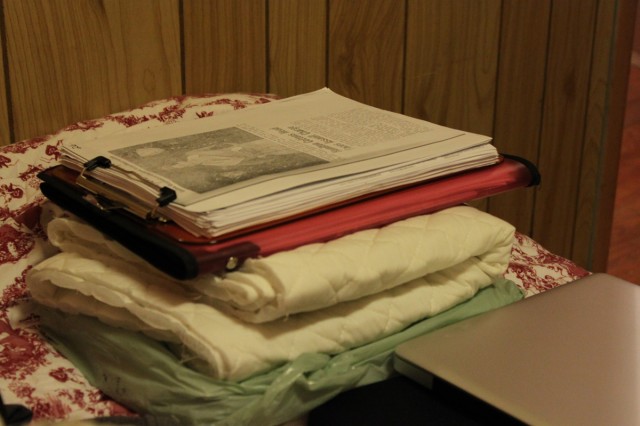
Our stack of supplies.

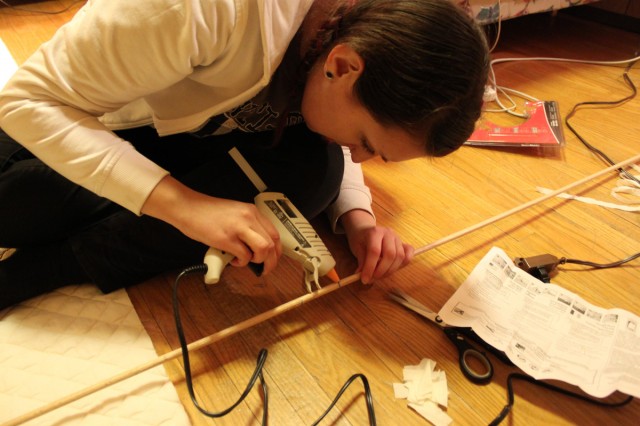
We bought 2 dowels that were 3 feet long each. We decided to glue them together so that they would span the width of the timeline.

As we worked through the evening, we discussed how best to approach the people of Hamilton. We decided that the more friendly and harmless we seemed, the more willing people would be to talk.

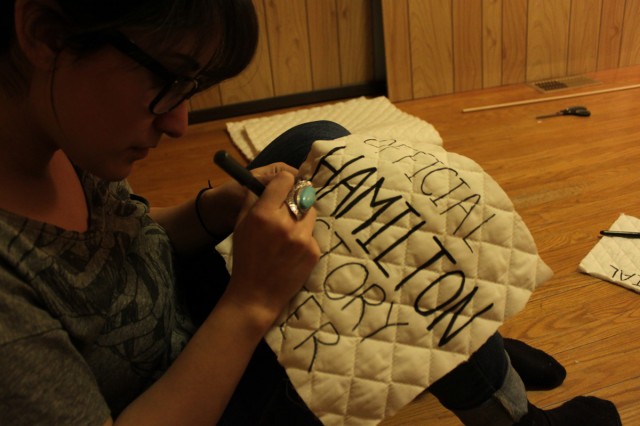
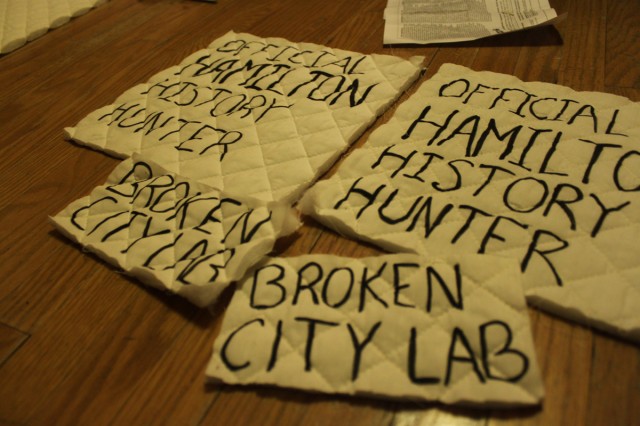
We came up with the “Official Hamilton History Hunters” as a badge to wear on our jackets, stating our intentions as we take to the streets.

Running the dowels through the back of the timeline.

Above: Back patch as well as front “Broken City Lab” badge.

We head out into the city tomorrow! Stay tuned for more.


Two Tales of a City: Hamilton Industry notes and articles

I ventured to the CAW centre today to take advantage of the free WIFI and do a bit of research on the history of industry in Hamilton. I found some interesting articles about a abandonned knitting mill that was bought by Toronto Developpers and is being transformed into condos.

From day-trips.ca:

The Hamilton Textile District located on Ottawa Street is the largest fabric and textile district in Canada and also Hamilton’s top tourist destination.

From urbantoronto.ca

This 1920’s commercial district in East Hamilton grew out of the local textile and fabric industry
which manufactured everything from sewing machines to clothing. Today the Textile District is
a thriving shopping area that has found its niche in fabrics, sewing and home decor. It is also
the site of the very first Tim Horton’s location.

From Wikipedia article on the Economic History of Hamilton:

Canadian patent laws and the underemployed workers skilled in machinist trades lured an important new industrial enterprise from the U.S.A.- the manufacture of sewing machines by Richard Wanzer. From this development there evolved the ready-made clothing industry, which William Eli Sanford introduced locally.

City of Hamilton Document Re: Cannon Street Knitting Mills

A few links to articles:

Knitting Mills

More on Knitting Mills

Even more on Knitting Mills

and more

Potential interviewees:

writer of this article on sustainable steel industry in Hamilton

 McMaster University Steel Research

Also, this is my aunt who works at DOFASCO (steel company in Hamilton)